So you’ve decked the halls and braved the crowds, and somehow managed to procure the perfect gift for those special people on your list. Now it’s time for the dreaded, tedious wrapping session.
I’m not normally one to procrastinate. Truly. But my kids are still young enough that a pile of wrapped gifts under the tree just seems too tempting, and I don’t want to burden them with that. So I usually wrap up a few small gifts (without even adding name tags) to put out ahead of time. On Christmas Eve, I lock myself away in my room, furiously wrapping the rest.
Perhaps that sounds exhausting or stressful or just plain crazy to you, but here’s my secret: I have a slight advantage when it comes to this, because I used to wrap gifts at Dillard’s over the Christmas season.
During my time working in the department store, I learned a few tips I’d like to share with you today. Then I’ll wrap it up—pun intended—by talking a bit about creative alternatives to make things special this holiday season.
When it comes to wrapping presents, the gift that's inside—and the care you took choosing it—is the most important part. But making the outside fun and appealing adds so much charm, and can really spark anticipation. Click To TweetWrapping a basic box
We’ve likely all wrapped a gift; however, a few simple tricks make all the difference. First and foremost, don’t use too much paper. Not only is it wasteful, but you’ll create extra work trimming it all off or your package will look bulky.
Place the box on top of your paper and cut two parallel sides to come half-way up the box.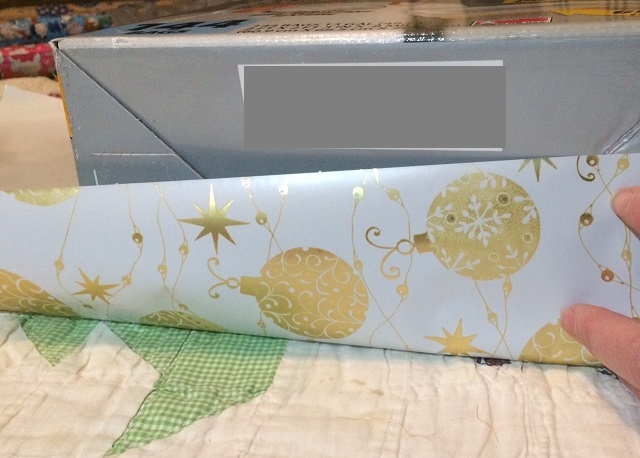
Next, pull the other (possibly longer, if you’re wrapping a rectangle) side of the paper up over the top to the edge of your box. Once you’ve measured to the edge, make a crease at the opposite side so it won’t move while you work. 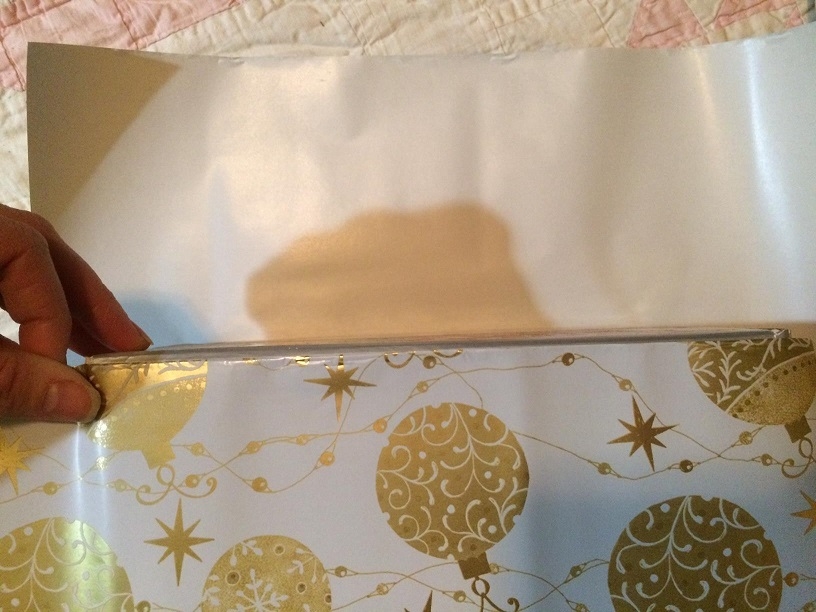 Then pull up the opposite side and tape wherever it ends on the package. Since the other side will cover it, it won’t matter where it stopped.
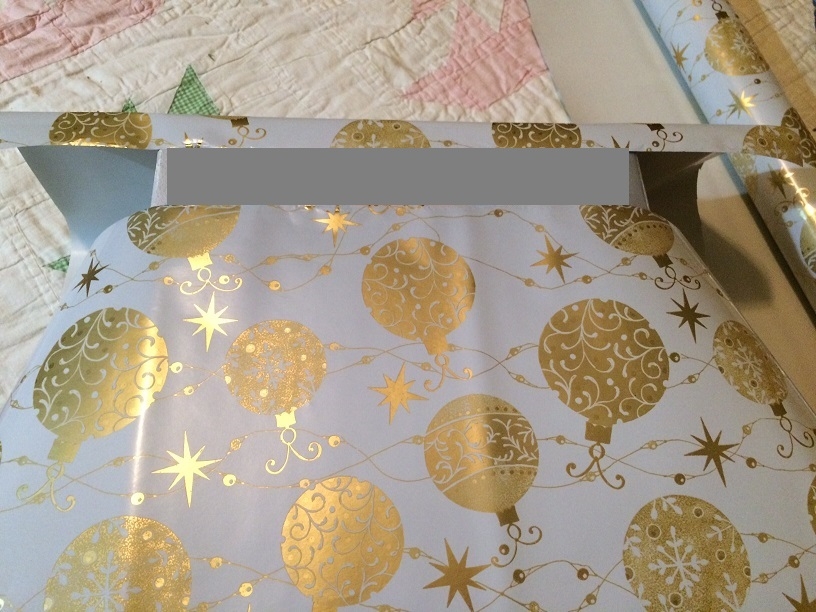 Now take the paper you measured, bring it back to the edge, and tape it down. (I’m assuming it is a nice straight cut edge. If it isn’t simply fold it over to where you make a nice straight edge to meet the edge of the box.) It should cover the piece you taped underneath and meet the edge perfectly.
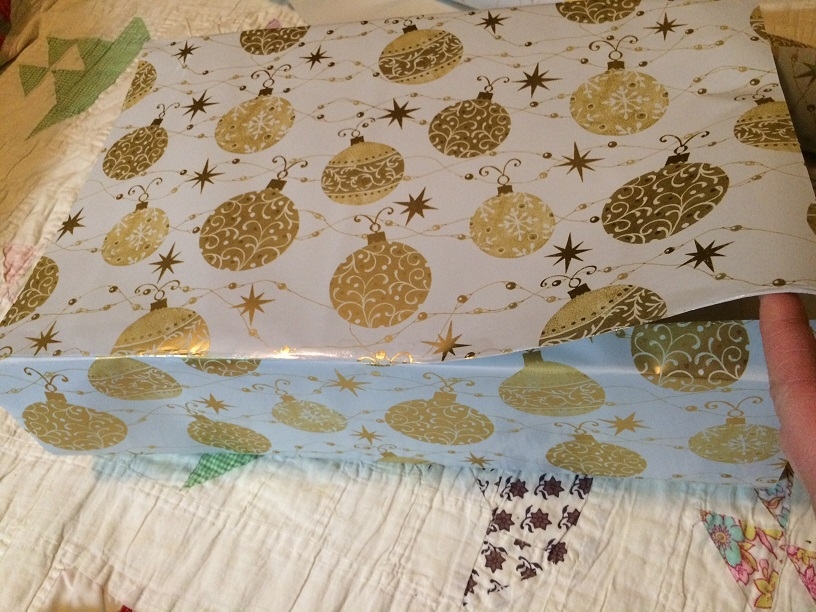
Now you are ready to crease and fold the edges to make the end. First, fold in the short sides. If you have a square box, identify which is the top of your package, and fold in the two sides that touch it. Crease the paper where it meets the box; you don’t usually need tape here.
Next, fold up the bottom flap, and crease it. You’ll probably want to use a small piece of tape to keep it secure. The final step is securing the top flap. There are two ways to do this: the more traditional way where you fold the edge short enough to tape it at the middle (on the left below), or—assuming there’s enough paper—you can tape it so it meets the bottom edge (on the right). That’s a matter of personal preference.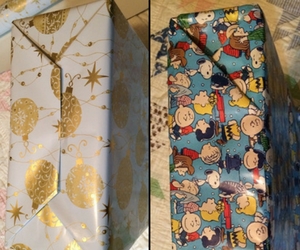
Once you have it taped, flip it over and do the other side. It looks wrapped, but you’re not quite done. Take a final walk around the package with your fingers creasing all the edges; this makes for a sharp, finished edge.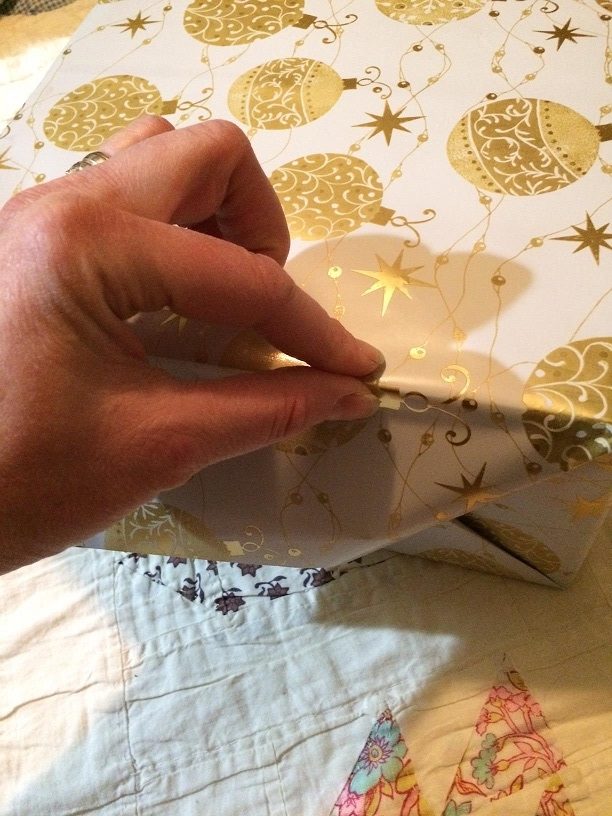
Adding a fancy bow
Making your own bow isn’t as hard as you might think. In this YouTube tutorial, Lisa shows you how to make a simple one-minute gift bow:
If you find yourself at home on Christmas Eve without the supplies to make Lisa’s bow—or if you just can’t brave another trip to the store— this next video shows a similar technique using plain gift ribbon. (However, watching both tutorials might be helpful, as the second one has no spoken instructions, only video.)
Once you’ve added your bow, all that’s left is labeling the recipient of the gift. You can use gift tags, a small folded scrap of the same wrapping paper, or simply write a name or initial on the bottom of the gift.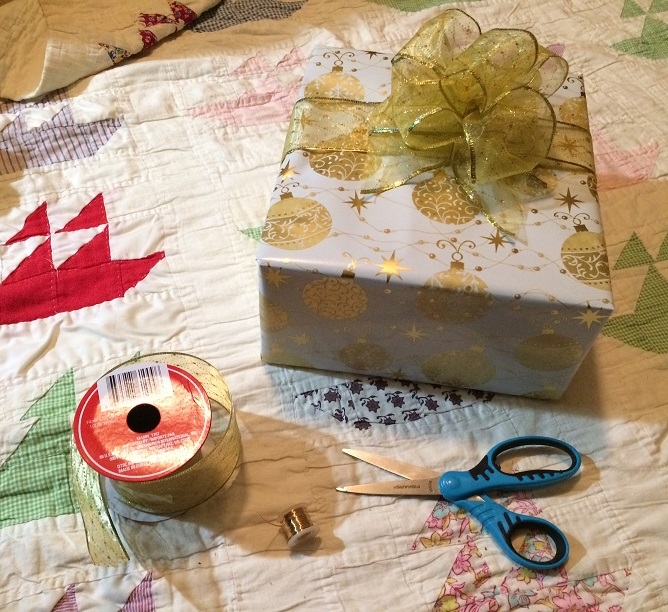
Creative alternatives
If traditional gift wrap has gotten boring, you may want some creative packages peeking out from under your tree this year. Try your hand at some of these unique, easy alternatives:
- Use the comic pages from the Sunday newspaper in place of purchased gift wrap.
- Hit up your local newspaper office for their discarded end rolls. Each print run requires a certain amount of paper. It comes on a roll, and when the amount remaining is too small to complete the job, the technicians remove the roll and toss it. There is still lots of paper left, just not as much as they need. The newspaper either gives away these remnants, or sells them for a few dollars. They are just plain off-white paper. We’ve had a roll for years; we use it for science and art projects all the time. I may never run out! You can wrap the gift and let your kids decorate it for an extra-special personal touch.
- Smaller grocers or natural food stores still offer the choice of paper or plastic bags at check-out, and those brown paper grocery bags are a great option for gifts. Turn the bag inside out and use the plain side for wrapping paper. For a really rustic feel, tie the gift with simple twine. For extra decoration, add hand-drawn holiday designs or a sprig of holly tied into the bow.
- Challenge your family by making up a quick word search or a maze to be solved before the gift is opened.
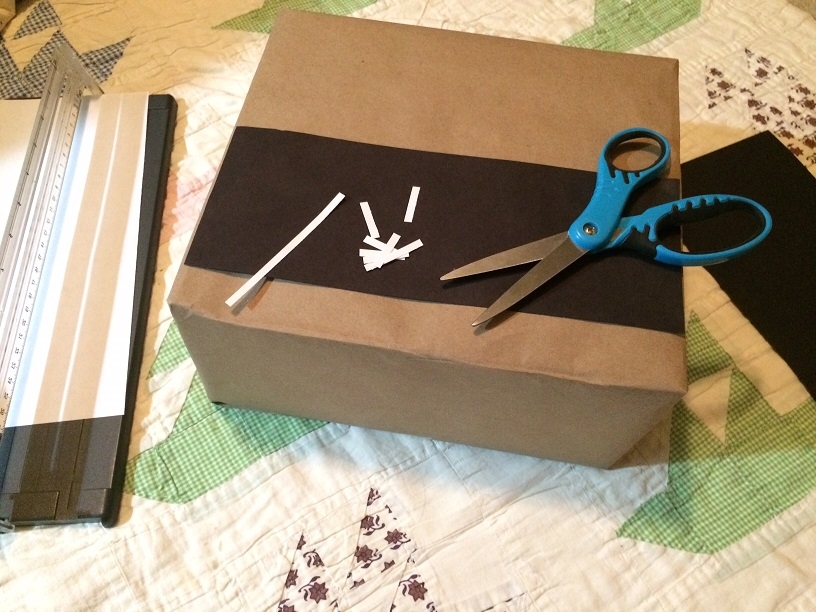
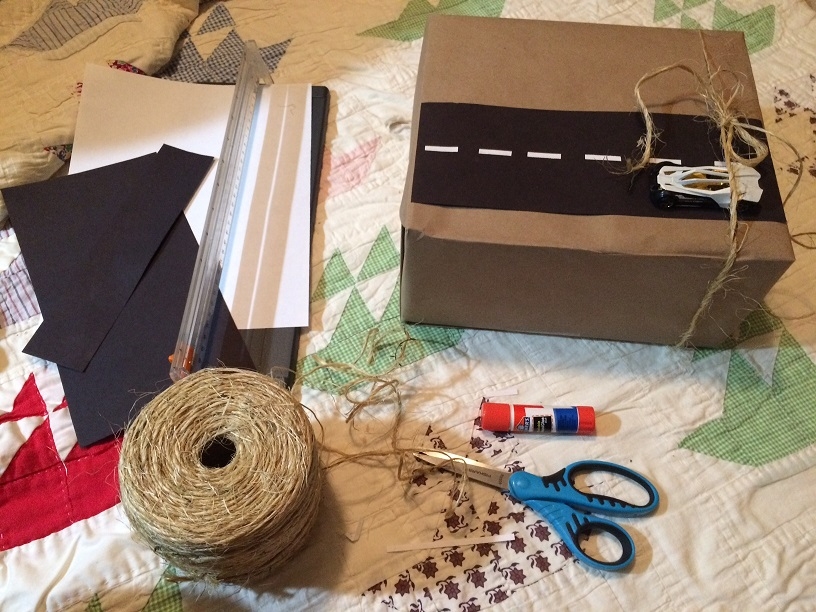
- Delight young ones with cute additions to their present: Cut out a little road or racetrack from black construction paper, glue it on top of the gift, and attach a toy car or two.
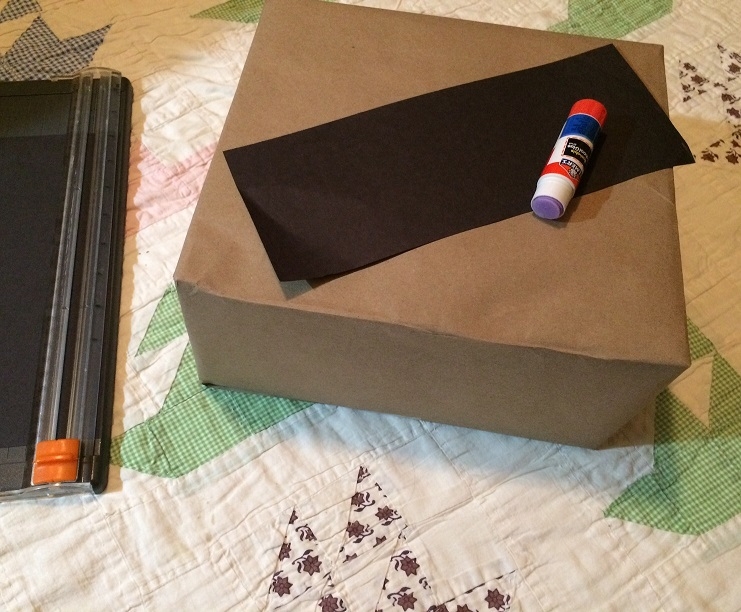
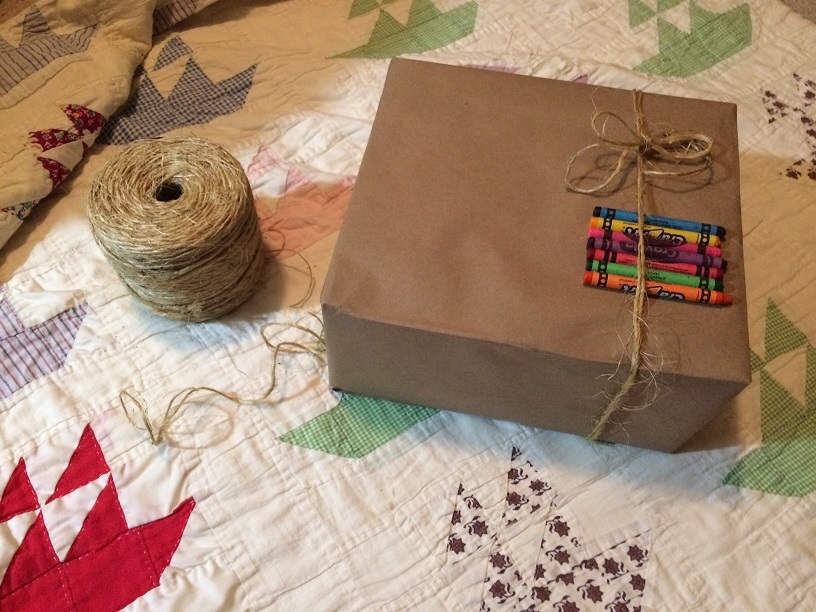
 Attach some crayons, colored pencils, or markers on top in lieu of a bow so the recipient can doodle on it during the days leading up to Christmas.
  Or make handmade snowflakes—maybe even these snowflake ballerinas—in place of a regular bow.
Naturally, the gift that’s inside—and the care you took choosing it—is the most important part. But making the outside fun and appealing adds so much charm, and can really spark anticipation. Plus, your loved ones will feel extra-special when they see the time and creativity you’ve obviously invested in wrapping their gifts.

Such fun ideas! Love, love, the race track idea and adding the crayons is so cute!
Thank you Laura.
I wrapped one with crayons for my 5 year old and my 12.5 year old requested one as well! Haha