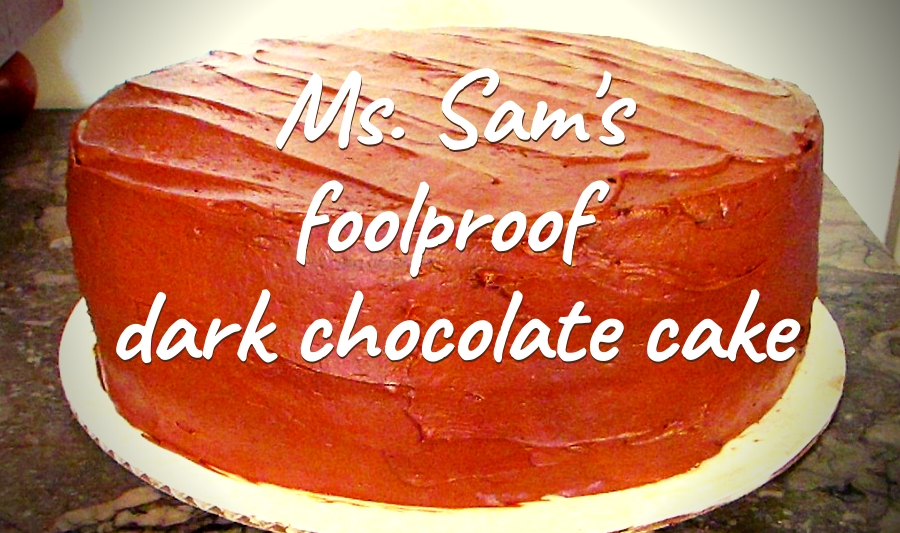
Looking for a decadent Mother’s Day treat that won’t require a special shopping run for a bunch of exotic ingredients?
We’ve got you covered! For today’s #TBT, we’re re-sharing this incredible homemade chocolate cake …
this one is Ms. Sam’s fall-back recipe, so you know it’s going to be scrumptious! Happy Mother’s Day, mamas!
“Let’s face it, a nice creamy chocolate cake does a lot for a lot of people; it does for me.”
Audrey Hepburn
Did you know that this Sunday is Mother’s Day? (Okay, you probably did.) But what better way to enjoy it than with cake? After all, cakes are kind of a big deal. What is most commonly presented to celebrate a birthday? What is served at a wedding, and first tasted by the bride and groom? What is put out as a gesture of congratulations at baby showers, graduations, and retirements?
You bet … it’s that awesome thing we call cake.
But here’s the thing: not all cake is awesome. I hesitate before ever sampling a store-bought piece because I’ve learned to expect disappointment. Cakes are often dry, tough, or flavorless.
Cake can be a beautiful thing, and a simple delight to both make and eat—and I’m not referring to a confection mixed from a box. We’re talking a cake baked entirely from scratch, my friend, and I’m going to tell you how to do it. With any luck, you’ll even enjoy it!
This recipe was one of the very first cakes I ever made. I discovered it in a tiny pamphlet of recipes compiled by Hershey’s cocoa, and picked it solely based on the ease of the directions. There was no sifting, no alternating of wet and dry, no hard parts at all. When I am pressed for time, or I just need to eat a really moist, darkly chocolate cake right now—which happens a lot more than you might believe—this classic recipe remains my fall-back-on favorite.
Be warned, this cake is not going to be a mile high tower of impressiveness. I’m starting you on a no-fail recipe and the method that is used doesn’t rise extra high. But remember all those things that can be disappointing about cake—dryness, toughness, lack of flavor? This little gem laughs at such things. Have you gathered all your cake-loving courage? Here we go…
Black Magic Cake
Heat oven to 350° F.
Set out one stick (8 Tbsp.) of butter to soften for your frosting.
Grease the cake pan(s). This is a very important step. Without it, your cake will cling to the pan like a limpet. Take a napkin with a small amount of shortening or lard and rub a thin layer all over the bottom and sides of the pans. I don’t recommend butter because I think it causes the sides to brown too much.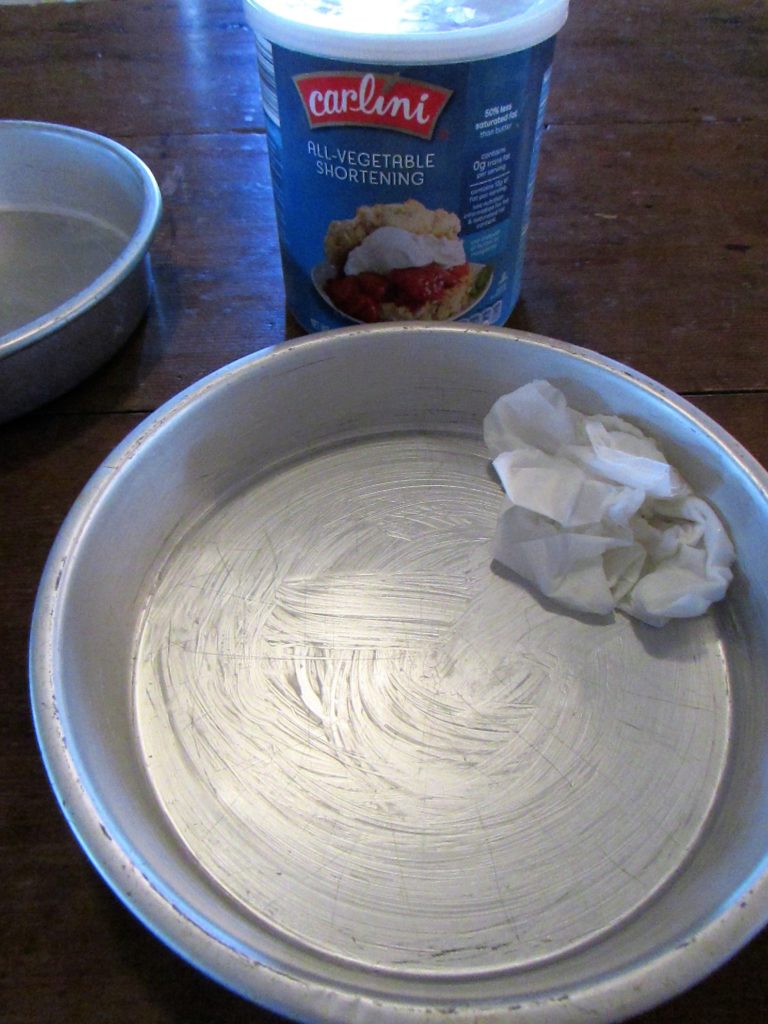
Sprinkle about a tablespoon of flour into each pan, then turn them so that the all the shortening is covered in flour. Tap out the excess flour.
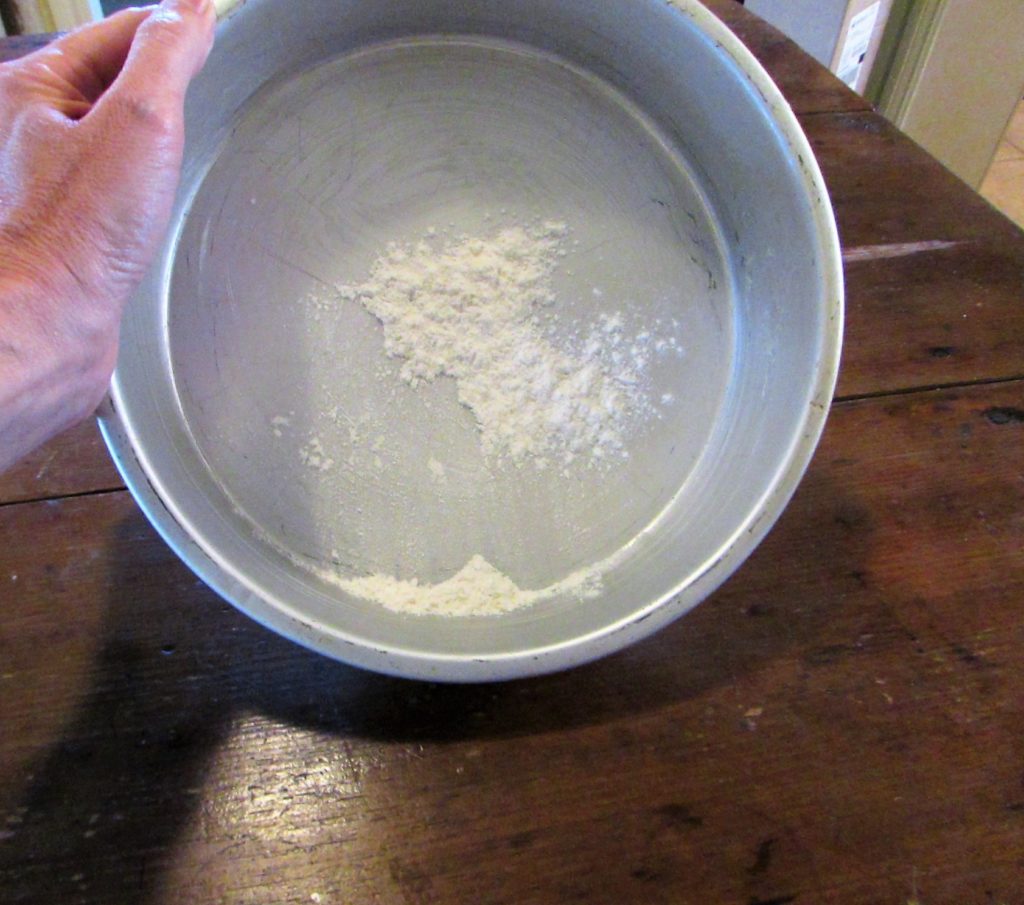
(You can also buy a spray that has both flour and oil in it.)
Cake Ingredients:
- 1 ¾ cup unsifted all-purpose flour
- 2 cups sugar
- ¾ cup cocoa powder
- 2 tsp. baking soda
- 1 tsp. baking powder
- 1 tsp. salt
- 2 eggs
- 1 cup strong black coffee (I usually have this left in the pot from morning. Otherwise, stir 3 tsp. instant coffee into a cup of hot water.)
- 1 cup buttermilk or sour milk (to make soured milk, use 1 Tbsp. vinegar plus enough milk to equal 1 cup)
- ½ cup vegetable oil
- 1 tsp. vanilla extract
To make:
Whisk together all the dry ingredients in a large mixing bowl. Now add all the rest. Beat with an electric mixer on medium speed for 2 minutes. (Or you can vigorously whisk the batter for the same amount of time, and never have to worry that you will have flappy “bingo wings” on your upper arms.)
The batter will be so thin and runny that you might think you did something wrong, but you didn’t. You’re doing great. All that coffee and buttermilk creates a thin batter, but those ingredients also make the cake moist, and the acids in them actually help it set up firmly during baking. 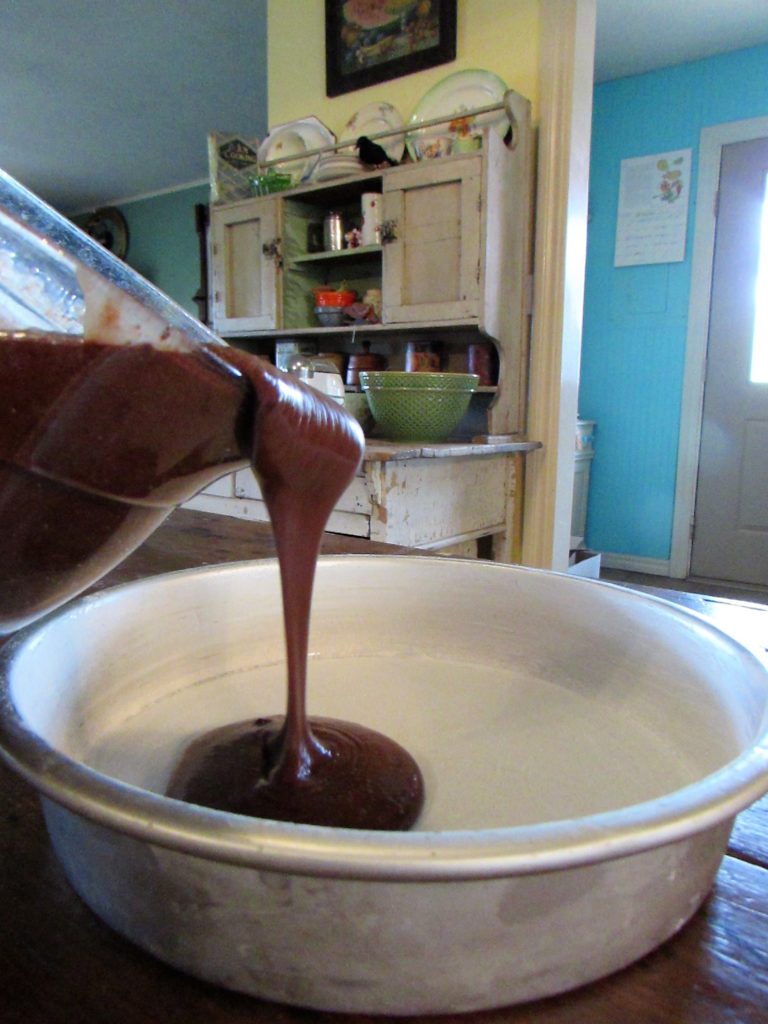 Pour the batter as evenly as possible into two 9″ round pans. If you don’t have these pans I encourage you to beg, borrow, or … well, I sure hope you can find some. The thing that sets a simple scratch cake up on a pedestal is the loveliness of the layers. If you aren’t able to use round cake pans, you can pour the batter into a greased 9″x13″ pan. The cake will be just as dark and moist either way.
Place into your preheated 350° F oven.
Here is where I want to give you some actual instruction for baking cake. If I cooked any of the recipes I make for the full bake time specified in the recipe, I would have some very crusty, dry cakes. When baking, always err on the side of a shorter cooking time. For 2 round cake pans, I will cook them for 12 minutes. Then I turn each pan a half turn (meaning I turn the front of the pan around to the back). I have never encountered an oven, no matter how new or expensive, that didn’t bake a little hotter on one side. Rotating the cakes makes them rise and bake more evenly. Once you’ve rotated both cakes, set your timer for 12 more minutes. When that time is up, gently touch the center of a layer. If it’s done, the cake should spring back up. If it remains depressed, it is still under-baked. In that case, give it another 2 minutes and recheck.
When you think both cakes are done, poke each of them in the center with a toothpick or cake tester. Be sure to go all the way to the bottom of the pan. If it comes out with wet batter on it, cook the cake another 2 minutes. It is perfect when the pick comes out with moist, sticky crumbs clinging to it. I know all of this sounds like a lot of work, but assembling the cake took no time at all. It is the baking process that determines how good the finished cake will be. Summon your patience; this will be worth it!
Finally the cakes are cooked. But why are they so ugly?! Never fear: this is not a beauty contest. No matter what the baked cake looks like, it’s the taste that matters. I have been making cakes for years and I promise, when you frost these, they will be divine. 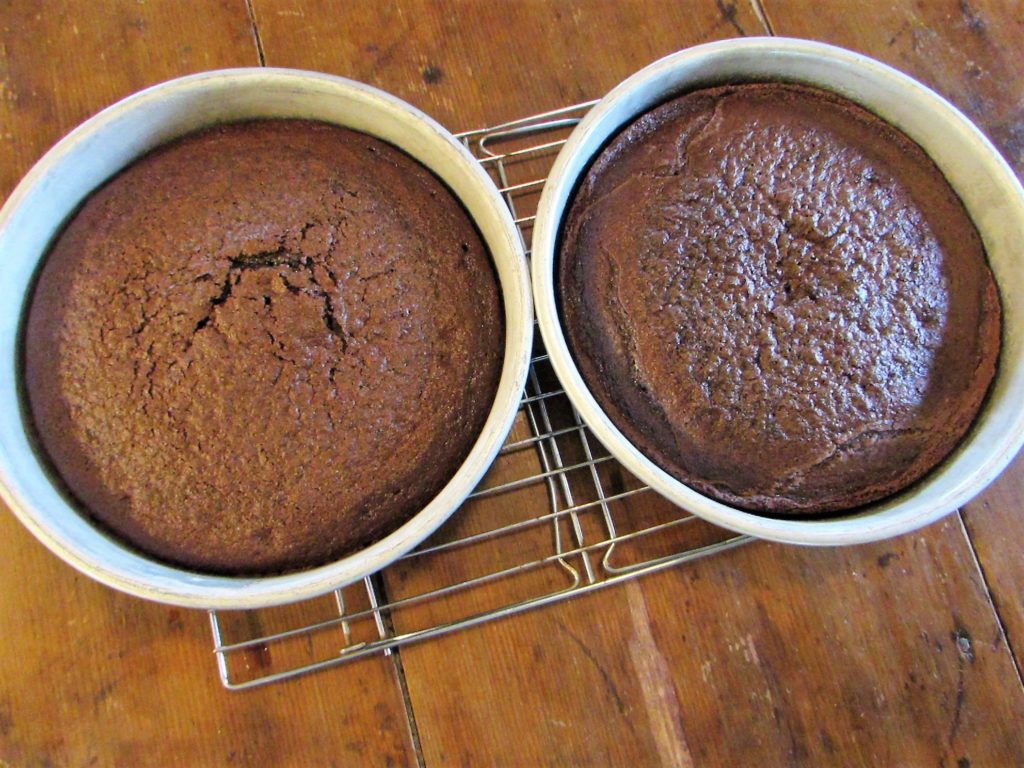 Remove the pans from the oven, and let them cool for 10 minutes. This allows the cake to shrink a bit from the sides and firm up. Lay a cooling rack over the top of the cake and invert it. Carefully remove the pan. Let the cakes cool until they are no longer even warm to the touch. If you frost a warm cake it will all slump off into a mess around the edges.
Now … on to the frosting. Please don’t even think of putting the canned kind on your luscious baked-from-scratch chocolate cake!
Simple Chocolate Frosting
- 8 Tbsp. (one stick) butter, softened
- 3 c. powdered sugar
- 3/4 c. cocoa powder
- 1 tsp. vanilla extract
- 4 Tbsp. milk + more as needed
Place your one stick of softened butter in a large bowl. Add 3 cups of powdered sugar (sifting the sugar first if it’s lumpy). Add ¾ cup of cocoa powder and one teaspoon of vanilla. Pour in 4 Tbsp. of milk. Beat these ingredients together with a mixer on med-low speed.
Add more milk by the teaspoon to create the desired consistency. You want the frosting smooth and creamy, but also stiff enough to stay on the sides of the cake. See how the frosting in the photo below holds the swirl marks made by the beaters? This means it will hold any swirls you choose to put on your cake. Again, don’t worry! If the frosting is too thin and won’t stay on the cake, add a bit more powdered sugar till it stiffens. If it’s too stiff to spread without tearing the cake, add more milk by the teaspoon.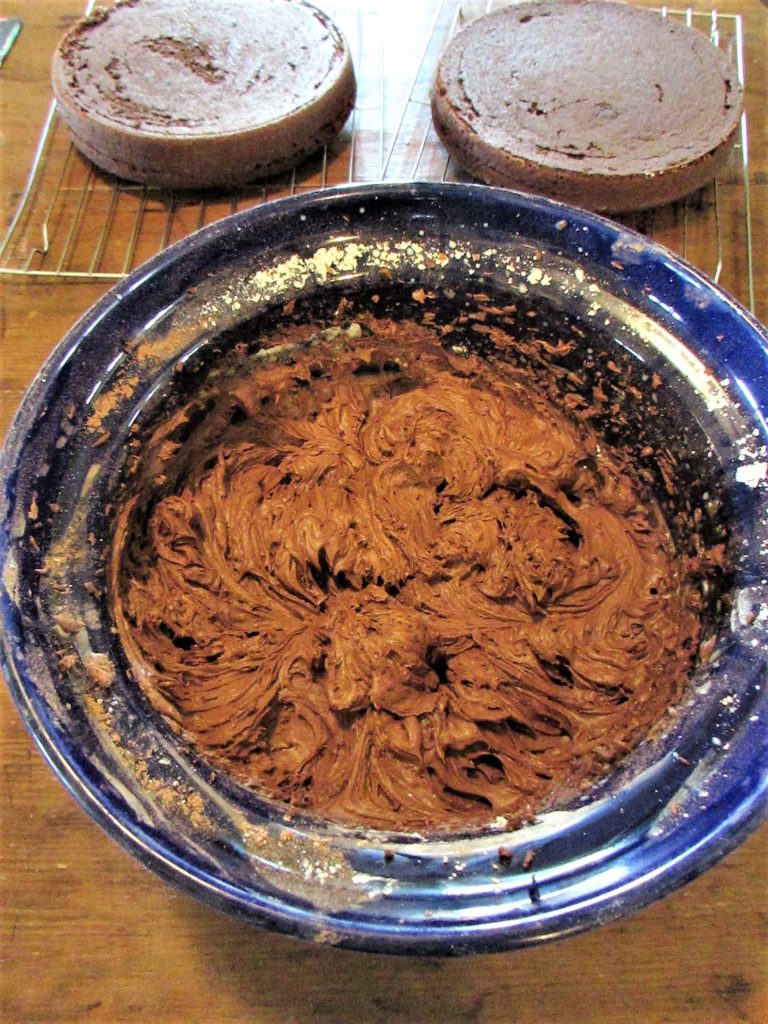
Once you’ve gotten the right consistency, it is time to frost. An offset spatula is easiest for this, but you can even use a butter knife. Using your spreader of choice, smooth a bit of frosting onto the plate or tray you’ll use for serving. Place one of the chocolate cake layers on top, and press gently. This “glues” the cake down and prevents it sliding off the serving plate.
Spoon about 1/3 of the frosting onto the top of the first cake layer and spread to edges. It’s okay if some bulges over the side. Place the second layer on top, trying to get it centered on the bottom layer. Spoon 1/3 frosting on top and smooth to the edges. 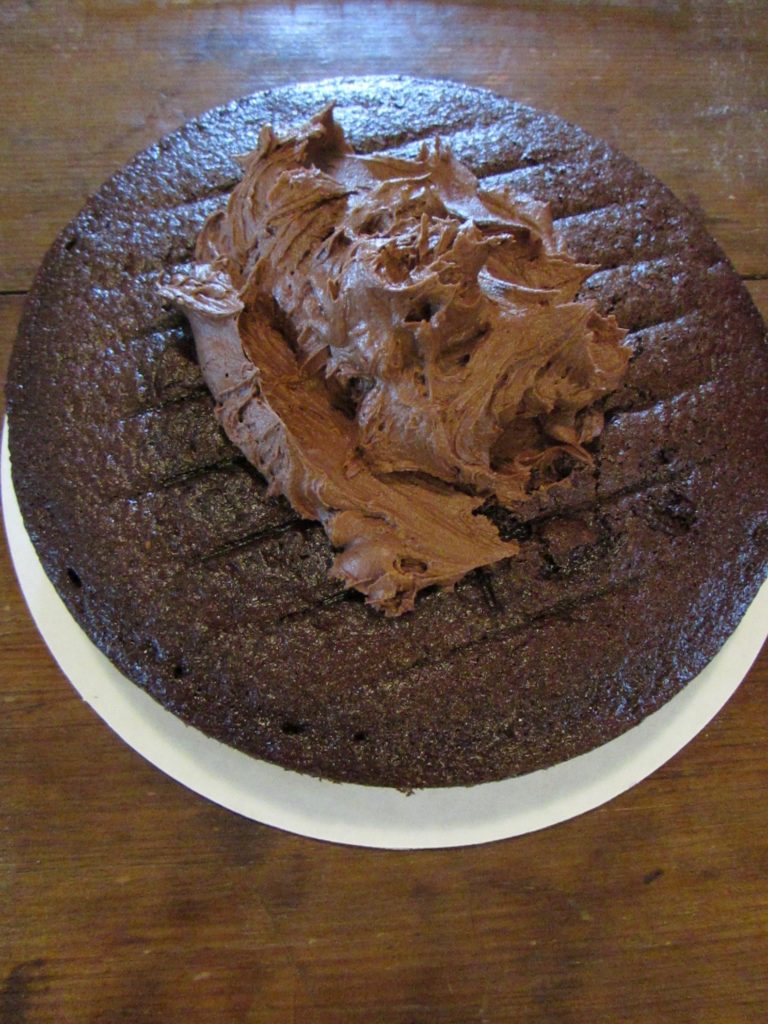 With the remaining frosting, cover the sides by getting an amount onto the spreader, placing it against the side of the cake, and gently smearing it on in a single direction, like you would butter bread. Continue around the sides.
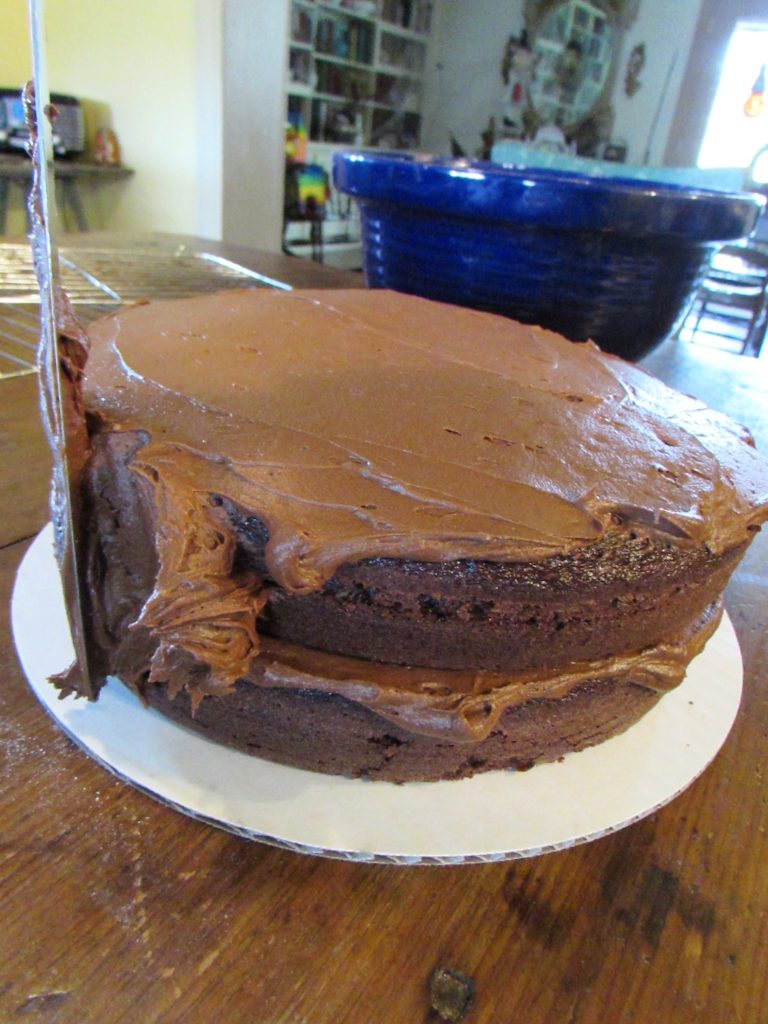
Don’t worry if the sides and top are not smooth, or something looks imperfect. This is a rustic cake, completely made from scratch—it should look homemade, not cranked out of a factory!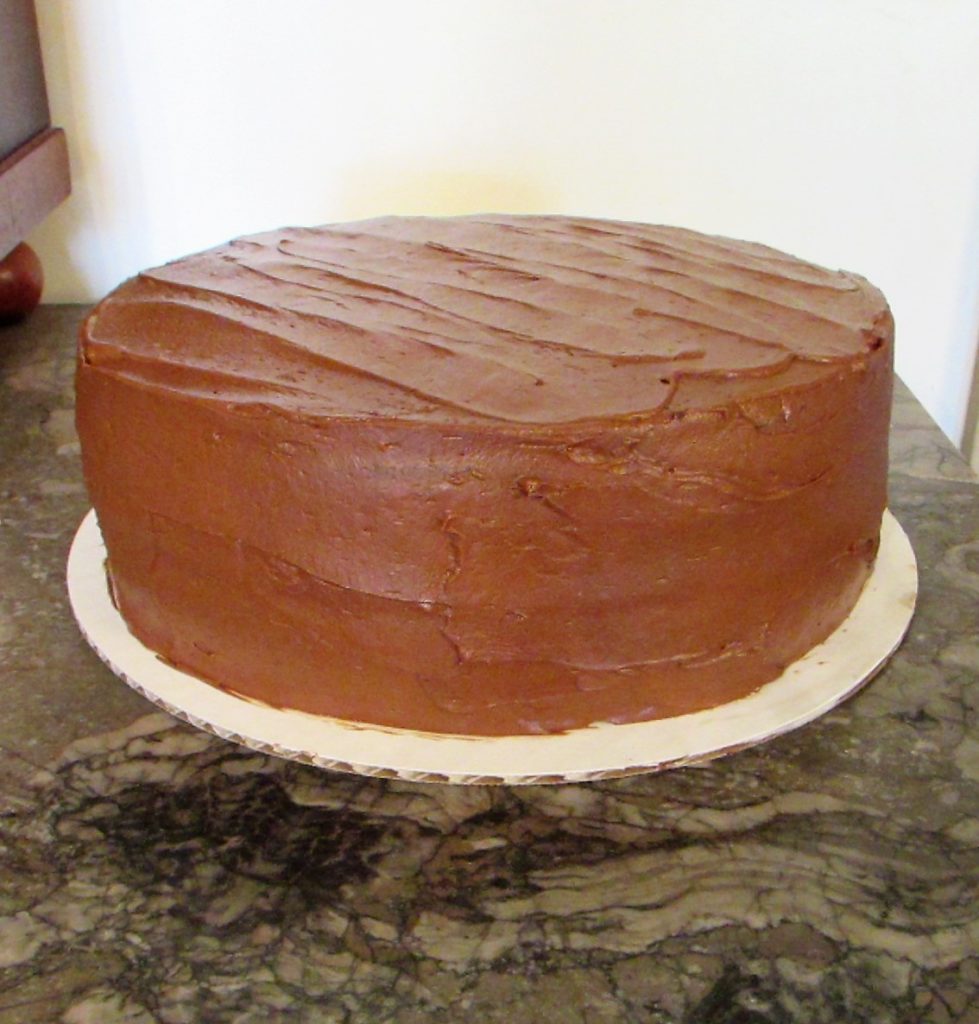
Stand back and look at your cake. It’s a masterpiece! Just the smell alone will bring children (and adults!) rushing in droves.
Remember what Audrey Hepburn said? I promise, folks, this is precisely the sort of “creamy chocolate cake” she was talking about. So why not celebrate Mother’s Day by making this recipe, and see if it does lots for the people in your life?
Let them eat cake!
Download the Black Magic Cake & Simple Chocolate Frosting recipe printable .
