Homeschooling through the colder months is difficult at best. In January, you come off the holiday high, only to realize you still have half the year of school to get done. For several months afterward, you’re cooped up because it’s too cold to want to do much outside. Indoor breaks just aren’t as productive as burning off that extra energy in the great outdoors.
We’ve moved into March and can see a light at the end of the tunnel. But with more cold, rainy days ahead, homeschooling just needs a boost sometimes … and a science experiment is often my go-to solution.
Today’s experiment comes to you courtesy of our blog sponsor, A Reason For, whose science curriculum features weekly hands-on experiments with scripture values. In Lesson 35 of A Reason For Science® Level H, we find an experiment with electricity called “Circuit Tester.” In it, you learn to build your own circuit with materials you may just have lying about your house already. Once you’ve built your tester, you can walk around your house testing different objects to find out whether or not they conduct electricity.
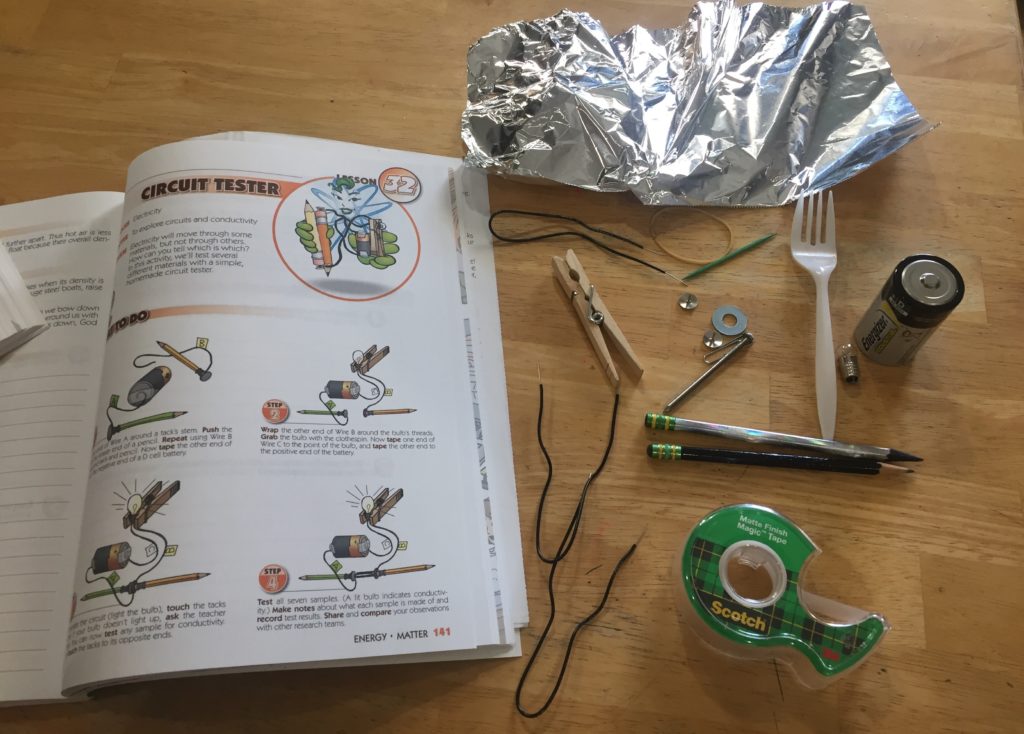
Materials you will need include:
- 3 pieces of insulated wire
- 2 metal tacks
- a D cell battery
- a small bulb (like you’d use in a flashlight)
- clothespin
- several testing material samples (Some ideas from the book are: a nail, paperclip, plastic fork, rubberband, toothpick, and a washer. If you have the Materials Kit that goes along with the curriculum, everything mentioned above is already included. A few more ideas are aluminum foil, candy, wadded-up paper, or even your own tongue … but more on that later.)
- 2 pencils
- tape (the tougher the better — we ended up with Gorilla tape)

Once you’ve gathered your materials, briefly go over definitions of the following terms with your children: electricity, conductors, insulators.
Explain to them the difference between open vs. closed circuits, and make sure they understand how electrons move through a conductor. (All of these are explained in the science text; to try this experiment at home without the curriculum, you can click the links above or find the definitions with a few Google searches of your own.)
Once everyone has a basic idea of what you’ll be studying, you can move on to the fun part — the experiment itself.
- Take your insulated wires and strip off the last inch of insulation on both ends of all three wires.
- Wrap one end around a tack, then push it into the eraser end of a pencil. Repeat this with the second wire, tack, and pencil. You will be pressing these tack ends together to close your circuit.
- Take the free end from the first pencil/wire combo, and tape the wire onto the negative end of your battery.

- With the second pencil/wire combo, wrap the free wire end around the base of your bulb. Now take your clothespin and clamp it over the wire around the bulb to hold it in place.
- Take your last wire and attach one end to the positive end of your battery, and the other end tape securely to the bottom tip of the bulb. This is where our Gorilla tape came in handy. This wire likes to slip off!
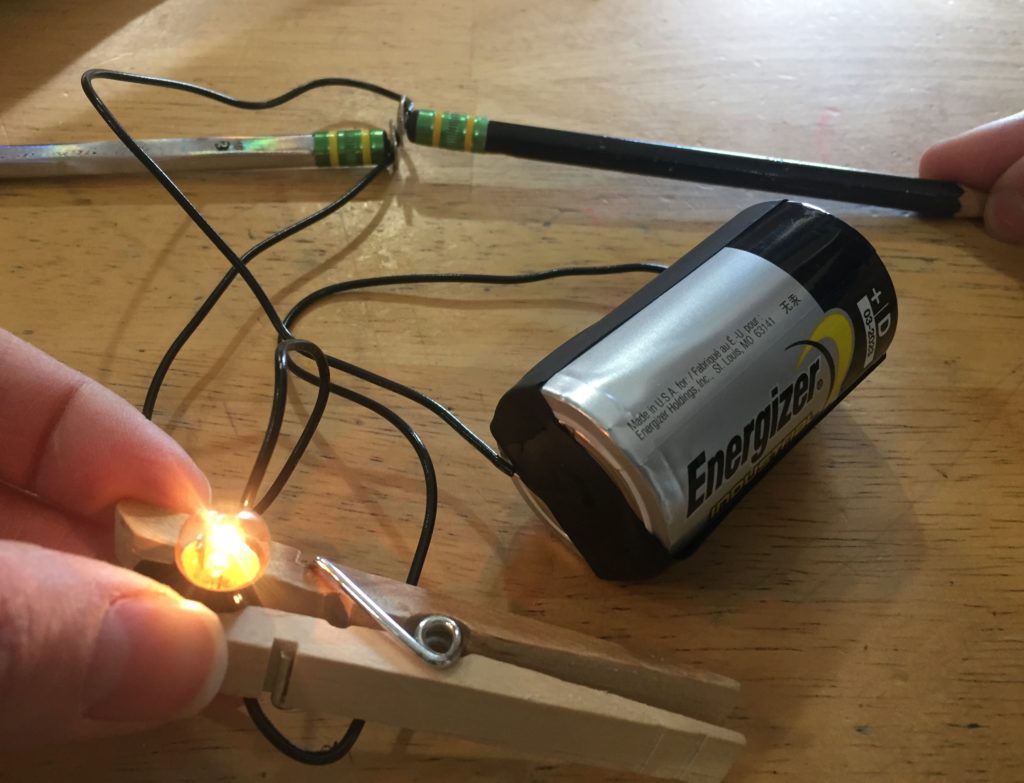
- When the two tacks on the end of your pencils are pressed together, this should close your circuit and the bulb should light up. If it doesn’t, check that your wires didn’t slip off their posts and confirm you have a working bulb and battery.

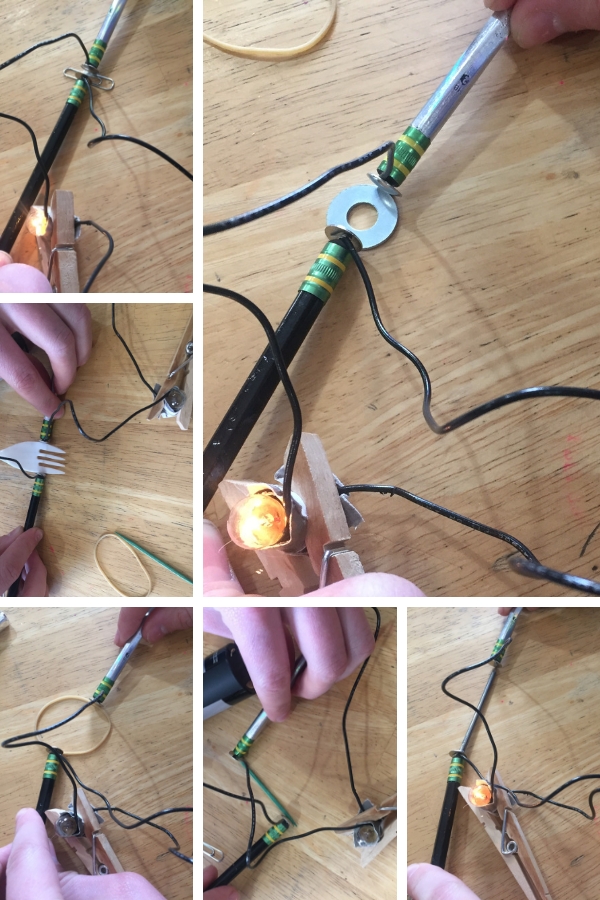
- Once you have checked the bulb and everything is working properly, you can now test different items made from various materials for conductivity. We used an assortment of metal, plastic, rubber, and wood.

Let your kids’ creativity run and try anything they’re curious about.
Have them first make a hypothesis about which items they think will conduct, and which won’t. Then, simply touch both tacks to the two ends of your item, and if your bulb lights up, you know it conducts electricity. Be sure and have them jot down their results and the conclusions they make in the end.
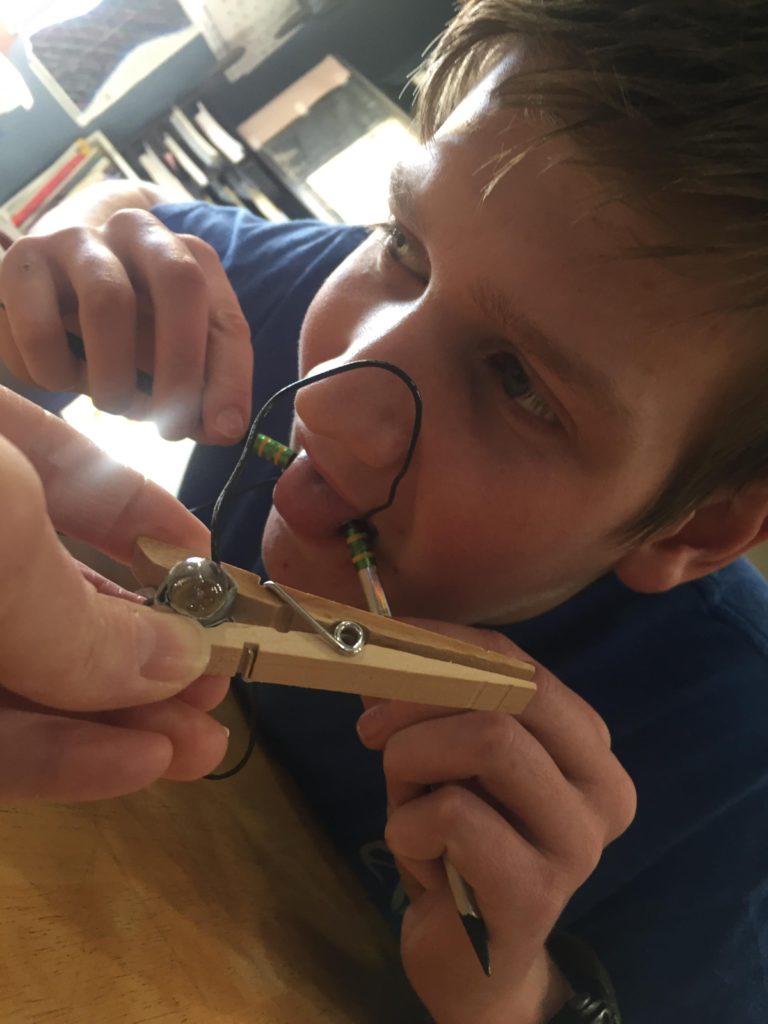
Please don’t think me irresponsible — I promise I specified we were only trying this because it was such low voltage! — but I threw out the suggestion that we test it on our tongues. My 16-year-old volunteered to be our guinea pig, and nearly fell off of his chair when he felt the tingle in his tongue. It doesn’t hurt (truly, you can barely feel it) but it’s definitely there and can startle you! Being a teenager, of course he laughed and ended up doing it multiple times.
Please take a moment to discuss the real dangers of electricity, as well. Maybe talk about electrical storms and the dangers of being outside during them. Explain how the current that runs through your house is much stronger than that of the battery you used for this experiment. I suggest this online interactive safety lesson teaching kids the dangers of electricity.
One of my very favorite parts of using this curriculum is that, as always, A Reason For Science® wrapped up the lesson with an analogy from the scriptures, using this opportunity to discuss with students how we need daily connection to God. We may need to discard certain things in our lives because they act like the insulators in the experiment, preventing His light from shining through us, and effectively inhibiting our ability to bring God glory in our day-to-day activities. In addition to the hands-on learning my kids enjoy so much, it thrills this mama’s heart to have a conversation about how we can be “conductors” for Christ’s love.
 Want to learn more about A Reason For Science®?
Visit the A Reason For website!
