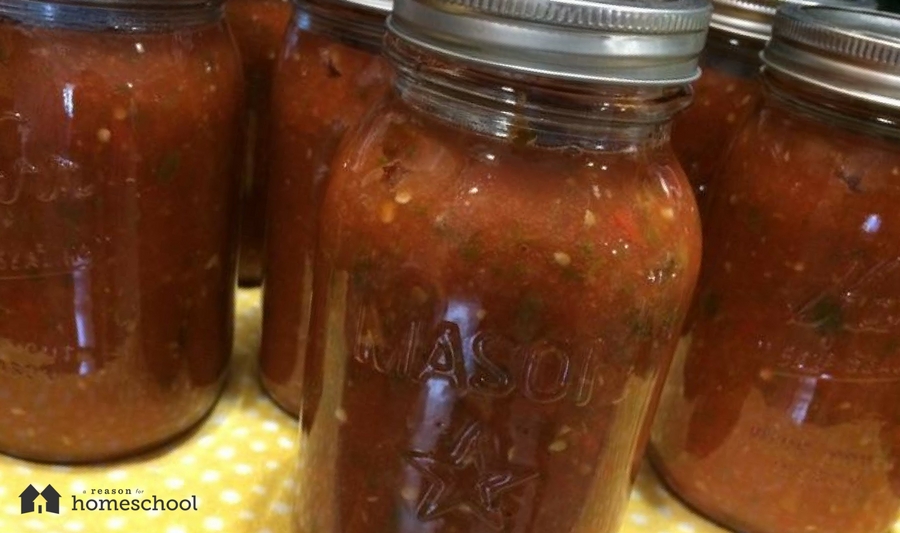
So I might be a bit of a salsa snob.
It’s terribly disheartening to sit down with a new jar of salsa, anticipating its deliciousness, only to get a mouthful of tomato sauce! If I’m going to have a snack, it had better be worth the calories … and for too long, I searched for my salsa fix only to end up with one disappointment after another.
Finally, I had enough and decided there was only one solution: I needed to come up with a recipe I loved, to make at home and can myself.
A friend on Facebook just happened to post a picture of some salsa she canned, so I asked for the recipe. I made a few changes to tweak it to my tastes, but I’m thankful to Amy for my start.
If you’ve never done any canning, I suggest you get the Ball Blue Book of Preserving. I wouldn’t be without a copy. It lists all of the basic principles and safety measures you need to follow, as well as recipes and ideas. Canning isn’t hard, but it can be dangerous if not respected for what it is. (Just ask my husband, who once had a pressure cooker blow up on him.) I will mention a few basic things here, but I can’t begin to list them all, so the book is well worth the investment if you’re seriously considering canning!
Supplies
Salsa only needs a water bath, so no pressure-cooking here today. They do make special water-bath canners, but if space (or your budget) is tight, a pressure canner works just as well. You simply don’t screw the lid on tightly or add the pressure cap when doing a water bath.
I have a special funnel and a canning jar lifter, but these tools aren’t absolutely necessary.
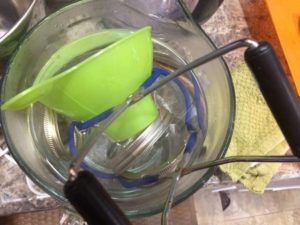
When selecting your jars, make sure you check them for cracks and run your finger around the top lip to be sure there are no chips. The last thing you want is to finish the canning process, only to have jars that don’t seal! Once I’ve chosen jars, I like to send them through the dishwasher. That way, I know they’re sterile and they are already heated—adding cold jars to the boiling water in your canner will shatter them instantly.
Fill your canner with hot water, and begin to bring it to a boil while preparing the salsa. You’ll want the water to be two inches above your jars when you begin heating them. Filling the canner a little over half full is usually adequate; your jars will raise the water the rest of the way.
Fill your tea kettle with water, and bring it to a boil. You will need to cover your jar caps and bands/rings with boiling water. Not only does this sterilize your supplies, but the lids have a sealing compound that needs to be heated for at least ten minutes before canning, to achieve a good vacuum seal.
Now that you have everything prepared you are ready to start making your salsa.
Yield roughly 10 quarts, or 20 pints.
Ingredients
- 22 cups of chopped tomatoes, skins slipped (I bought 12 – 1lb. cartons of Roma tomatoes at a local store)
- 5 bell peppers, multi-colored
- 8 c. (about 4 lbs.) white or yellow onions, based on personal preference. (I added one red one.)
- 12 Serrano peppers (This amount gives the salsa good medium heat, perhaps bordering hot—so adjust to your tastes. I like a good bite, but I also have children and don’t want it too hot for them. Serrano is my preference, to ensure some heat. You could use 2 lbs. of jalapeno peppers, but I find their heat is too inconsistent.)
- ½ c. apple cider vinegar
- ¼ c. sugar
- 1 whole head of garlic, cloves peeled
- 2-3 c. fresh cilantro (I used the top half, leafy part, of two bunches of cilantro; adjust this to reflect your personal preference.)
- 1/3 c. salt
- 12oz. tomato paste
- Juice from 3 limes
Directions
Bring a pan of water to a boil. Place the tomatoes in your boiling water until the skin splits.
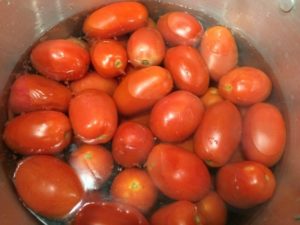 Core your tomatoes and slip off the skins under cold water. Lightly blend them for a chunkier salsa, longer for a thinner consistency.
Use a food processor to chop up the remaining veggies.
Place the veggies and tomato puree into a large stock-pot, add the remaining ingredients and bring to a boil.
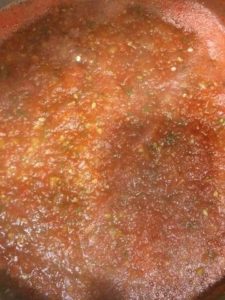
Remove from heat and ladle into jars, leaving about an inch of head space (empty space at the top of the jar).
Wipe the top rim of the jar with a clean cloth to ensure nothing spilled that might prevent sealing.
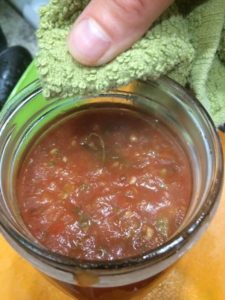
Add your jar lid and ring, screwing on tightly. If it’s too loose, your salsa will boil out; again, this will prevent sealing. I usually screw each ring down tightly, then tighten again before putting the jars into the water.
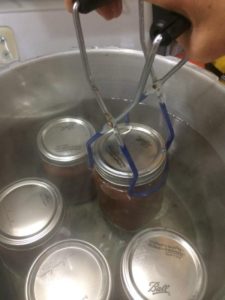
Using the jar lifter, place your jars into the boiling water in your canner. If you don’t have enough jars of salsa to fill the whole canner, use a jar filled with water to hold the empty place; you don’t want your salsa falling over while the water boils.
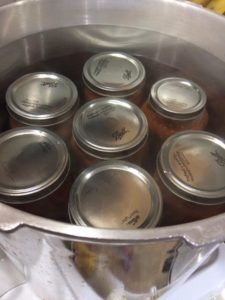
Bring the water to a gentle rolling boil, keeping it steady for 20 minutes.
At the end of the 20 minutes, turn off the burner, then carefully lift out and place the jars on a towel on the counter.
As the jars cool, you will hear that beautiful satisfying pop, validating all that work as they seal one by one. If any of your jars don’t seal, stash them in the refrigerator and use the salsa as soon as possible. You can also remove the lids and attempt to re-can the unsealed jars.
Once jars are sealed, the rings should be removed before storage. (They may rust if left on.) Write the date on the lid, and store jars in a cool dry place. Your salsa will keep for at least a couple of years; of course, mine gets devoured or given away, and never lasts me more than six months.
For a bonus treat, here is a link to my favorite fresh salsa recipe. It tastes just like Chuy’s salsa to me.
I find it incredibly satisfying to have rows of home-canned food on the shelves—it’s such a domestic, comforting feeling. They make beautiful gifts as well, if you are willing to part with them. Happy canning!
