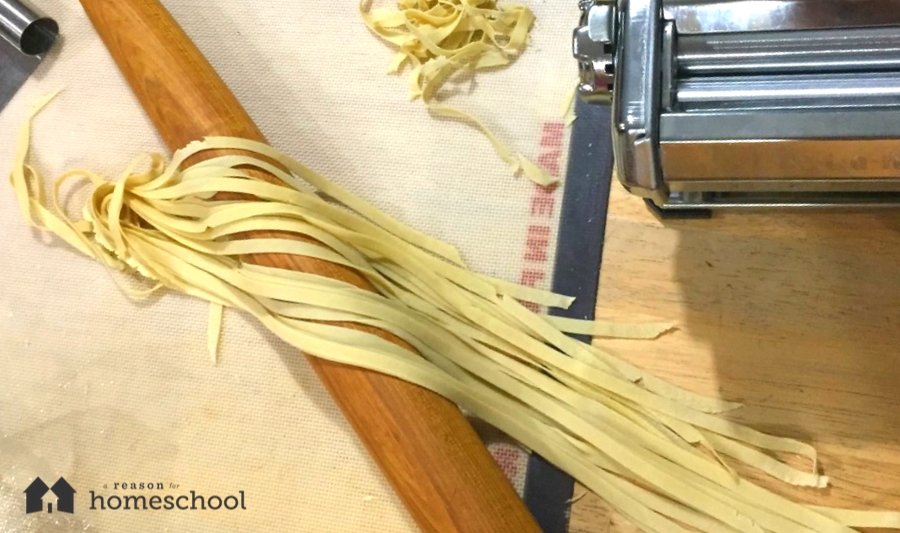
While most of us immediately think of Italy when we consider the origin of pasta, it’s possible it was first mentioned all the way back during the adventures of Marco Polo. Regardless of where the story of pasta began, though, it’s become a part of almost every culture today. It’s tweaked here and there, called by a different name, and used a little differently, but it’s basically the same idea: using a mixture of flour, eggs, oil, and water — basic staples in most diets.
Whether your weakness is fettuccine, macaroni, linguine, penne, spaghetti, or lasagna, most of us can agree noodles seem to pop up everywhere as an amazingly versatile dish … or perhaps a special comfort food you may try to avoid due to the bad rap pasta (and carbs in general) have recently gained.
Have you ever thought about trying to make your own pasta from scratch? Being so inexpensive and easily accessible, we usually don’t consider making it at home. Perhaps that’s because you’ve never had it fresh, though!
When I recently whipped up a batch in preparation for writing this blog post, I wanted to make sure I didn’t overlook anything. We all get busy, and it had been awhile since I had made pasta from scratch. I used unbleached white flour (that’s what I typically use). Most people have something similar on hand, and your typical all-purpose will work just fine.
If you have special dietary needs, you might try playing with almond flour or the like, and you may find you could bring back something that’s been on your naughty list! I haven’t ever tried to make it gluten free or reduce the carbohydrate content, but pasta-making is so simple that I have no doubt it’s quite possible to tweak the ingredients.
Ingredients: For a basic batch of pasta, you only need a handful of things you probably have sitting in your kitchen right now.
- 4 eggs at room temperature (you will use two whole eggs, plus two yolks)
- 2 cups of flour
- ½ t. of salt
- optional: 1/2-1 T. olive oil (makes a softer noodle; I didn’t use any oil in this batch)
First off, if you’re a baker, I want to warn you that perfect pasta dough will feel nothing like your typical bread dough. The texture of a ball of pasta dough will make you think you would be baking a brick should you toss it in the oven. While bread dough is soft and easily pliable, pasta dough is quite firm, especially in its initial pre-rested state.
Directions:
- To begin, prepare a flat space to work your pasta dough. I like to use a silicone mat on my kitchen table top, so it’s low enough to push my weight into my kneading. If you don’t have a silicone mat, any flat, floured space will work.
- Next, make a small mountain with your two cups of flour, then dig a wide well like a little nest in the center for the eggs.
- Sprinkle the salt onto your flour pile and dump your eggs in the middle, plus the olive oil (if you are using it.
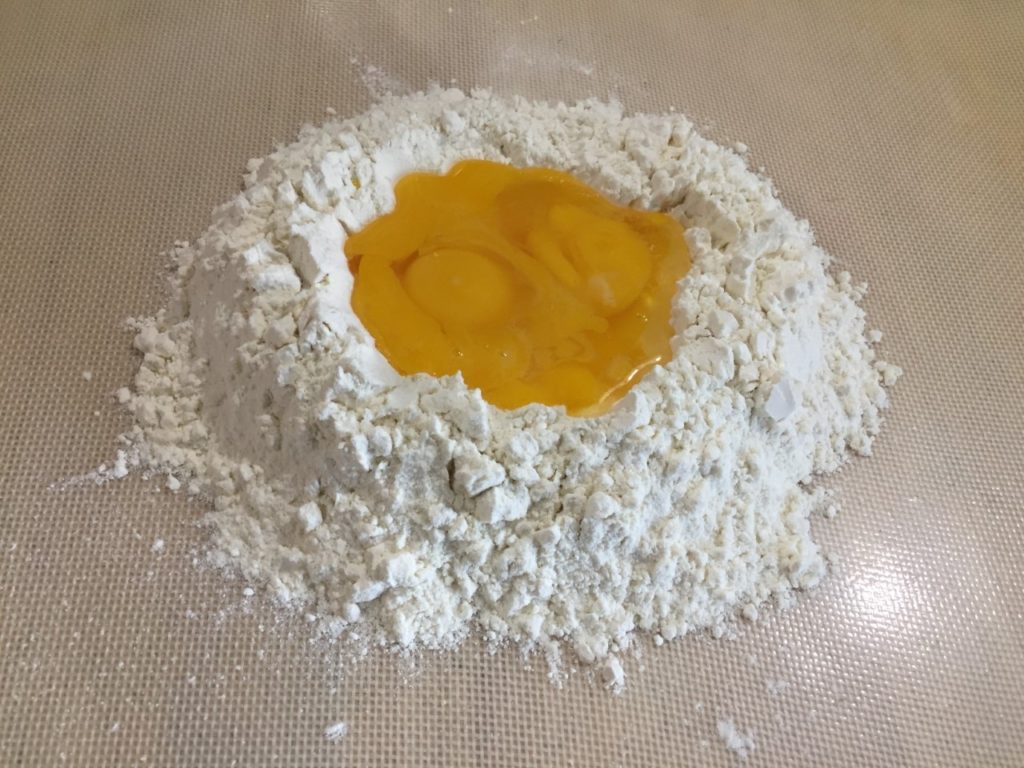 Give those a quick whisk with a fork. If you want to get fancy and add any herbs (fresh or dried) like parsley, basil, oregano, or even fresh finely chopped spinach, this is the time to sprinkle a bit in.
 - Now that you have all your ingredients in one place, use the fork you whisked your eggs with to start pulling in the flour around the inside edge of your “nest” and combining it with the egg mixture. Keep pulling it in until you’ve used up most, if not all, of it. (As with many recipes, this one doesn’t have perfect, exact measurements — temperature and humidity often like to join you in the kitchen, and your egg sizes will be larger or smaller, as well.) Eventually, you will need to use your fingers instead of the fork. Once you learn the technique and get a feel for it, you won’t even need to measure your flour. By now, you should start to see a ball of dough forming, and it will feel very dense and dry. That’s okay; it’s the way it should feel.
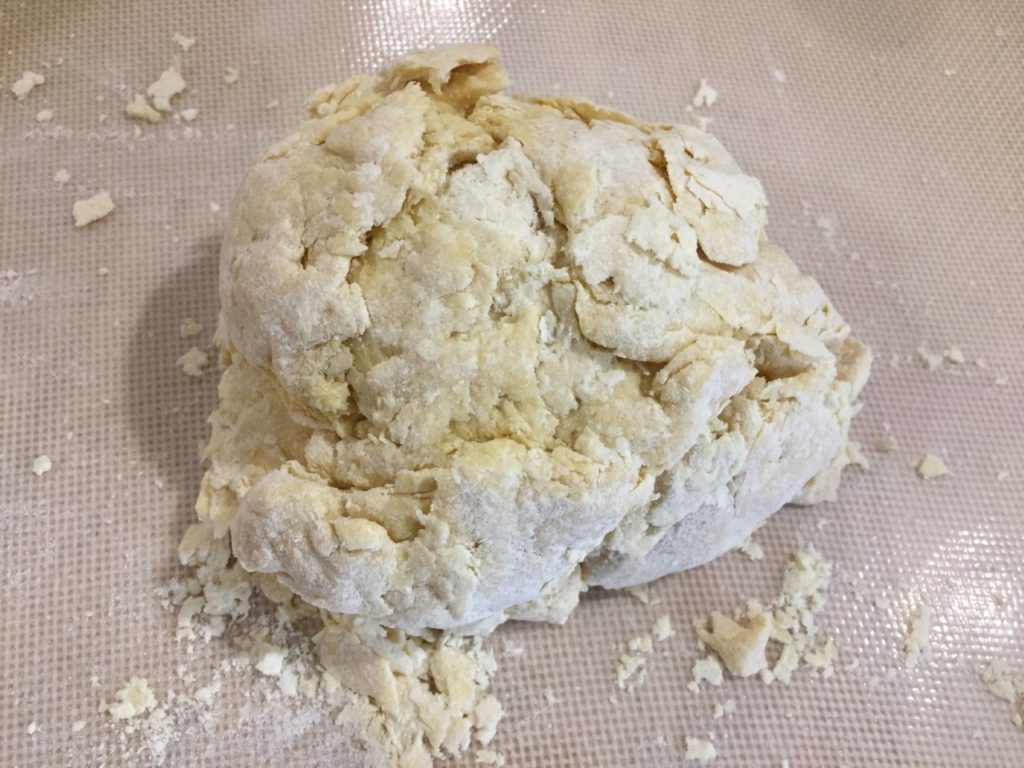
- Here comes the hardest part: begin to knead your dough. Fold it, press it down with the palm of your hand, turn it, and repeat. You should keep kneading for at least 10 minutes. If you’re trying to knead and it’s actually so dry it’s falling apart you might need to add a bit of water. I simply wet my hands and start working the dough again. If you’d rather, you could use a spray bottle to mist it lightly. Remember, this dough is very tough and thick, but it does need to be moist enough to hold together.
- When you’re done kneading, it should have a more dough-like look and you shouldn’t see the white of the flour.
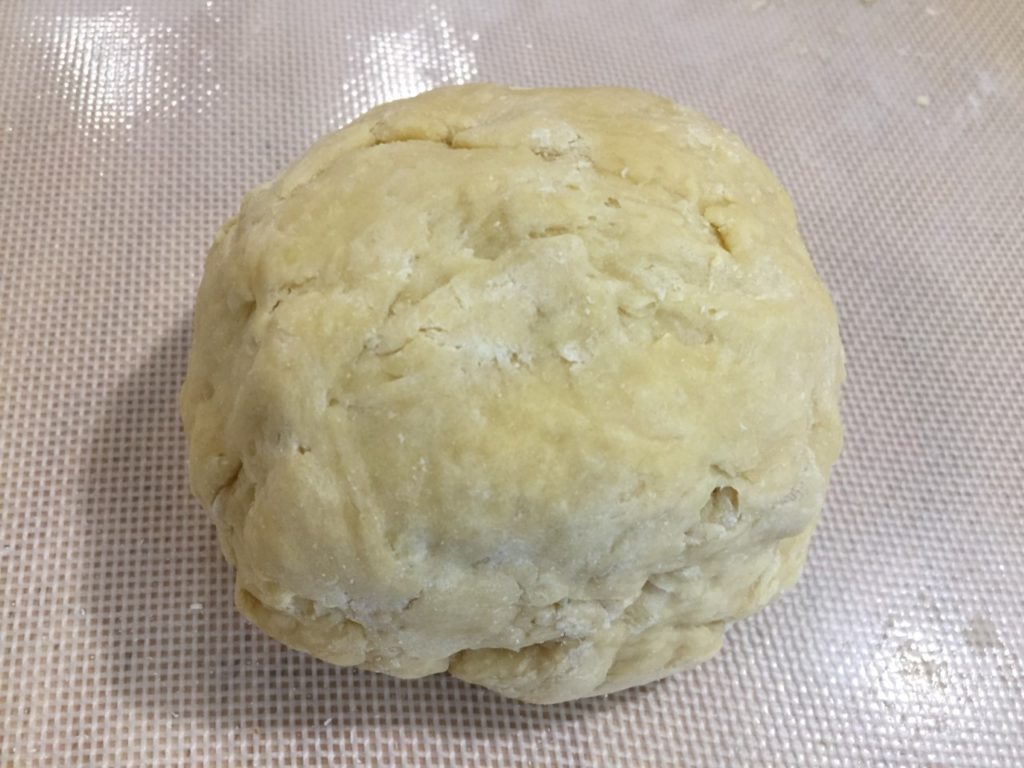 Wrap your dough in plastic wrap and let it rest on your counter for at least two hours. (Should you want to freeze it to use at a later date, you can do that at this point; it can be frozen for two to three weeks at this stage. Just seal it in a freezer bag and remove as much air as possible. When you’re ready to pull it back out, put it in the refrigerator until it’s completely thawed, then proceed to the next step.) The long (2+ hour) resting time is very important! It gives the gluten time to relax so that once-tough, elastic feeling will be much softer and more workable. If you tried to rolling the dough out before letting it rest, you would quickly give up!
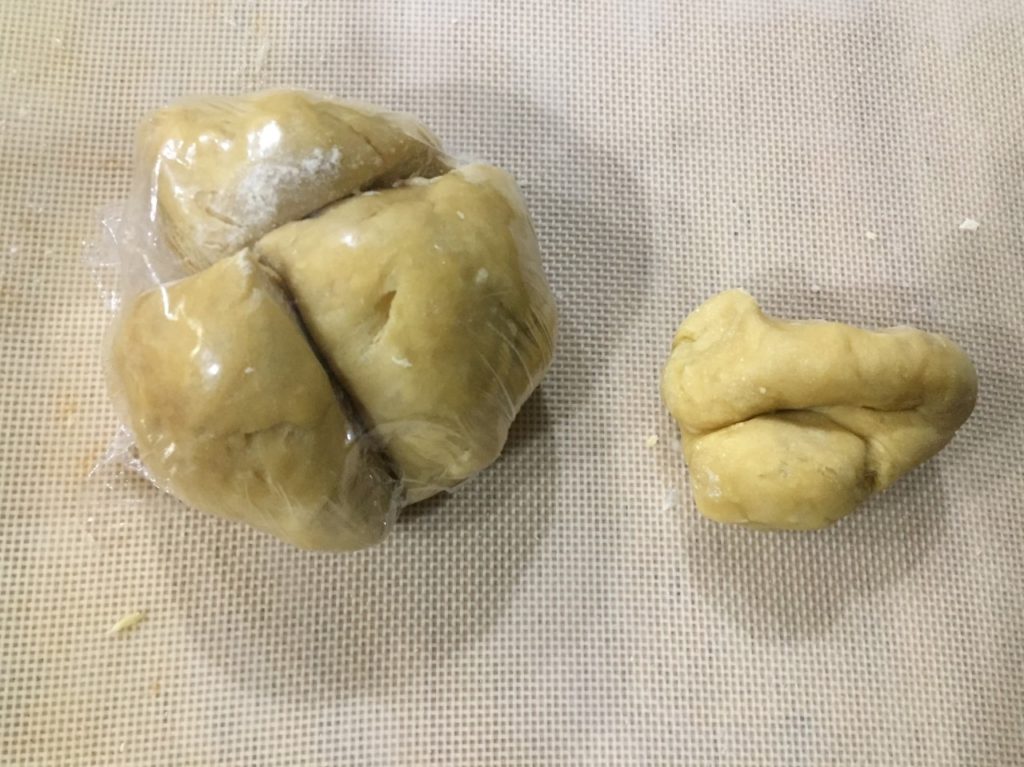
 - After the resting period, it still won’t feel like bread dough, but it should be noticeably softer now. Divide your dough into four equal pieces. Keep the others wrapped (so they don’t dry out) while you work with one piece at a time.
 You have two options at this point: you can roll it out by hand, or use a pasta machine. I started by hand, but ended up using my machine because it’s just so much easier … plus my seven-year-old loves cranking the handle. You need to roll out the dough, or feed it through your pasta machine — gradually adjusting the roller width to get it thinner and thinner — until it is thin enough to see your hand through it. Keep it sprinkled with flour as you work, to prevent it from getting sticky.
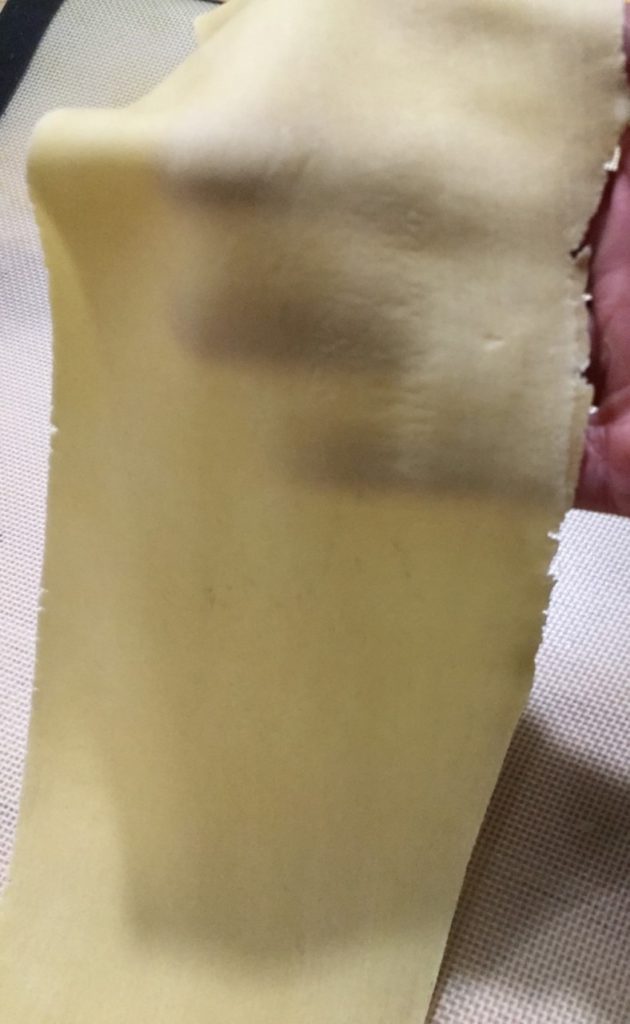
- If cutting by hand, fold your now thin, lightly dusted pasta sheet over itself several times and cut it into nice, long, even strips with a knife.
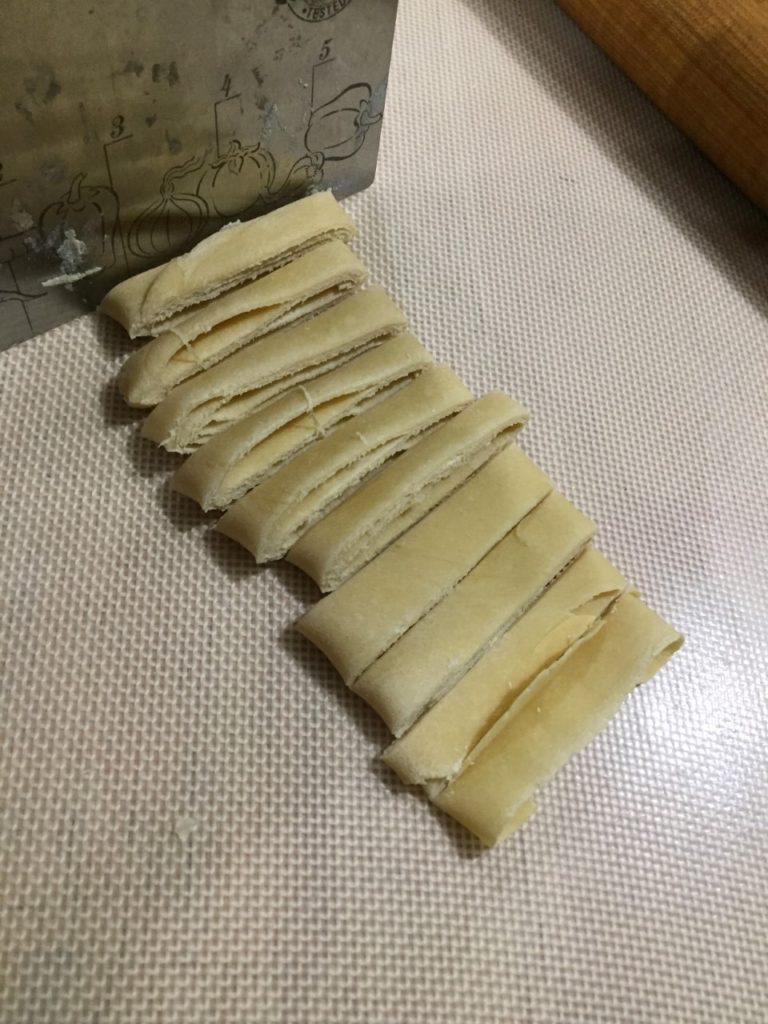 With a pasta machine, you can use the cutting attachment to make it to the size you are wanting, whether it be wide strips for lasagna or much smaller strips for something like fettuccine.
Here is another stopping point; if you want to freeze it at this stage you can. Uncooked pasta can be frozen for a couple of months. You also don’t need to thaw it before boiling, it if it’s already been rolled and cut to size; you just cook it a tad longer than you would the fresh pasta. As long as it’s still an uncooked dough, you can bend it into a bow, cut it into squares and fill it with your favorite ravioli filling then place another piece over the top and pinch the edges together, or make any type or shape you may need. There are literally hundreds of dishes to make … the possibilities are endless.
Back to our fresh pasta, you will want to lay it out flat on a parchment-covered cookie sheet, or dust it with flour and curl it up into a little ball while you are working through all the dough. Once you are finished, boil it in salted water. Please take note, fresh pasta doesn’t take very long to cook at all, it’s ready in as little as 60 seconds; depending on how thin you rolled it or cut it. Retrieve a piece and taste test it for preference, keeping mind it will get a little firmer as soon as it starts to cook, but quickly get mushy if you over cook it. You will likely not want to cook it more than two minutes. Top the cooked noodles with butter, Parmesan, garlic, and herbs, or your favorite cheese or marinara sauce, and you have a wonderful meal.
If you plan to dry it completely, your homemade pasta can be stored up to two years — assuming it is properly dried and sealed. You might want to invest in a pasta drying rack, though. Just make sure you dry it completely, for at least 24 hours, seal it well, and store it in a cool, dry place.
If you’ve never tried it, I hope you will soon. As the French film director Agnes Varda says, “You can buy a good pasta, but when you cook it yourself it has another feeling.” I must say that, first off, there’s the really great feeling of knowing exactly what you’re eating! (You don’t always know any more, am I right?) Also, the warm feelings of pride and accomplishment in creating something absolutely delicious so easily. Buon appetito!
