Years ago, my grandma gave me a flower press made of terracotta and felt that could be used in the microwave. I’ve used it lots over the years and never seen another like it. So that made me think, could I replicate it with cheap and easy-to-find supplies? The answer is yes, and I’m going to tell you how to do it!
You only need two basic items: 2 clay or ceramic tiles, and 4 sheets of regular craft felt. I went to Walmart and found the felt for 23 cents a sheet. I got dark grey, only because the flowers will eventually stain the felt and a darker color won’t show it as much. At Lowe’s, I found 4×4 tiles for 69 cents each.
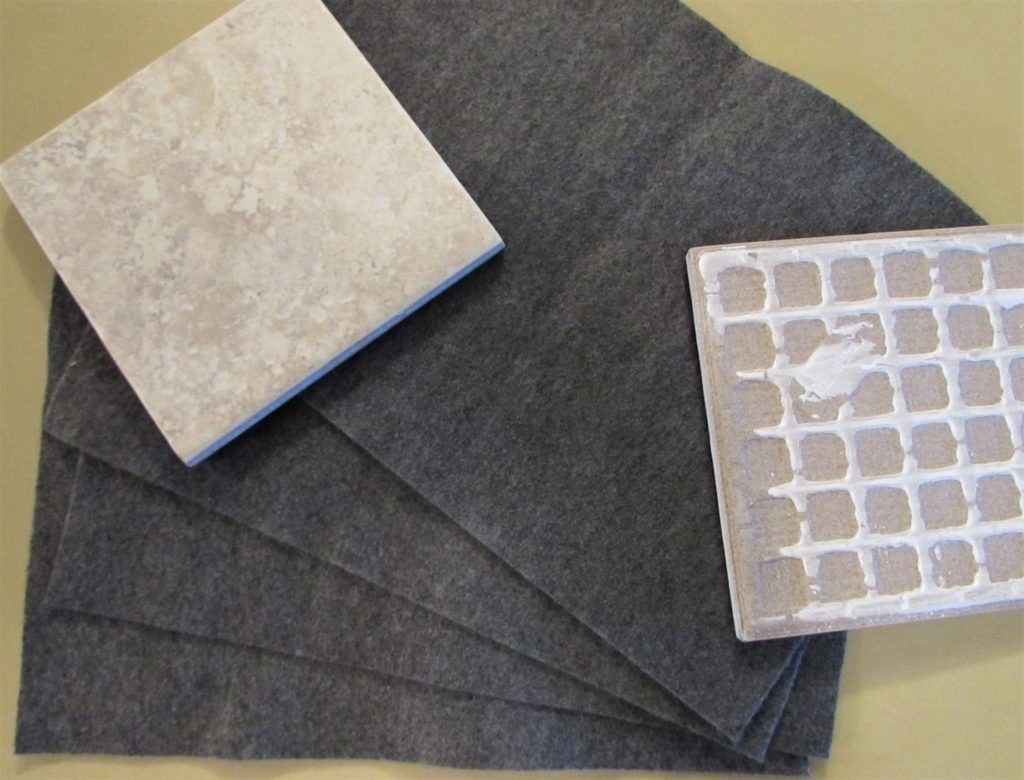
Now you want to make a thick pad of felt on which you will cook your flowers. Take two sheets of felt and fold them in half longways. Do the same with the other two. Place a tile on each folded stack. It should fit on it almost perfectly. Use a marker and draw a line where you should cut off the excess. You will now have two felt stacks the exact size of your tiles.
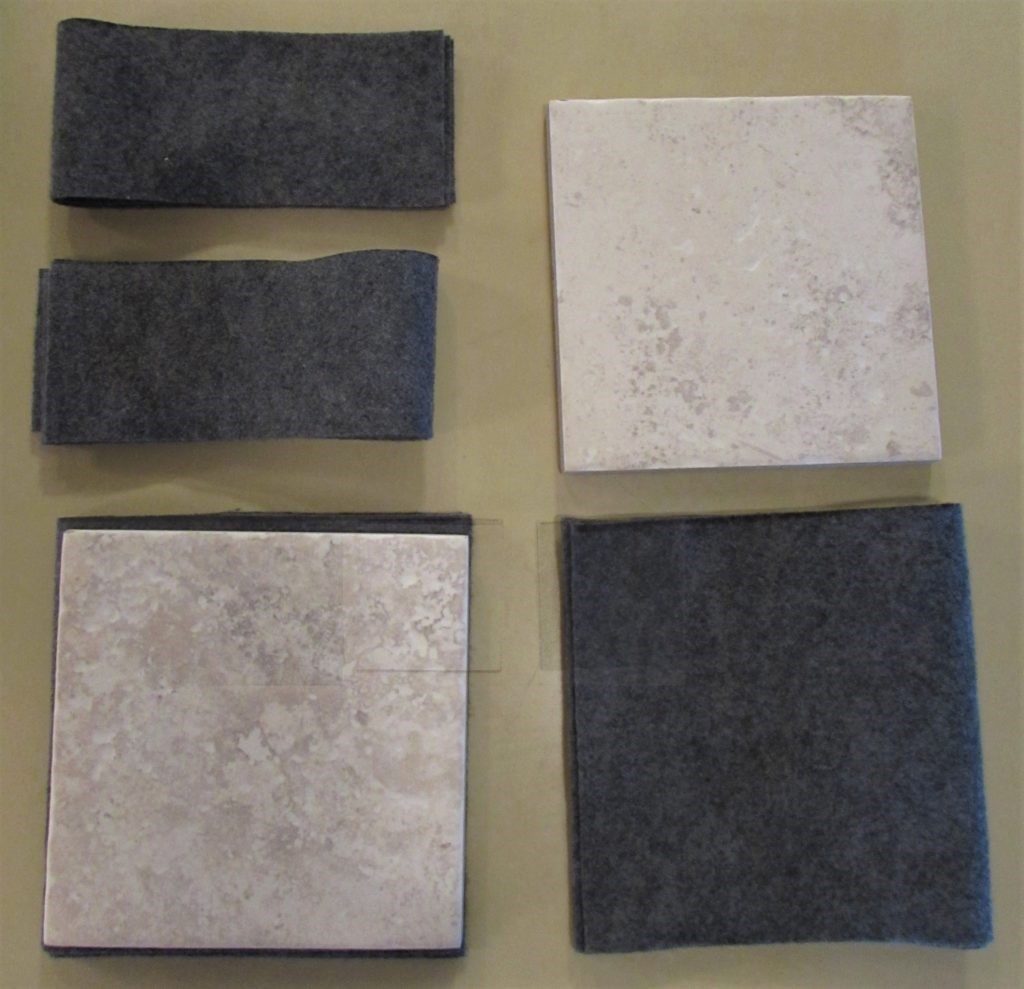
Now you need to sew the three open sides. You can do this on a sewing machine or by hand. If you really don’t understand sewing, you could take needle and thread and just make a series of knots around the edge. You want the felt secured together so you can lift it away from the tiles. I wouldn’t try to use hot glue or an iron-on tape. This is going to get hot in the microwave, and it probably wouldn’t hold together long. Once sewn, it will look slightly like a pot holder. Now you have a flower dryer!
The next order of business is to go outside. Look for flowers you would like to dry. The best types to try are ones that have a single layer of petals, meaning they will lie flat easily. Stay away from blooms with thick layers of petals—they won’t all dry, and the flower will turn brown. Single-layered roses, pansies, and clematis are all good choices. So are decorative leaves like ferns and begonias. Try a wide variety of things. You never know what will turn out beautifully until you try.
Now you need a microwave. The funny thing is, I don’t even own a microwave! But my folks do, so I use theirs. When you are ready to dry the flowers, assemble your dryer. Place one tile with the rough side up. Place one felt pad on top, gently place your flowers or leaves on that. Do not overlap, or they will dry into each other. Give them room.
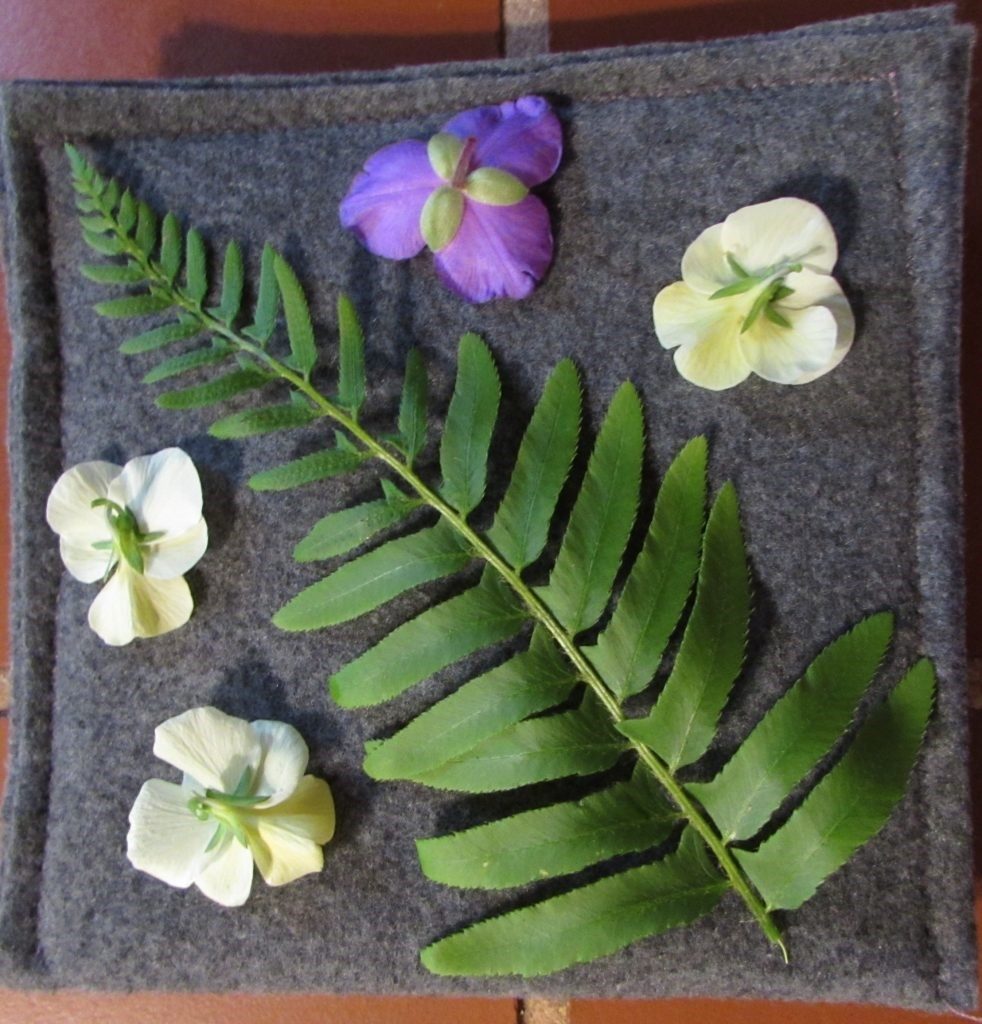
Cover with the second felt pad and place the other tile on top with the shiny side up. This is when adult supervision is key. The flower press dryer will be baking in the microwave, just like a dish of food. And just like that dish, it will get hot. Please have an adult use an oven mitt to handle the dryer, and don’t place it on something that will be damaged by heat.
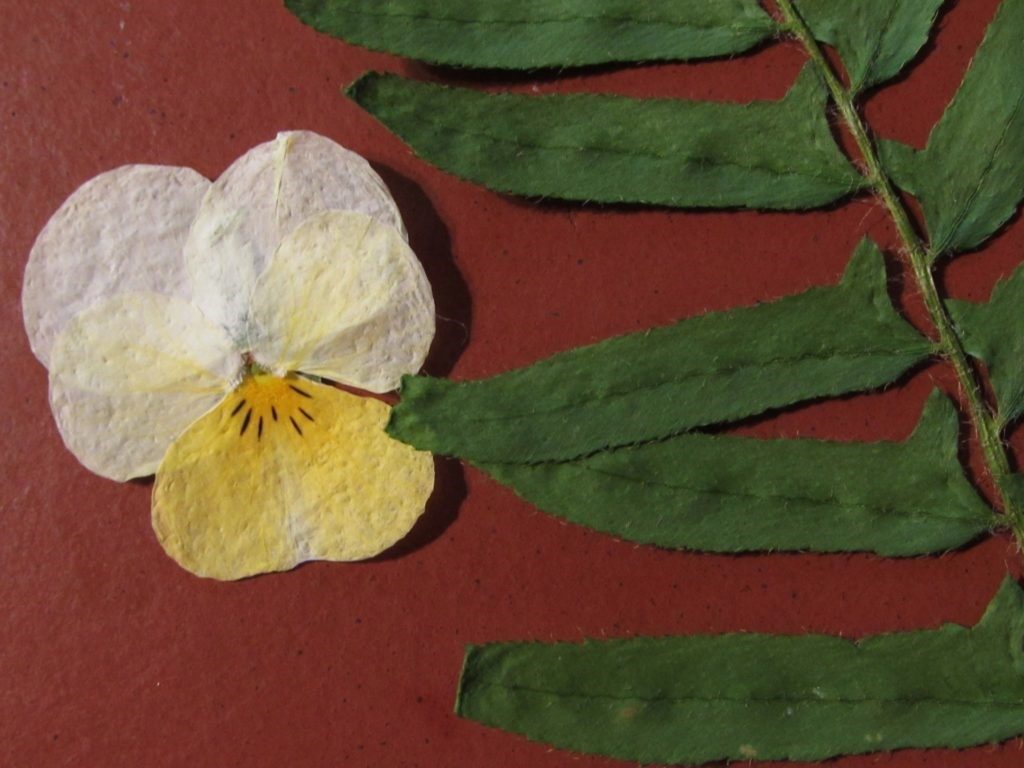
My parents’ microwave is old, and they say it isn’t as hot as newer models. I timed these flowers for 2 minutes and they came out perfectly. With a new microwave I would start with 1 minute and check them. Then continue with 30 second increments until the items are dry. When dry, they will have adhered slightly to the felt. You can use your fingernail or the tip of a butter knife to gently lift the petals, carefully peeling the flower up. Let them sit to cool. If the flower feels limp or damp after it’s sat a minute, it’s not dried. Put it back in the press. When dry it should go from fleshy and damp to thin and parchment-like. Look carefully at the pansy and fern to see their change.
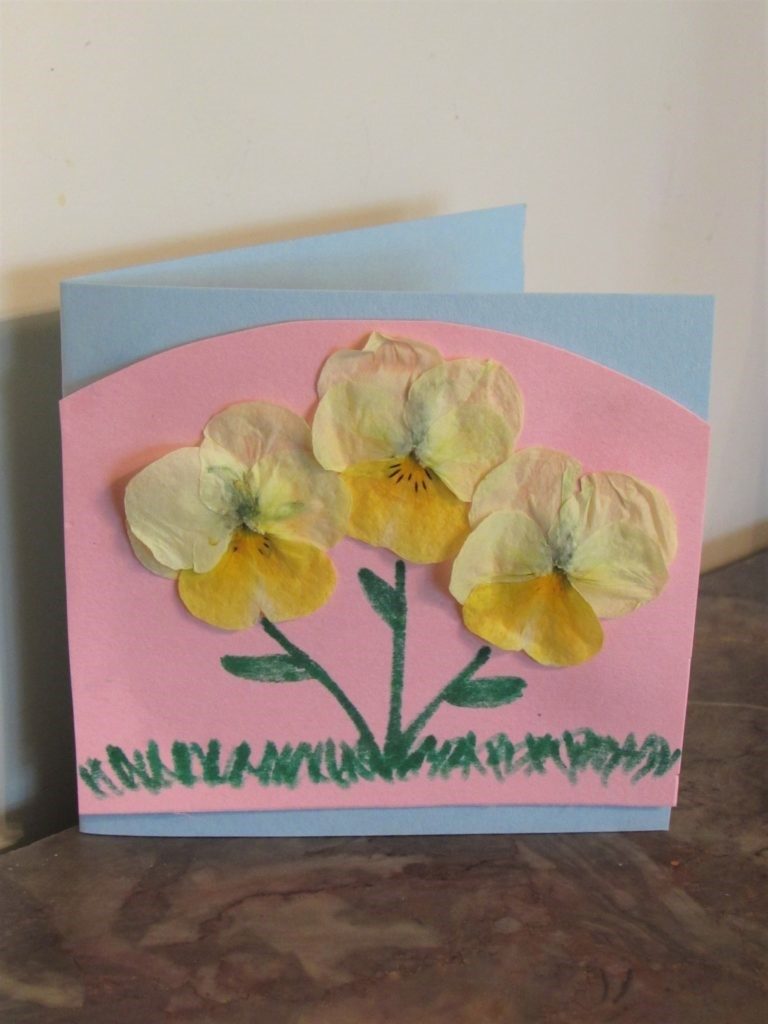
So, what can you do with your plethora of dried plants after you have them? You could dry leaves from native trees and have your children identify and label them in a notebook. You can decoupage flowers onto boxes, bags, lampshades, etc. Armed with dried flowers, construction paper, and markers, even the littlest child can help make a card for someone special.
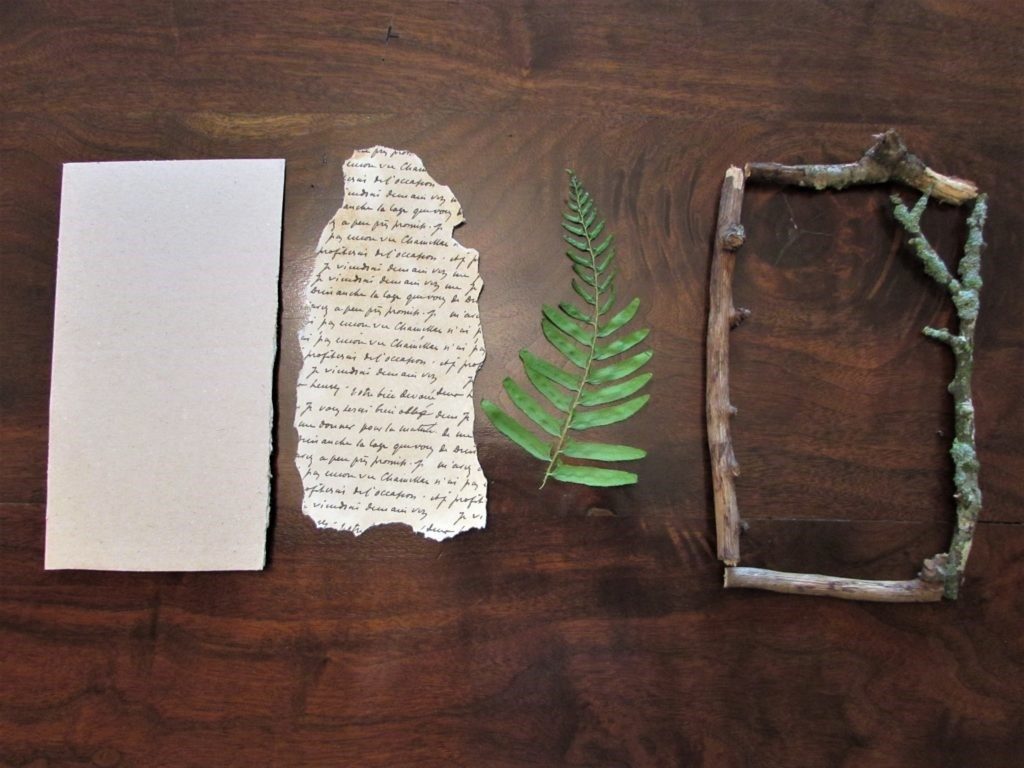
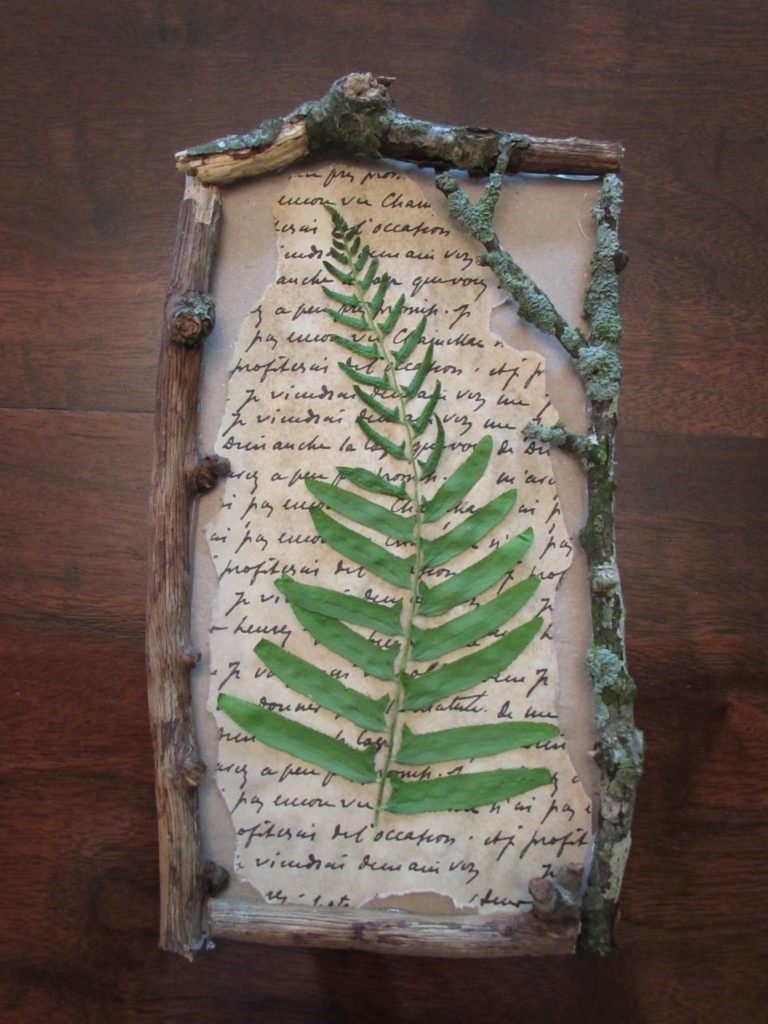
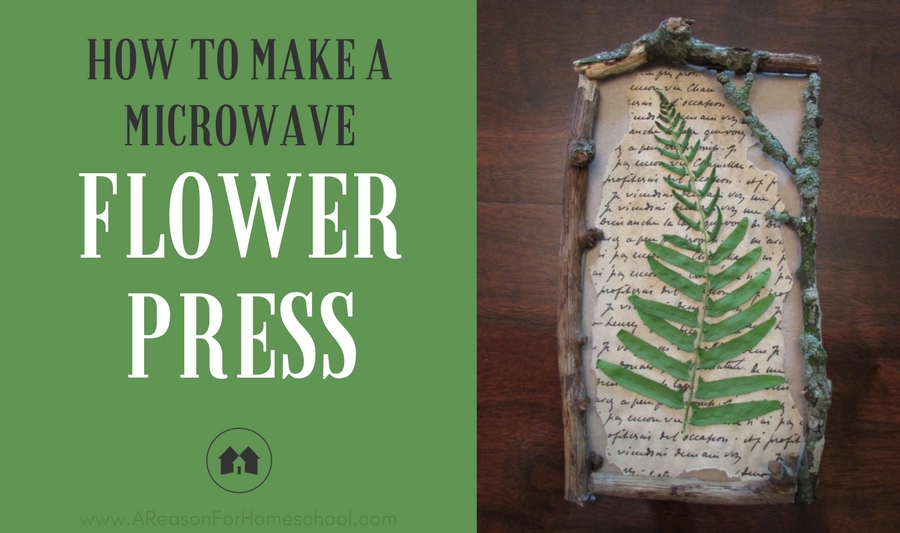
If you have an older child who wants to make something more complex, all you have to do is dig out some things you have around the house. You need a piece of cardboard for a base—a section of cereal box is great. Try tearing a piece of scrapbook paper or even construction paper to make a mat beneath their dried item of choice. Glue the torn paper to the cardboard and then glue the plant on top. You could put this into a dollar store frame, or let them get really creative and make their own. Go into the yard or park and search the ground for sticks. Find ones to go along the sides of the cardboard. If they find the perfect stick and it is too long, cut it with pruners. (Kitchen poultry shears also work. Don’t tell my hubby!) Simply piece a frame together like a puzzle, there is no right or wrong way. Secure with twine or glue.
I like Elmer’s glue and a paintbrush or q-tip for paper and plants. With supervision, a hot glue gun works well for large materials like twigs. Add a hanger made from a soda pop tab, or simply hot glue a string to the back. They’ll have a true work of art and nature!
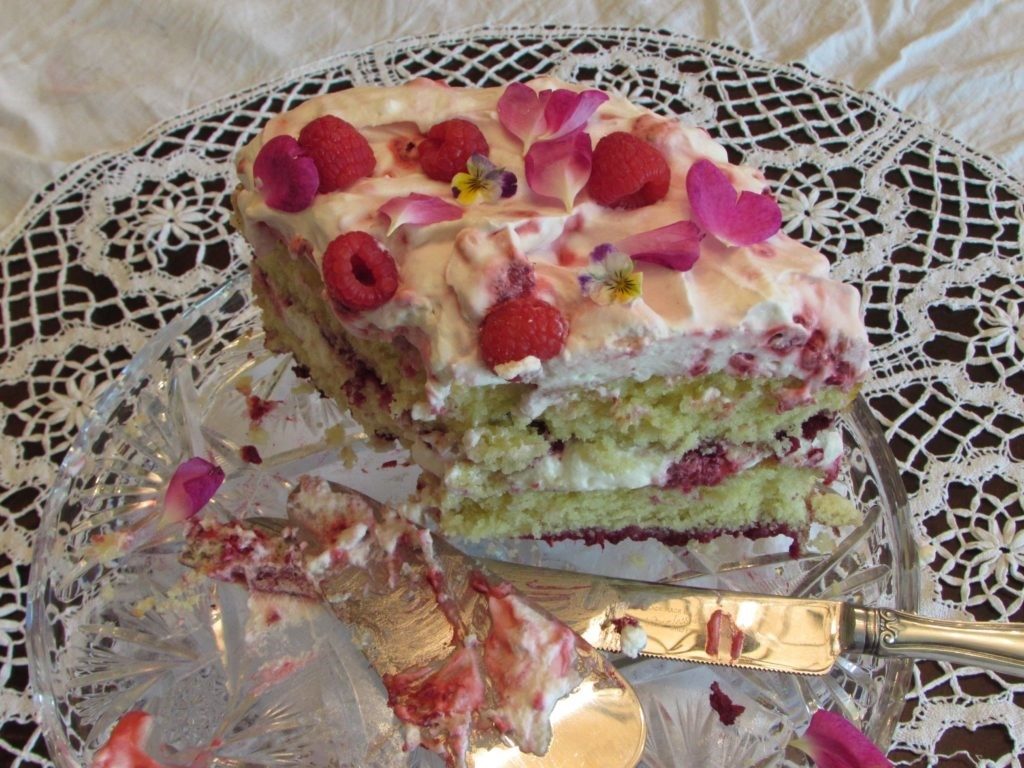
For mom, or older kids who like to cook, dried flowers are a lovely way to dress up a dessert. When I sold cakes at the Farmer’s Market I dried tons of pansies, johnny-jump-ups, and single roses at one time. Then I used them all summer to embellish cakes and treats. Just make sure the flowers you use are edible ones and not sprayed with poisons. If in doubt, use them for crafts.
Try this! You will only spend a couple of dollars for the supplies, but the time you spend finding flowers and leaves with your kids will be priceless. Get outside and preserve some of the Creator’s beautiful gifts!
Love this!
Do you think it would be safe to use this in an oven? Or do you think the flowers dry better when they’re dried quickly?
I expect it would take some experimenting to get the timing & temperature figured out.
I really don’t know about using the oven, Jenny. I think that part of the reason the flowers and leaves retain so much color is because the drying process is almost instantaneous. I have also pressed flowers in between layers of waxed paper, placed under stacks of heavy books. The microwave press seems to keep colors brighter. Also, I think using the felt in the oven might be a hazard. It would be like accidentally cooking a potholder! Hope you are able to try this and see what you think.
I love this idea. Cannot wait to try it with my daughter! She is constantly picking up leaves and flowers everywhere we go as a “souvenir” and this will help us keep the most special ones.
So glad that you are going to try this! It would be amazing for you to make a scrapbook with your daughter and add photos, her drawings, and pressed specimens from her adventures!