I’ve never met a child who didn’t like to squish things through his fingers—whether that be mud, play dough, or mashed potatoes and peas. There’s just something satisfying about feeling the textures bend and twist with minimal manipulation. What starts as sensory exploration, soon begins to build all-important fine motor skills. We take for granted the ability to pick up and use a pencil, but the strength and skill is learned somewhere along the line … most likely through play. So it’s easy to see how play dough (which most parents have on hand at one time or another, and is often their child’s first exposure to sculpting) can transform everyday playtime into educational magic!
How can you incorporate play dough into learning?
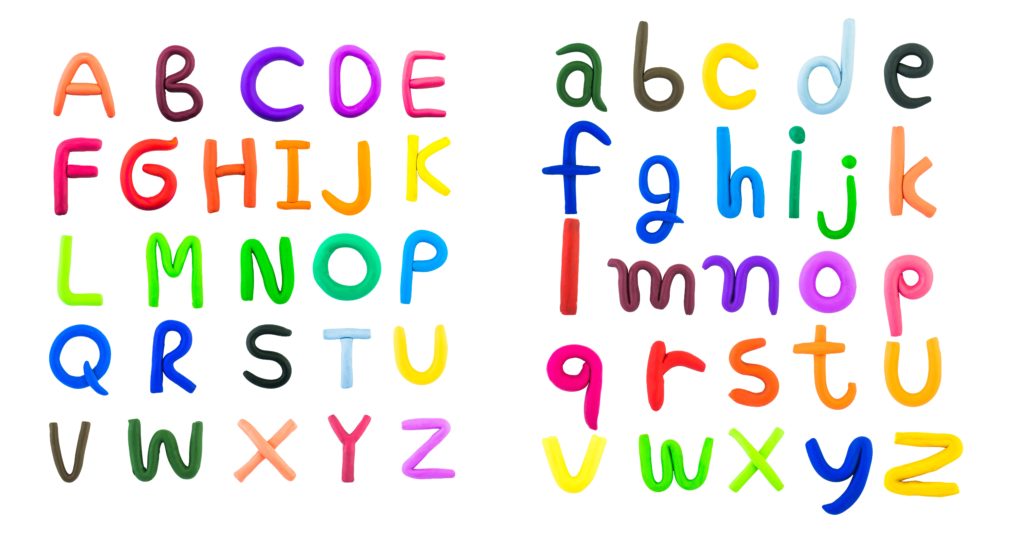
Form letters and numbers out of it.
- For a young child who isn’t able to form letters or numbers yet, make two sets yourself and let him match them up.
- When children start to tire of the activity, extend their interest by sculpting a tiny mouth and little balls for eyes, and let your toddler add faces to the numbers or letters.
- Lay a row of the numbers 1-10 out in order, and have your child line up the second set in numerical order.
- Use your letters to feed her favorite stuffed animals. Sort the letters, let her think of multiple food items that begin with that letter, and “feed” the letter-shaped dough to the animal.
- Learn to spell. Start with the child’s name. When he finishes a word, make a production out of squishing the dough back into a ball, and let him use your rolling pin to flatten it back out before forming new letters.

Use the play dough to sculpt geometric shapes.
- Again, if the child doesn’t yet know their shapes, first sculpt those yourself, then let the child compare and match them up. Eventually, the shapes will be familiar enough that children can form their own.
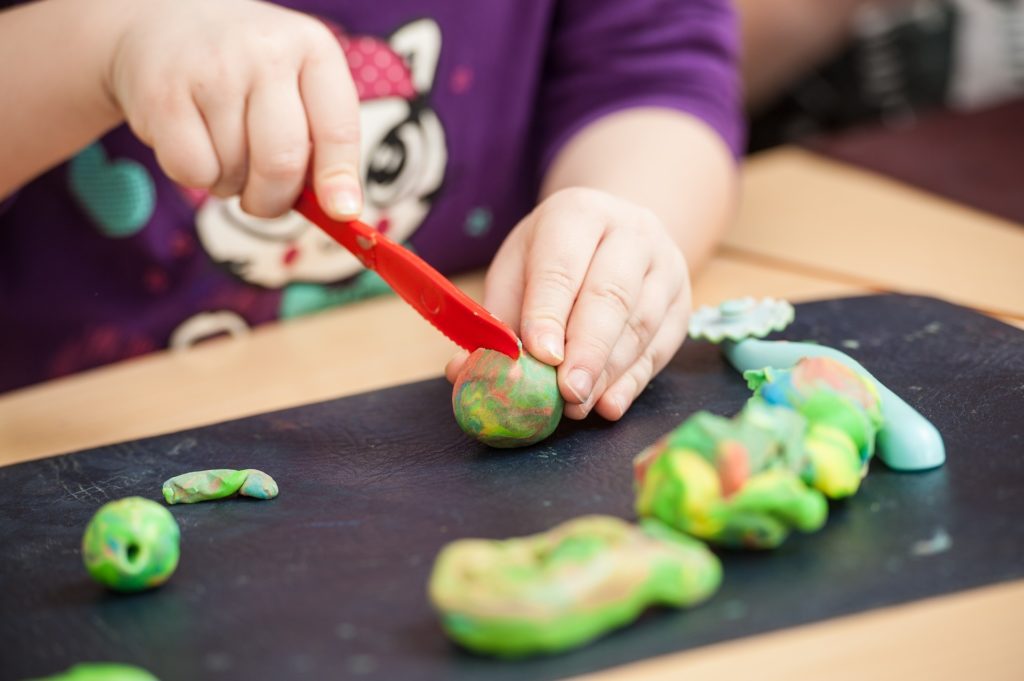
- Roll all your play dough out into a large flat rectangle and give your child some sort of a tool—maybe a toothpick or butter knife—and teach geometry concepts. First let them carve things for fun, then start assigning them tasks (such as: carve a square, make two parallel lines, point to the vertex of that triangle, etc.).
Find play dough molds and make a set of farm animals (or if you or your child are creative, sculpt your own animals).
Let your child make up stories using the characters you have made. You can even teach grammar this way: write down the sentences your child has come up with, and label simple parts of speech like nouns and verbs.
Take it a step further and embellish your child’s simple sentence with interesting—or even bizarre—adverbs and adjectives, just for fun. For example, if your child came up with the sentence, “The horse ran,” you could prompt them to describe what kind of a horse ran, or how it ran. Maybe it was a silly horse, or a crazy horse. Let them act it out and show you how a silly horse would gallop. How did it run? Was it fast or slow? (You can see how this would encourage learning while developing large motor skills.) Getting out of control in your living room? Reign in your wild horse by saying it was now a gentle horse, or a quiet horse. Kids will easily switch modes on command.
Be prepared for lots of laughs, and keep the camera handy. Your children will love you playing with them, and because of the silliness of the game, it’s likely they won’t even realize they are learning.
My children can sculpt with play dough for hours on end. Their creations get quite elaborate. Thankfully, making your own play dough is simple and requires common household ingredients. Just be prepared, having multiple colors is so much fun you may need several batches!
You will need the following items:
- ½ cup of salt
- 1 cup all purpose flour
- 1 cup water
- ½ tsp. cream of tartar
- 1 Tbsp. cooking oil
- food coloring (optional)
Mix your dry ingredients in a medium-sized pan. Add your water and oil, mix well. Stir in a few drops of food coloring. Cook the dough over low heat, stirring constantly until it forms a rubbery texture. Turn your dough out onto your table-top or another flat surface, and knead it a bit with your hands. Be careful; it will be a little warm. It should be soft and smooth when you’re finished.
Store your new play dough in a tightly covered container or plastic zipper bag. It will last up to a year if you are careful to put it away after playing and don’t leave it exposed to the air.
Occasionally I’ve added a couple drops of scented oil or a few shakes of aromatic spices to engage the senses and enhance enjoyment of our play dough. However, I have noticed those extra ingredients seem to make our dough not last as long.

The ideas for incorporating play dough into homeschooling are endless. Simply think of what a child needs to learn, and find a way to use hands-on play to teach it, giving wiggly kids something to focus on while still mastering important concepts.
• • • • • • • • • • • •
Want to add even more fun to your child’s learning?
See Bridgitt’s post on Educational Play.
