Canning seems daunting to many people. Somehow, we’ve come to believe only those with lots of experience in the kitchen should attempt it. This is simply not true. Canning is an easy and rewarding task—you just need a bit of encouragement and the proper instruction!
To can you will need some basics supplies. These will come into play in every instance of canning fruits (which includes things like tomatoes and cucumbers). They are an investment that will last for many years; in fact, almost all of my accoutrements came from my mom or older relatives.
First, you will need a hot water bath or canner. This is simply a large pot with a metal rack for lowering jars into the boiling water to seal them. These can be purchased at most hardware or farm supply stores, or found at yard sales and thrift shops. Another good source is your home church: many older women have retired from canning, but still have their supplies. If you put out the word that you want to start preserving, you may be surprised by the amount of equipment and jars that come your way. 
You need a large pot for cooking the jelly, deep enough for the ingredients to boil up to double their original volume without overflowing. A large funnel is essential for directing the hot liquid into the jars and not your countertop. Lastly are the most obvious necessities: glass jars, canning rings and lids, a box of Sure-Jell or other pectin, sugar, and the juice you are jelling. (If you purchase a new box of canning jars, they will usually come with the lids and rings.)
Inside the box of Sure-Jell will be an instruction sheet with directions for freezer jams on one side, and cooked jellies and jams on the other. The sheet gives the amounts of juice and sugar needed to make a single batch of jelly. If there are no instructions for the exact berry or fruit you want to use, look on the Sure-Jell or Ball Canning websites. You can juice your own fruit, or you can buy the juice; just be certain anything you buy has NO added sugar or artificial sweeteners because it will not jell.
Let’s get started!
To begin, fill your hot water bath to a level that will cover the top of your jars by one inch. Bring the water to a boil. Sterilize your jars by washing them with hot water and soap, and place them on a cloth to drain. Put the rings and lids into a medium saucepan. Cover with water, bring to a boil and simmer ten minutes. Turn off the heat. Remove the rings to the cloth to drain, leaving the lids in the hot water with the heat turned off.
For the jelly, consult the Sure-Jell recipe for the type of fruit juice you have chosen, to know how many cups of juice and sugar you need.
Measure the juice into a tall stock pot. Add the butter recommended in the recipe (to cut down on foaming) and stir in the whole packet of Sure-Jell. Bring all this to a rolling boil; that is a boil that does not stop when you stir it. 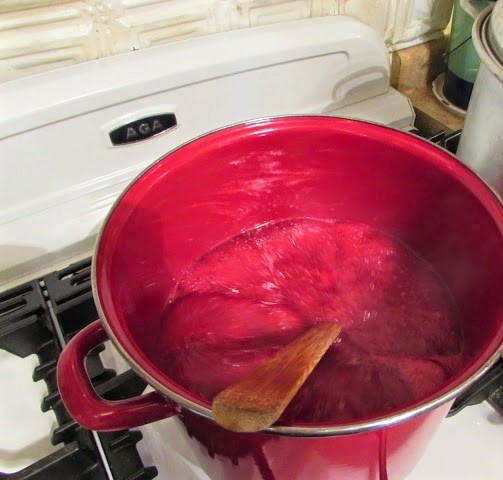
When it has reached a boil, pour in the pre-measured amount of sugar, continuing to stir all the while. Return this mixture to a rolling boil—it will take much longer than the first time because of the added sugar—while stirring frequently. Once it reaches a full boil, continue boiling for just 1 minute. I know this sounds crazy, but that’s all the time it needs.
Remove the cooking pot from the heat and let it rest for a moment. You will see a whitish skin begin to form on the top of the juice mixture; this is the “foam” mentioned in the instructions. Skim this off with a ladle or large spoon.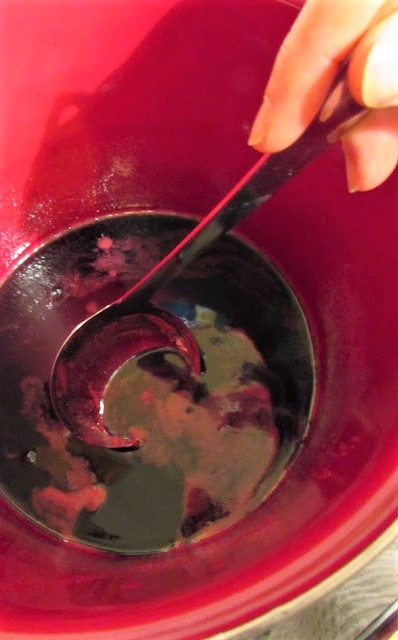
Once you’ve removed the foam, ladle or pour the jelly into the sterilized jars using a canning funnel. Wipe the jar rims and sides well to be sure there are no drips, then place on a hot lid (rubber seal side down) and screw a band on snugly. This is hot work and I always burn myself, so be careful!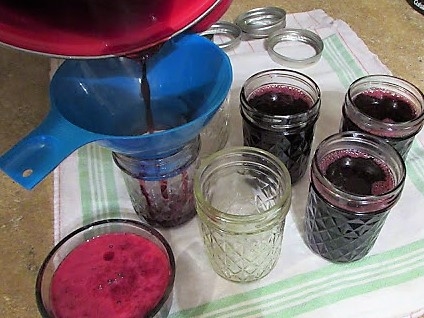
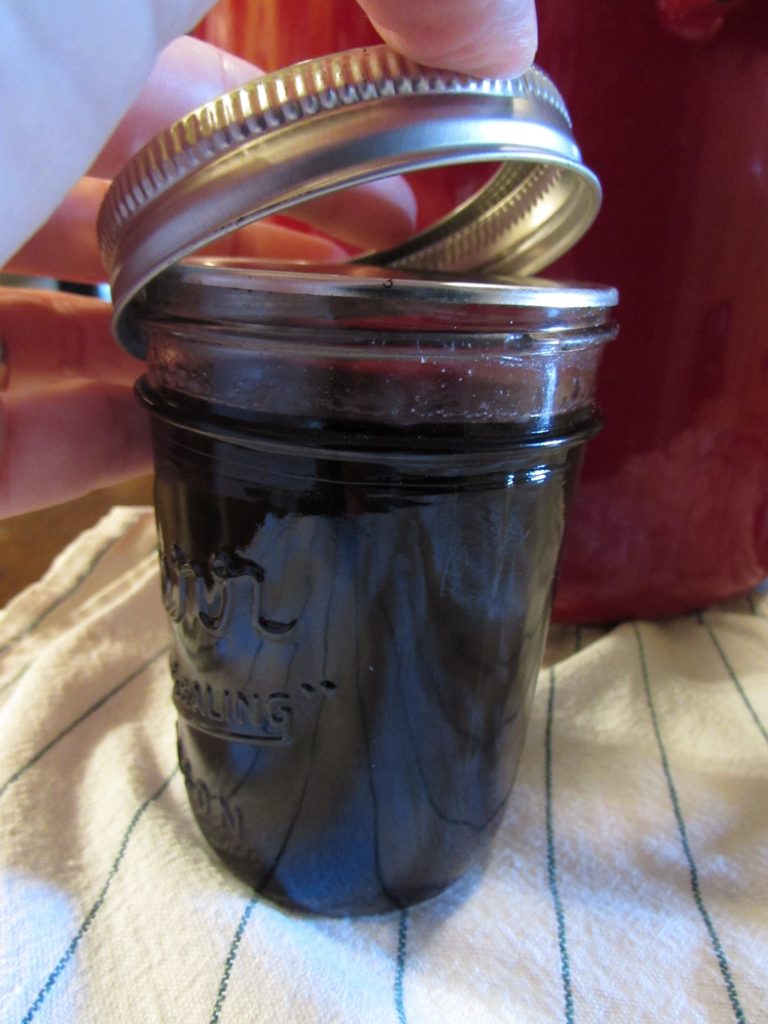
Place the filled jars into the metal canning rack and lower it carefully into the boiling water of the hot water bath. Replace the lid and boil 5 minutes. Remove the lid and very carefully lift out the rack. Take the jars from the rack and place them gently onto a folded cloth towel to cool. Let the jars rest for 24 hours before removing the canning rings, to allow the seals to fully form.
As a visual person, I always want to see exactly what something looks like when it reaches a certain stage so that I know I’m doing it correctly. If you would like to SEE jelly being made, please visit my YouTube channel to watch a jelly-making video with all the canning hints and tips I teach my cooking classes. Plus, I explain how you can know definitively that your jars are safely sealed!
You’ll also find more canning recipes and ideas on my personal blog, Ms. Sam Wears Dresses.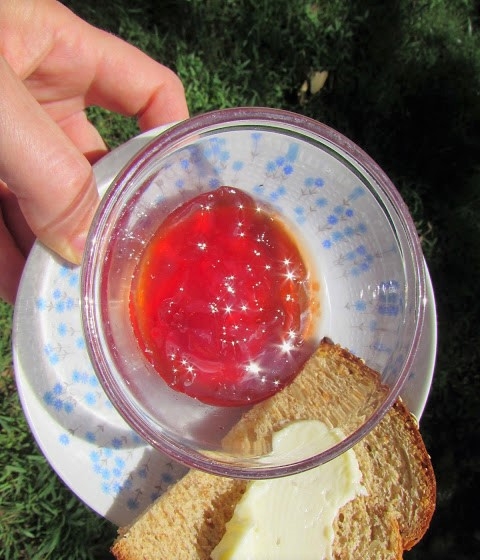
Opening a jar of jelly or home-canned tomatoes in the winter is like bringing a sunny summer day into your kitchen! I sincerely hope that you will give jelly-making a try. Perhaps you could borrow a water bath from someone, just to see if canning is something you might enjoy. Leave a comment below to let me know if you try your hand at jelly-making, and to share what fruits you are preserving in your neck of the woods!
You did such a great job on your video! I’m so happy to see your new channel & look forward to more.
Thanks so much, Ms. Jenny! You are always so encouraging 🙂
Sam,I read this! I love fig preserves! My mom did can occasionally! Would this recipe work well for preserves, or just jelly? Thank you for sharing this! I would love to give this a try! God bless!
Thank you for reading! This is exactly the same way to can preserves, however, most preserves don’t include sur-jell or pectin. Just use your favorite fig recipe and can it while hot according to my instructions. If you don’t have a recipe to follow, I found one that I like here: https://girlraisedinthesouth.com/southern-fig-preserves/. If you try canning, good luck, and let me know how it goes!