Corn maze. Candy corn. Cornucopia.
November is a month to celebrate the recent harvest season.
While I’m not a huge gardener, I usually plant a few things. Even if you didn’t personally plant anything at all this year, we all benefit from the hard work of the farmers who did—and that has been true going back to the earliest days of our nation. When I picture the first Thanksgiving feast with pilgrims and Native Americans, I picture heaps of corn among the bounty.
With Thanksgiving comes a break from school, and extra family time … which means more craft time at our house. As a homeschooler, we don’t always take off the same days that the local public schools do. However, when the holidays come around, it’s fun to tweak the regular schedule, adding creative projects and interesting field trips into the mix.
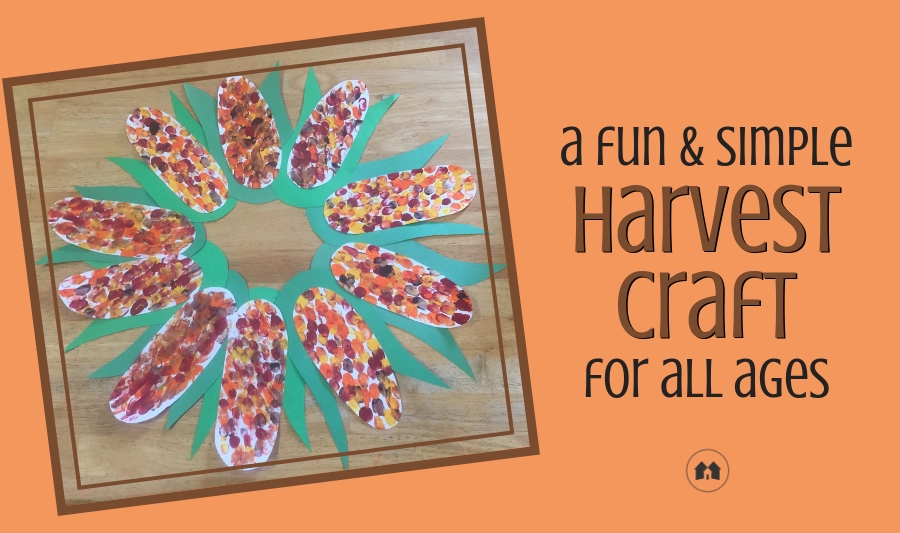
The craft I want to show you this month is a construction paper corn cob wreath. It’s super easy for mom, and diverting for the kids—most of them love squiggling their fingers in paint, right?
Supplies needed:
- 5-6 pieces of 8.5” X 11”green construction paper (can be all one color, or different shades of green look nice, too)
- 4 sheets of white or off-white construction paper
- Orange, yellow, red, and brown acrylic paint
- scissors
- glue stick & hot glue gun
- 8” length of twine
Directions:
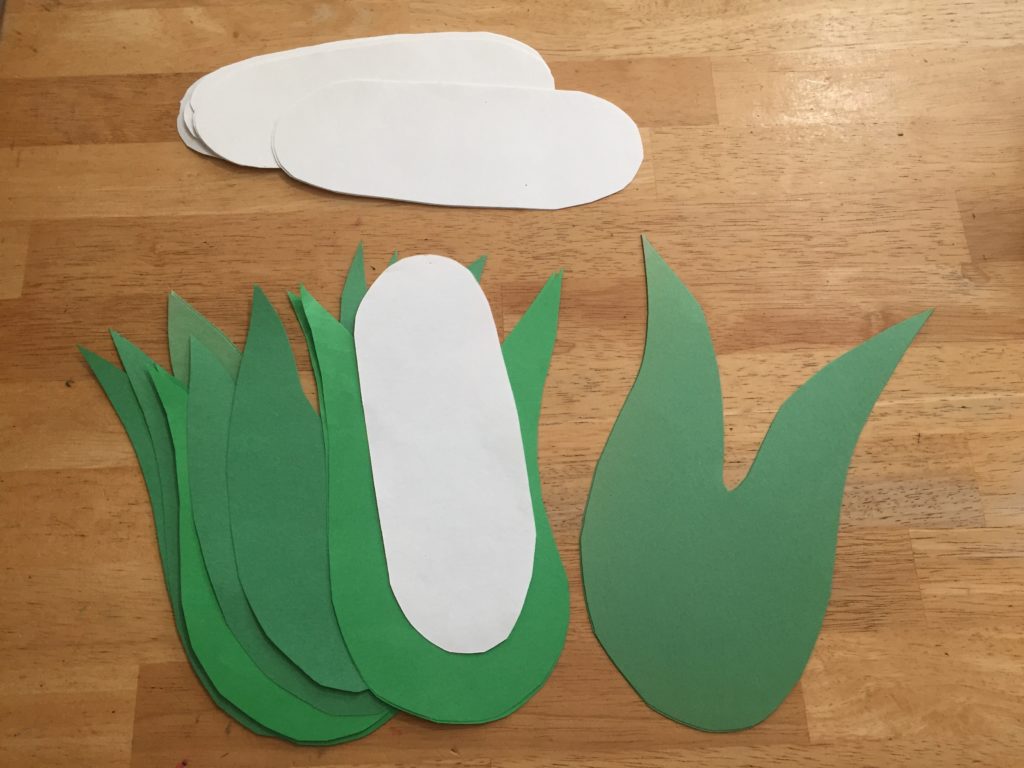
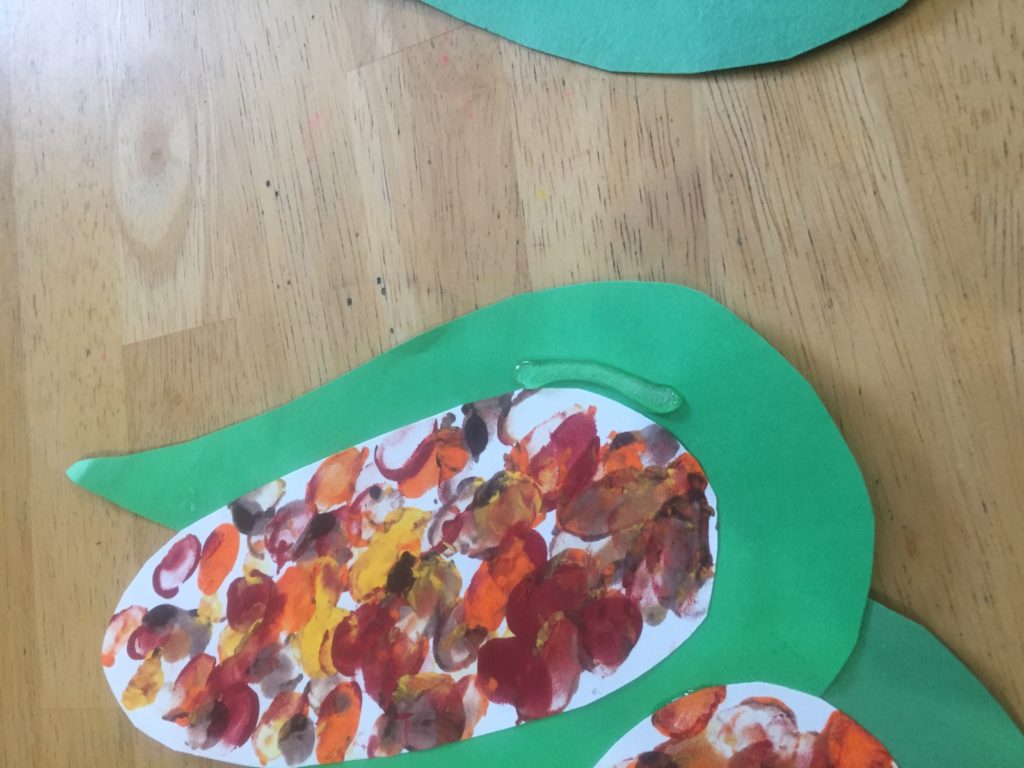
- Fold each piece of green construction paper in half, top to bottom-short end to short end. Then cut out, or outline first and cut out, a curvy v-shaped corn husk (see picture below). You should be able to cut two at the same time from your folded piece of paper. You need 10-12 total pieces.
- Fold the white paper into thirds, and cut out an oblong shaped ear of corn-three at a time. You need 10-12 ears of corn total.
- Set up a paper plate with a small amount of each of the four colors of paint. Let your child repeatedly dip their fingers into the paint and dot all over the corn cob, then place it to the side to dry.
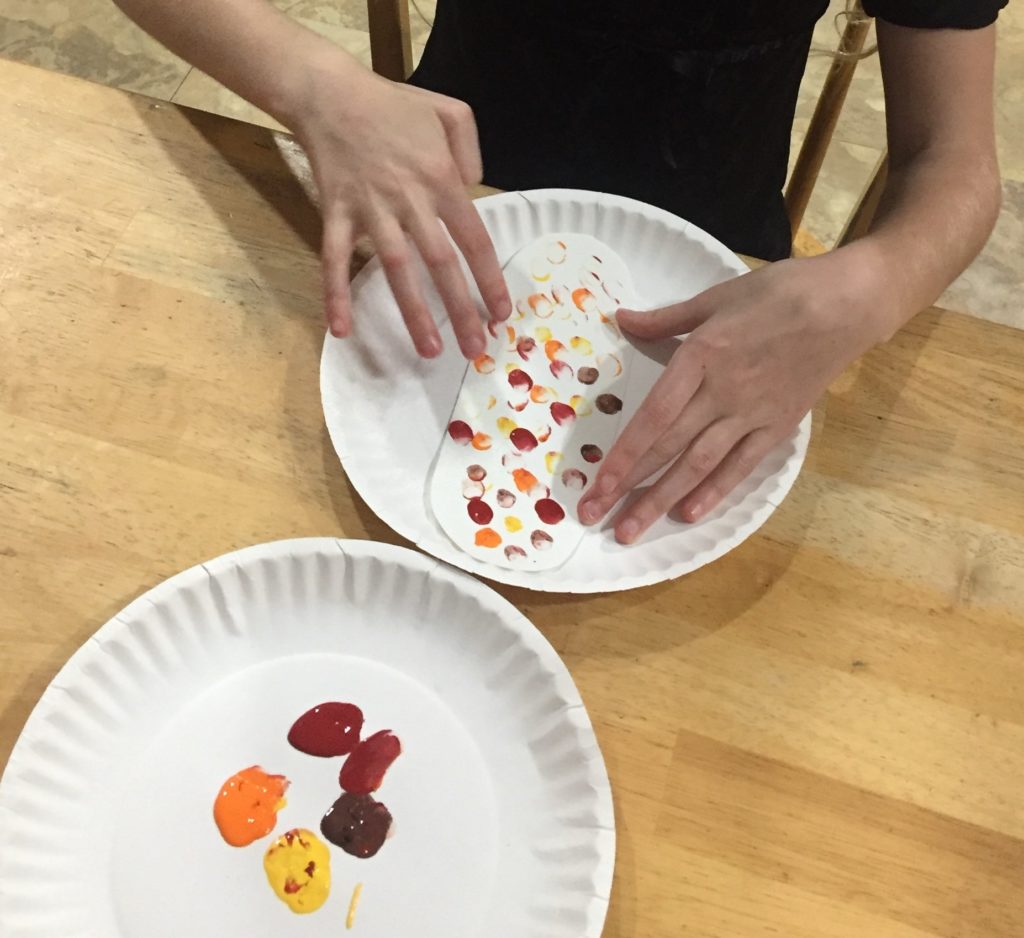 Once they are dry, you may need to place something heavy on them for an hour or so, to press them down flat again. The paint has a way of curling the paper up a bit as it dries.
 - Using your glue stick, glue the painted dried corn cob to the green husk you cut out earlier.
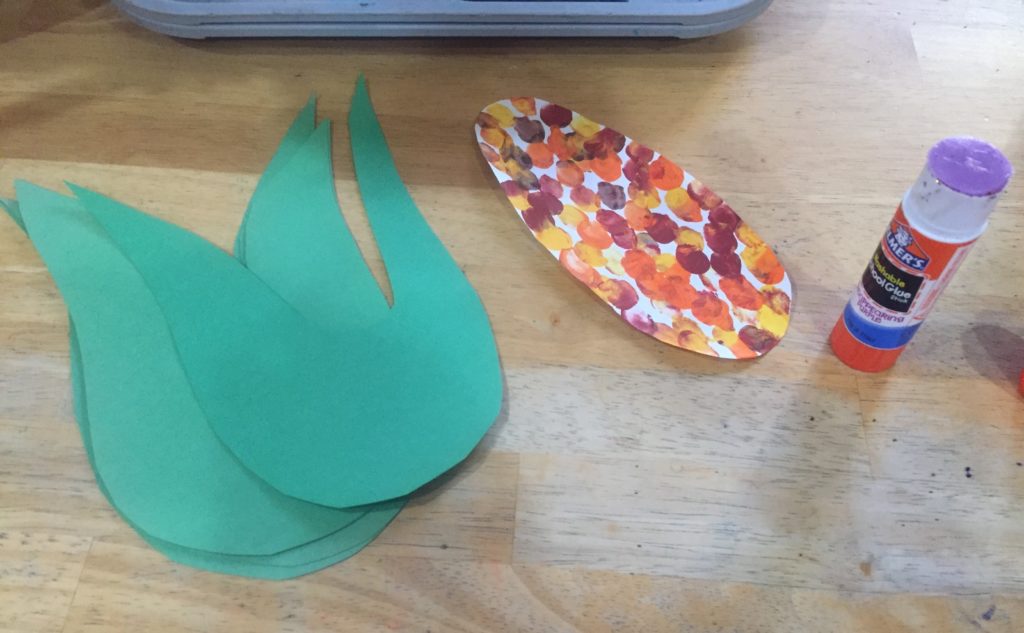
- Arrange the corn cobs into the wreath shape you would like to have in the end.
- With a hot glue gun, carefully add a bit of glue to the bottom right green part of your husk as shown below. Tuck it just barely under the corn cob next to it (see photo of the finished wreath).
- Flip the completed wreath over to the backside, and attach your twine as a loop with hot glue.
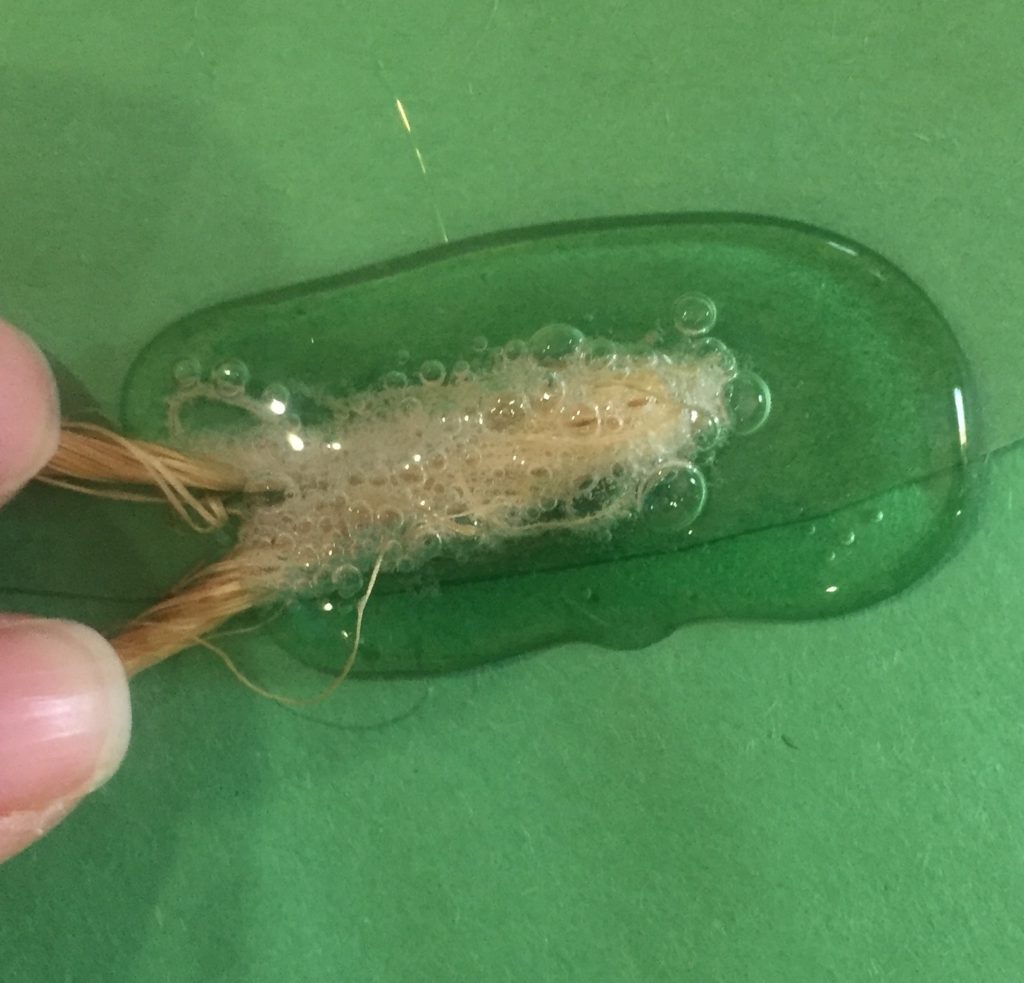

Tip: Make sure you turn the husk to the angle you want it to stay permanently, right away. The hot glue dries rather quickly, and there is no second chance once that happens.
That’s all there is to it!
Thanksgiving is a time many people like to turn their attention to God, thanking Him for all the blessings they have. So often it’s easy to forget how good we have it … until we don’t.
This wreath could easily be transformed into a thankfulness wreath, as well: just have your family think of all their reasons to be thankful, and along the green edges of the corn husk, write down each of those things. Keep it hanging some place nearby, and add to it during the whole month of November.
Looking for the perfect gift to take along to Grandma’s house for Thanksgiving dinner? You could write reasons why you are thankful for grandparents around the edge, and even tuck small pictures around the wreath to brighten Grandma’s day each time she catches sight of it.
From my house to yours, have a blessed and happy Thanksgiving season.
