My dad was an avid gardener who, at one time, had dreams of running huge greenhouses. While his greenhouses never materialized, he definitely had massive gardens. So large, in fact, that I kinda got turned off of gardening, thinking it was just too much work. While many people find gardening to be soothing and therapeutic, to me it feels like WORK. Like any work, however, it’s satisfying to accomplish something, so I won’t complain.
Living in these strange and uncertain COVID-19 times has many people considering growing a garden. For some, perhaps it’s the first time you’re going to tackle one. Seeing as May 19 is World Plant a Vegetable Garden Day, as well, it seems like a perfect time to discuss starting that garden.
First of all, maybe we should discuss when to start. I started a little too early this spring and ended up having to cover my garden multiple nights with half of the towels, blankets, and sheets I owned. I won’t wish that kind of laundry on you. Depending on your growing zone, you will start planting at different times. Click here to see a planting schedule for your zone. You can always contact your local county extension office and ask for specific dates in your county.
Soil preparation: A great garden depends on a foundation of good soil. Assuming your ground doesn’t grow rocks like my sister’s in Oklahoma, what you have is probably sufficient. She literally had to have a backhoe dig out huge garden beds and then truck soil back in! If you would like to know more specifically what’s in your soil, you can send off a soil sample (click here for more information on sending a soil sample for analysis) and find out exactly what you have and what additives you should add to have a better growing environment.
Take lime, for example … and I’m not talking about citrus fruit! This type of lime is ground limestone rock, containing calcium carbonate and magnesium carbonate, which — when added to your soil — works to increase pH, making it a more alkaline or “sweet” soil. This can be a good or bad thing, depending on what you’re wanting to grow. A great resource to learn more is the Farmers Almanac guide to soil pH.
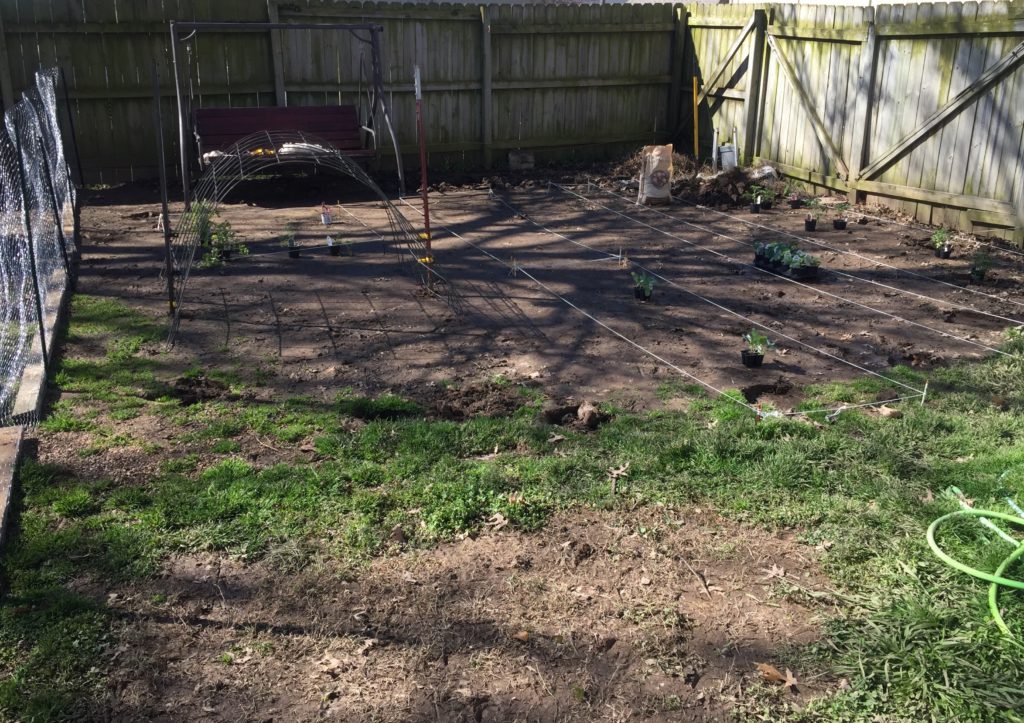
Plotting it out: Now that you have decided on a place to plant, it’s time to consider what you’d like to plant where. You might find it helpful to sketch out your garden area (it doesn’t have to be very big) and plot out beds. I actually took pencils and squared off a section and “taped” it off with string. It helped me to have a visual of how much space I had for each thing I wanted to plant. I left small paths around my beds that I mulched with pine nuggets so I would have a safe place to walk around in my garden.  Take into consideration what grows well in your area, the sun or shade of the area, what your family likes to eat, and what you could grow and preserve to eat later on over winter. I absolutely love salsa, as does the rest of my family, and I make and can salsa from my own recipe, so naturally I planted a variety of tomatoes and peppers.
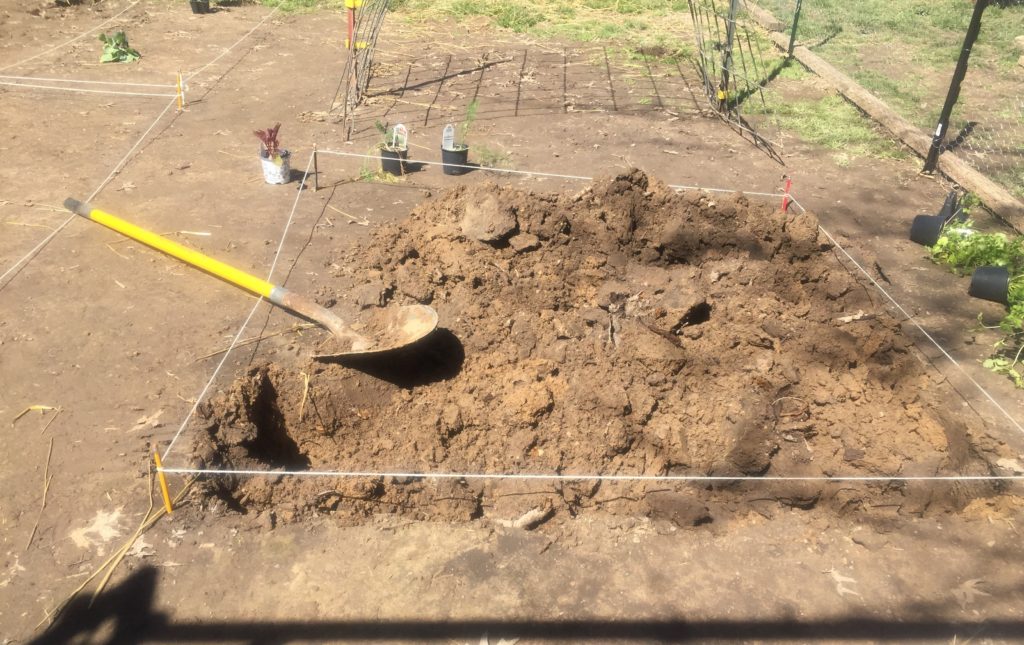
Tilling: Your next step is to prepare your soil by loosening it. If you made beds, you only have to dig up those specific spots. You can do that either by tilling it, or double digging the area. If, like me, you don’t own a tiller, you will have to double dig by hand unless you have a friend willing to come till for you. You can also rent a tiller from some hardware stores or equipment rental businesses.  When you’re tilling or double digging the soil, it’s a great time to add in some mushroom compost, which can supply nutrients your garden needs while increasing the capacity of your soil to hold in moisture. Mushroom compost is usually a mixture of organic materials and horse or other animal manure that has been cured, pasteurized, and then used to grow a crop of commercial mushrooms for your table. After it’s been used for growing mushrooms, there are plenty of nutrients left for gardening, so the compost is sold all around the country to gardening and landscape supply companies. While you will pay $4-5 dollars a bag at the store, if you can find a local mushroom farm, you can buy it by the truckload at a fraction of the price.
Planting: Once you know how much space you have for each garden variety, now you need to look up how much space to put between your plants. Armed with this knowledge, you will be ready to go purchase plants. Since it’s later in the spring already, you will likely need to buy plants as opposed to planting seeds (with the exception of things like lettuce and squash that prefer to grow from seed). If you would prefer to avoid GMO foods, look for organic heirloom varieties.
Also … if you don’t want dirt under your fingernails, now would be the time to secure gardening gloves!
Each plant has it’s own needs and desires for optimal growth and there is plenty of information online to google. For today’s purposes, I’ll just tackle my favorite garden plant: tomatoes. They are my gardening pride and joy, so I will use them for an example.
Depending on if you have determinate or indeterminate plants, your spacing will vary. I typically grow determinate plants that will only get so big, so they are planted 12-24inches apart. (Indeterminate plants will keep growing to a much larger size, so they need more space and support as they grow.) I like to stake or cage my tomatoes, so I need to plan room for that. Using a small hand trowel, I dig a small hole, big enough to neatly set my plants’ roots into while keeping the foliage still above ground. Toss in a couple handfuls of mushroom compost, and fill the hole with water. This will quickly drain out, but it leaves a nice moist environment for the young plant to begin to thrive. If your plant is a bit “leggy” already (meaning it should have been planted a few weeks ago and is a little too tall) you can gently break off some of the lower branches and plant it deeper. Then simply push your dirt firmly around your plant and press down snugly.
Cutworms — a term that describes several different types of moth larvae that will completely destroy young plants — are one of my least favorite garden pests. A little gardening trick I’ve learned to prevent a cutworm from coming along and mowing down my new plants is to wrap a small strip of newspaper about an inch wide and two inches long around the neck of the plant like a collar right at the soil line. You want the paper to go into the soil a bit and the rest to be around the neck out of the soil. I’ve heard of people using pieces of toilet paper or paper towel rolls. as well as nails on each side of the plant’s stem. Your goal is to prevent the cutworm from being able to wrap around your plants stem and cut it off at the soil line.
Adding soaker hoses: If you would like to add soaker hoses to your beds, this is the time to strategically place them around your plants.
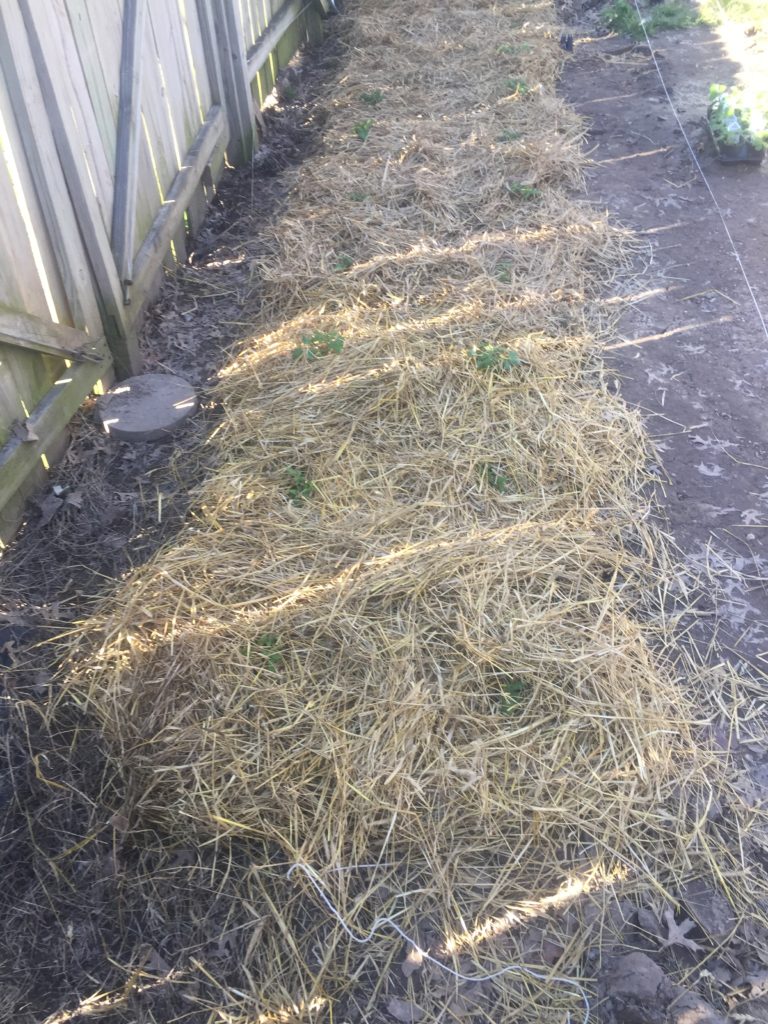
Mulching: Once you have your plants in the ground, you will want to give them a good watering — and if you’re like me, you don’t want to do a lot of weeding. You will want to mulch around them to minimize this. I used straw to mulch around my plants. It will help keep down the weeds, aid in keeping the soil moist, and eventually break down into a nice compost to mix back into the soil at the next tilling.
Now it’s time to step back, let God take over, and enjoy watching your garden grow. Keep a close eye on your young plants, water them appropriately, and monitor them for bug invasions, and they will simply do their thing and be ready to grace your table in no time!

