Is there anything better than an excited, wide-eyed birthday child, preparing to blow out the candles on a cake? We moms get to witness that scene quite a few times, yet the magic never fades and the memories last a lifetime.
Here’s something you may not realize: making those big, elaborate birthday cakes isn’t as hard as you might think. Time consuming, maybe, but I’m convinced anybody can do it.
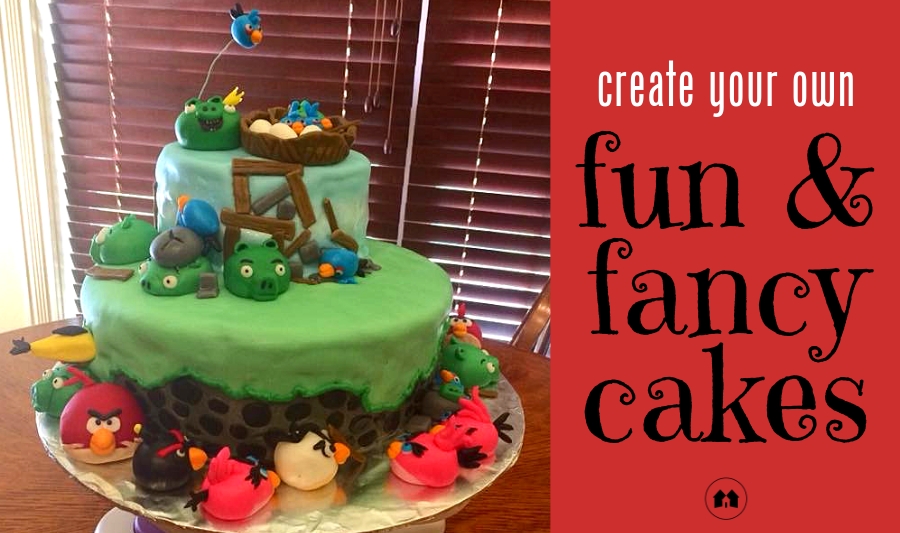
A friend of mine started making my kids’ birthday cakes a few years back, and they were so adorable, I eventually started helping her. She always made it look so easy! Eventually, I decided it really was as easy as it looked, and started making them on my own. Today I’ll share with you a few basic tricks and recipes, and show pictures of some cakes I’ve done myself or helped create.
Once we’ve picked out a theme, I usually google it, looking through images until I find a cake or two to emulate. I’ll adapt the design, changing things here or there, but it’s nice to have a basic idea of what I want to create before I start.
First, the boring part. I’ll admit, this is my least favorite step of the process: baking the cake itself.
To make a typical large, two-tiered cake, you will use around four cake mixes. (I know, seems like a lot, doesn’t it?) I normally use 8″ or 9” pans for the bottom, and 6” for the top. You want at least 2” size difference between the upper and lower sections of the cake, just because it looks better.
Grease and flour your pans well, and set them aside while you mix your cake batter according to the directions on the box. Then fill the pans about 2/3 full, bake them, and allow them to cool completely. Once they’re cool, you need to level the top of each cake so your finished product won’t look like the Tower of Pisa. You can eyeball it with a knife, or use a cake leveler. I love the Wilton Ultimate Cake Leveler; it’s an amazing tool. Check it out:
I like to bake all my cake layers a day or two ahead of time and freeze them. Just bake, cool, level, wrap in plastic wrap and freeze. It seems to trap the freshness in, making a nice, moist cake. Plus, handling frozen layers makes cake-building a breeze.
Before you start building the cake, choose what you want it to sit on. I like using a cake board about 2” larger than my bottom layer. I wrap it with aluminum foil and build away. If you have one, place the cake board on a cake turntable before you begin assembling the cake. (I use the Wilton High and Low. While this tool isn’t necessary, it makes icing any cake so much easier that I highly recommend investing in one if you plan to make cakes fairly often.)
Now you’re ready to start putting your cake together. Start with the largest-size layers at the bottom, adding a generous amount of icing between each one, and press down gently but firmly to set those into place. If you won’t be moving your cake very far (by which I mean, it’s staying in your home), you probably don’t need a second cake board between the layers for a two-tiered cake. If you will be transferring it somewhere in the car, place three to four cake-pop sticks, bamboo skewers, or something of the like into your bottom layer before adding the second board on top. Make sure you trim them so they aren’t any taller than your bottom layer. You also don’t want the second cake board any bigger than the top layer that will be sitting on it. If it is, trim it to fit.
Your next step is vitally important, especially if any of your layers are chocolate. Ever tried to frost a chocolate cake with white icing? Do you remember all those pesky dark crumbs everywhere? Well, this next step will eliminate that problem: adding a crumb coat. To crumb coat your cake, you will just spread a thin layer of icing over the entire thing. Make sure you keep the icing you are using for this step separate from the rest. I use a lot of buttercream — you can download my Buttercream Recipe (Printable) — and end up making 2-3 batches at a time to ice my cake. You don’t want crumbs getting into all of that icing!
Using a large cake spatula (and turntable, if you have one) will make this a breeze. This is also where the icing can make up for any flaws in your cake. Maybe a layer cracked, or you lost a piece on the side. Icing is your friend in this step. Just fill in all your gaps and make a nice smooth finish. Place your crumb-coated cake into the refrigerator for an hour to set. Don’t worry if you’re cake doesn’t look too pretty yet … it shouldn’t! Just like using primer beneath paint, this part just improves the final result.
Now comes the fun part. With the crumbs are all trapped away under the icing, your cake canvas awaits the creativity and care you plan to channel into this labor of love. Whether you cover your cake in fondant or slather on a thick coating of buttercream, you are now beginning the fun, creative stage of decorating.
When I make cakes for kids, I usually add lots of little shapes, creatures, or something they’re into that year. Fondant is usually my creative medium of choice. You can buy colored fondant at stores like Hobby Lobby or Walmart, or make your own. Marshmallow fondant (find the
Marshmallow Fondant Recipe (Printable)
here) is super easy and, in my opinion, it just tastes better than store-bought fondant.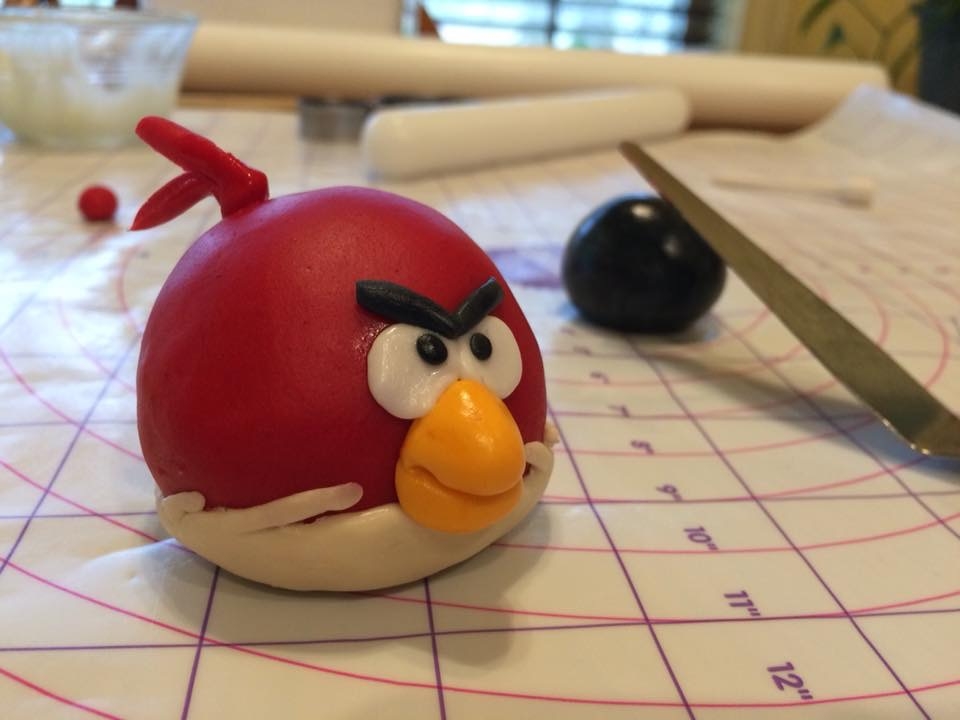
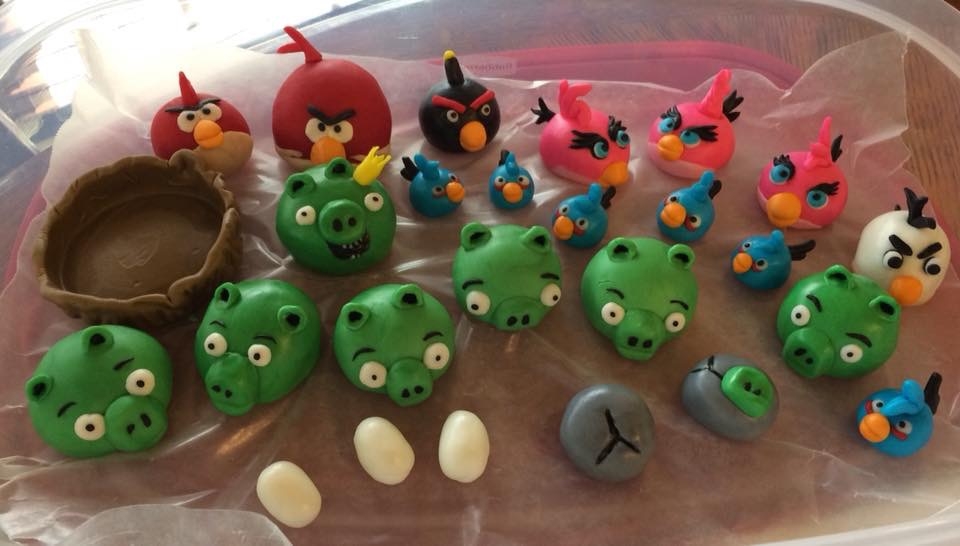
If you need to create little objects or creatures, I also like to use colored candy melts. You’ll find these at local stores, too, in just about any color you could imagine. You will need a microwave and a bit of corn syrup; follow the directions on the package and you will have mold-able candy in minutes. It will appear to be quite hard when it’s finished, but once you start to work with it, it’s like playing with play-dough all over again. We made some very realistic-looking Nerf darts last month for my son’s 7th birthday cake!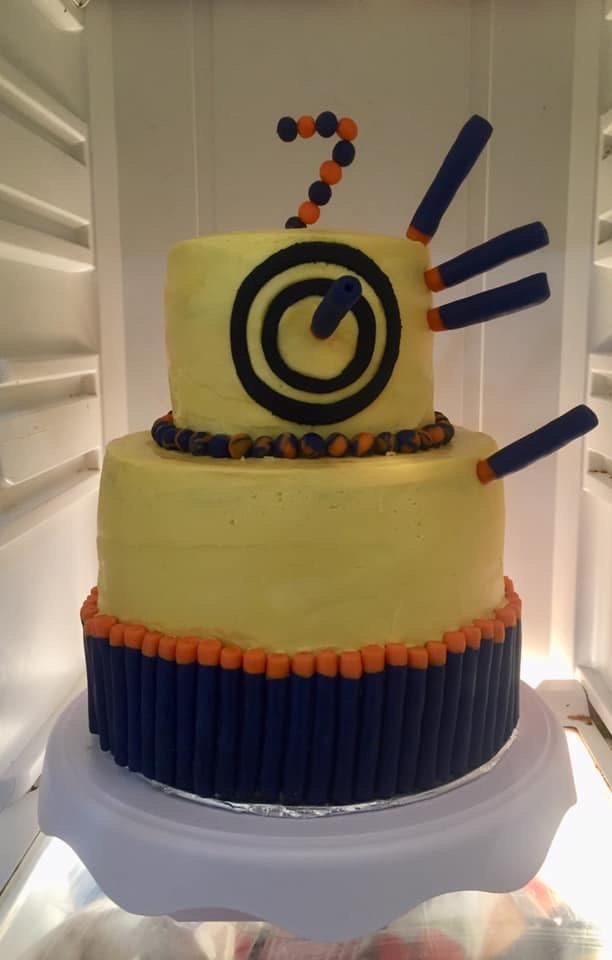
I assure you, cake decorating is an act of love. I understand why people charge so much; it can be very time-consuming work. But what can compare to the satisfaction of making something that will be part of a lifelong memory for your loved ones?
Whether you choose to make a special weekend treat or an elaborate cake for a fancy occasion, tie that hair up, don your apron, and have some fun! Just be careful … when people see what you can accomplish, don’t be surprised if those cake-making requests start pouring in!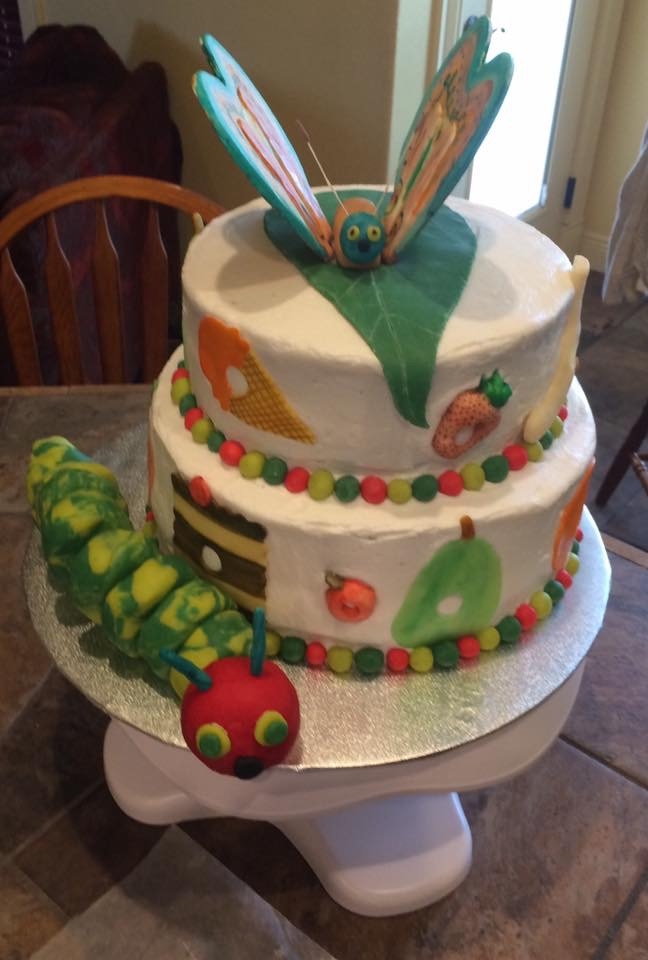
If you decide to tackle a special project, or have memories of a particular “labor of love” from years past, we’d love to hear about it. Share photos of your finished cake(s) with us on social media (#areasonforhomeschool) or leave a comment letting us know your thoughts!
Download free printable copies of the recipes
Bridgitt used to create the cakes shown above:
Buttercream Recipe (Printable)
Marshmallow Fondant Recipe (Printable)