I’ve always loved winter. Perhaps it’s my introverted personality that appreciates how quiet the town becomes when it’s freezing outside … the hustle and bustle seems to just dissipate.
While I prefer it to be white and pretty, at least part of the time, Mother Nature doesn’t always cooperate with my desires. Living through the winter here in Arkansas can be a bit of a roller coaster ride — 70° temperatures on Monday with 20s by that Friday, can often be the winter norm.
In case you’re like me and don’t get to play in the snow as much as you would like to, I want to share a project that rivals the fun of making snow angels and building snowmen: frozen bubbles! If the temperatures are right, it’s a fascinating project to try.
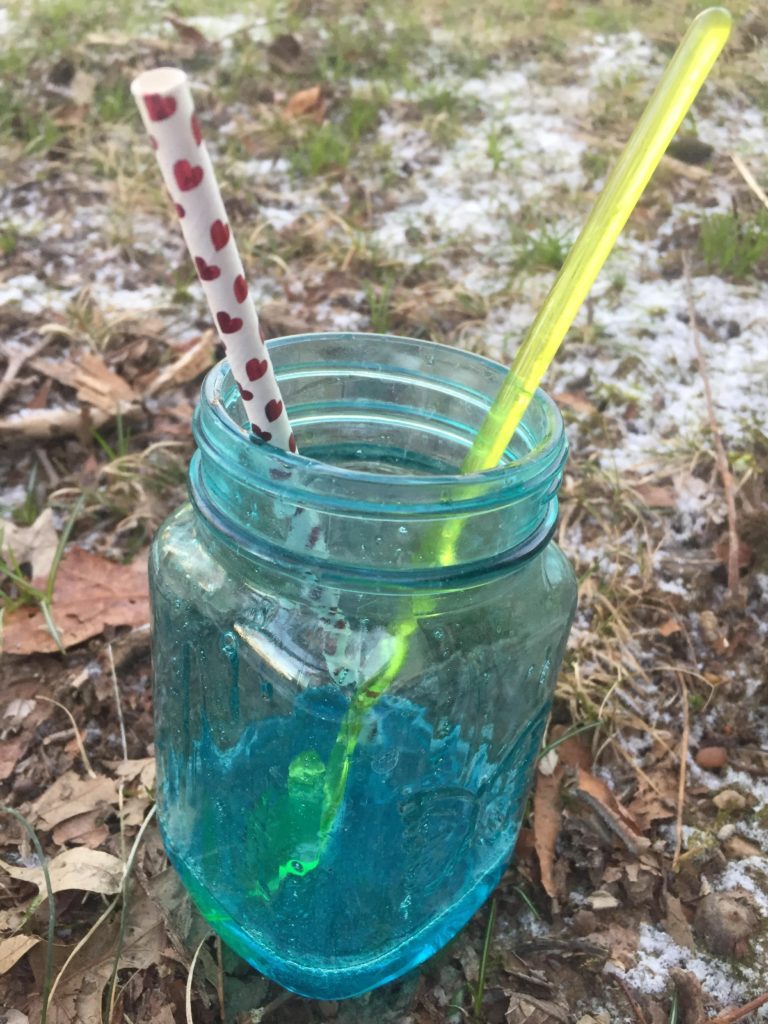
To freeze bubbles, all you need is a good bubble solution (which you can make yourself) and a drinking straw.
This bubble solution “recipe” is from the Accuweather website, and they recommend it to make freezing bubbles.
Simply mix together:
- 1 Tbsp. of warm water
- 4 Tbsps. of dish soap (I used Dawn)
- 1 tsp. of light corn syrup
- a drinking straw for blowing your bubbles
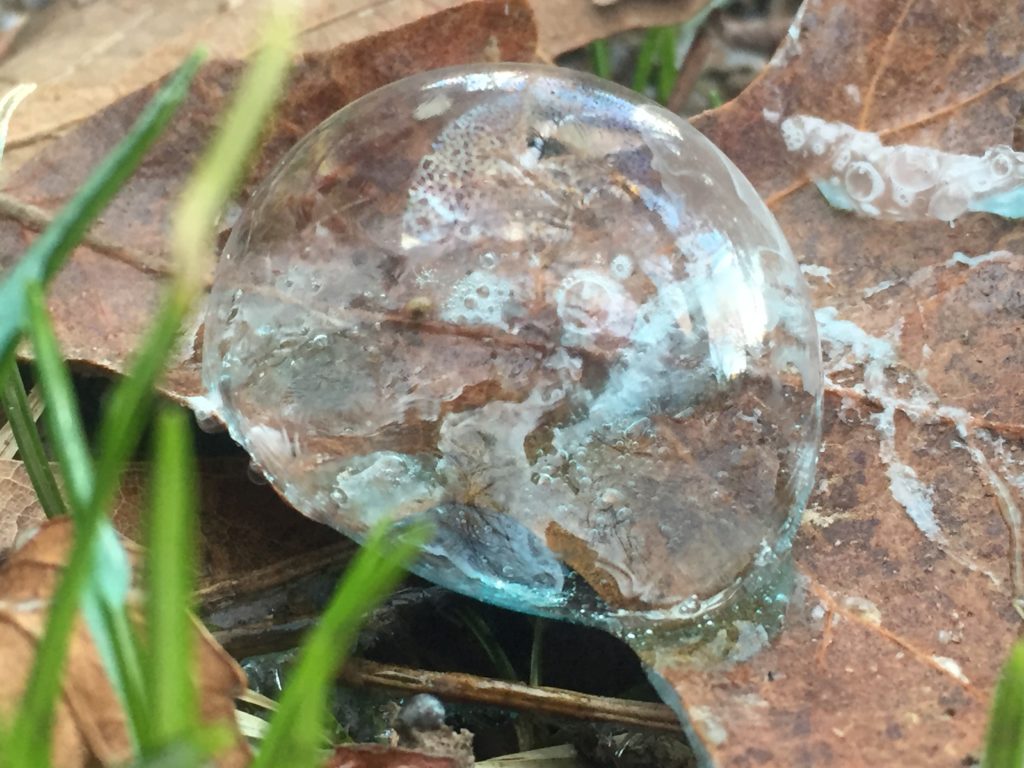
According to Popular Science, bubbles are actually made up of three layers, not one like you might assume. Apparently, there is a thin water molecule layer in between two layers of soap. When you see ice crystals growing in your frozen bubbles, it’s simply that middle water layer, which freezes at a higher temperature than the soapy layers.
The frozen bubbles don’t last long (so you have to be quick taking pictures, if you’re doing it!) because as the ice crystals spread, the air trapped inside your bubbles will begin to escape through tiny cracks, causing the pressure inside to drop. Our atmosphere then swoops in and crushes the beautiful art you’ve just created.
I tried this experiment just a few mornings ago when it was around 14° outside. While the bubbles did begin to freeze, and you could see the ice crystals starting to spread across the bubble, it was somewhat windy and they popped before freezing completely.  Several websites do suggest that it’s best to try this in an area protected from wind, and at slightly colder temperatures — ideally 9° or below.
A friend (who has done this before) suggested that those who live in a warmer climate might try blowing bubbles onto an empty, pre-chilled cookie sheet in the freezer. While I haven’t tried it, I think it’s a great idea and could possibly work. Might be even trickier trying to get a picture, though!
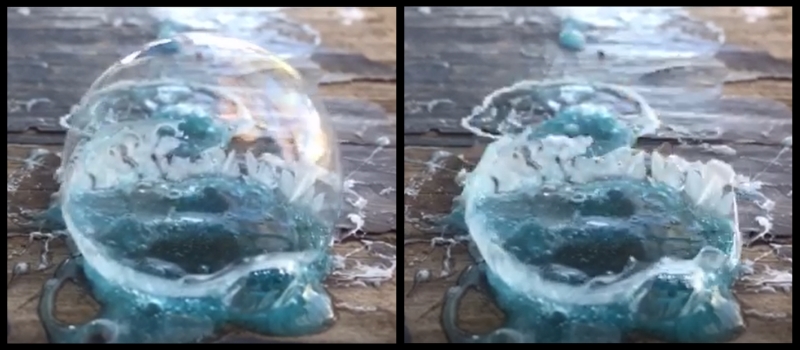
My favorite way to capture the beauty of this activity is to use the time-lapse feature on my phone. It speeds up what can be, for you and your bubble, a tedious wait for freezing. With the time-lapse, your bubbles appear to magically grow instant crystals right before your eyes. In the images below (which are taken from one of my time-lapses), you can see how crystals began to form along the bottom edge, and were still visible after the bubble popped:
Be sure you’re prepared to be patient, as this activity can be time-consuming. Many of your bubbles will pop instantly when they land, before you can see them freeze (or get your camera ready to take photos).
If you try this experiment — or have done it before when temperatures were way below freezing — I’d love to see your results, so please consider sharing a picture on our Facebook page!

If you enjoy A Reason For Homeschool,
please LIKE our Facebook page …
& share us with your friends!

So love this idea, Bridgitt — I’m packing a bottle of bubbles for our next Colorado ski vacation!
Fun, I want to see pictures!! 🥰