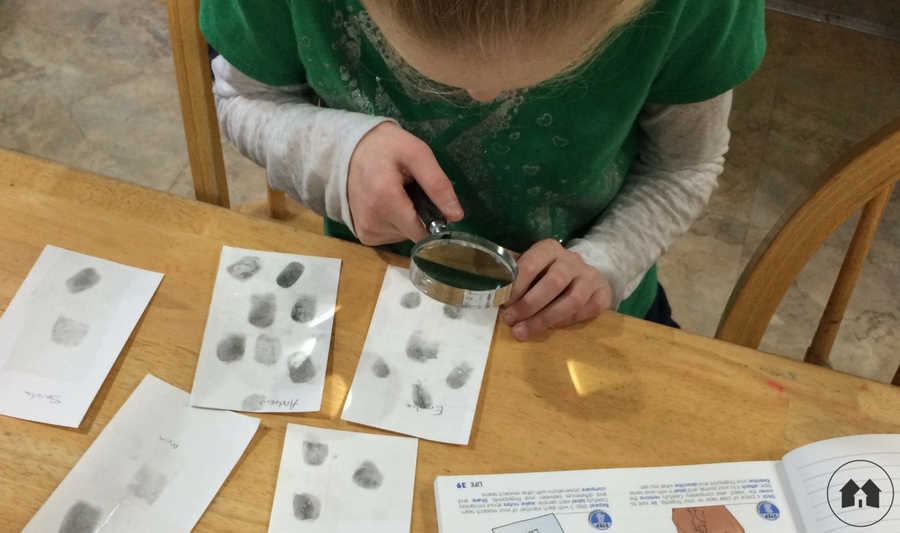
Do you have a Mister Nobody always getting into mischief at your house? I do. He makes quite a nuisance of himself, making messes and leaving things lying about all the time. I know it’s him because everyone else claims, “I didn’t do it!”
We might have found a cure for that infamous pest around here: we discovered fingerprinting! I won’t need a line-up; now I can just threaten to dust for prints to get a confession.
The other day we reached the fingerprinting lesson in our A Reason For Science. (It’s lesson 8 of Level H, if you are fortunate enough to have the curriculum.)
Imagine a world where everyone was an identical drone. How dull, right? God has given us amazing variety in our world, and our own bodies are no different. You aren’t here by accident, you are unique—an individual with so many different qualities, gifts, and a specific purpose to fulfill.
Fingerprinting didn’t become common practice until the late 1800s, but did you know the ancient Assyrians and Chinese used fingerprints to sign documents? This fact appears in the teacher’s guide, which is great for impressing your kids with all the cool stuff Mom knows (no matter that I only learned it a few minutes earlier)!
Today’s lesson utilizes just a few things you likely already have in your home: a 3″x5″ index card for each participant, a soft lead pencil, clear tape, and an optional magnifying glass. (Later in this post, I’ll also talk a little bit about dusting with fingerprint powder and super glue fuming if you’d like to explore the topic a bit deeper, but those are not necessary to enjoy this experiment.)
- Draw a box on an index card, roughly 1″ square or so, then heavily shade it in with your pencil. This will serve as an inking pad, so be liberal with the lead.
- Take the finger you’d like to print and place it on it’s side firmly on the “ink” square, slowly roll it from one side to the next, being sure to pick up lots of graphite.
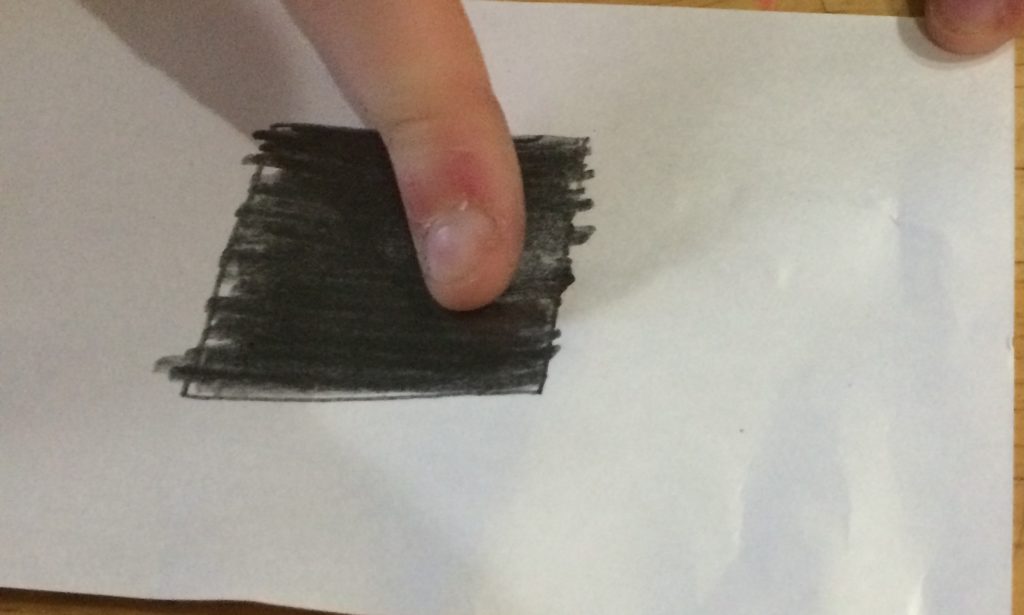
- Remove your finger, and place it directly onto the sticky side of the tape. Press it down and around gently, being careful not to smudge it. Then stick the tape to the white side of your child’s index card. Voilà, you have a print. My kids got a little carried away and did quite a few. You might want to label which finger of which hand you printed, and of course have them put their own name on their card.
Surprising enough, each of your own fingers can have a distinct pattern all its own. I knew mine would be different than my child’s, but didn’t realize I could have a loop on one finger, and a whorl on the next. If those terms are totally foreign to you, I found a handy little pattern identification graphic that might be of use, or you can find printable pages with more in-depth info here.
Explain to your child the ridges (high points) and the valleys (low points) of their prints, then hand them a magnifying glass and let them explore and identify what kind of print they have on each of the fingers they printed. Then have them compare them to your prints or perhaps a sibling or friend’s prints. How are they similar, or different?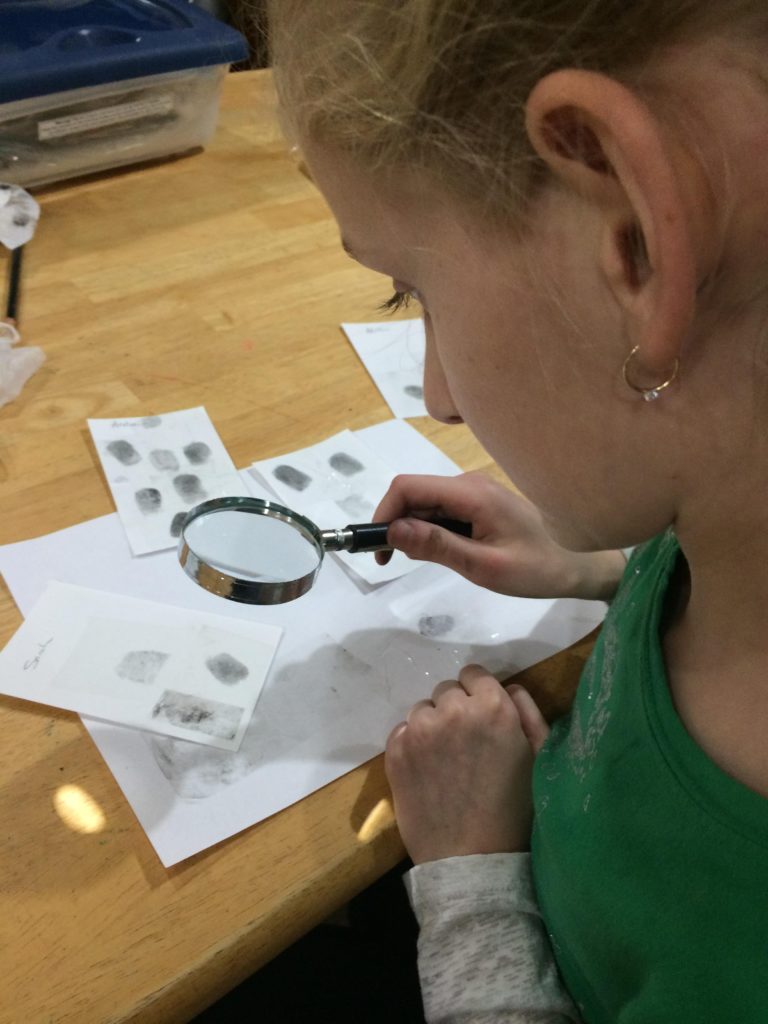
You might be surprised at how different fingerprints can be, even between members of the same family. The uniqueness of each one is why fingerprinting is still thought to be the most conclusive crime scene evidence; it even trumps DNA.
If you’d like to go a step further in your exploration, purchase some fingerprinting powder and a fine brush (readily available on Amazon) and you can make this project into a fun detective exercise. We decided to do just that, and made a game out of our newfound fingerprinting skills. My 9-year-old had the most fun with this; the older ones just kind of played along for her. I’ll warn you, it’s a messy job!
We put a candy bar in a glass jar and someone “stole” it. I made sure the jar was wiped clean of stray prints first, and had each kid take turns walking into the kitchen alone and then when they were all finished, I took the candy bar and stashed it away. At the beginning of every round of play, I told each child individually if they were the culprit or not, and also gave explicit directions whether or not they were allowed to touch the candy jar.
When we were done, we dusted it for prints. 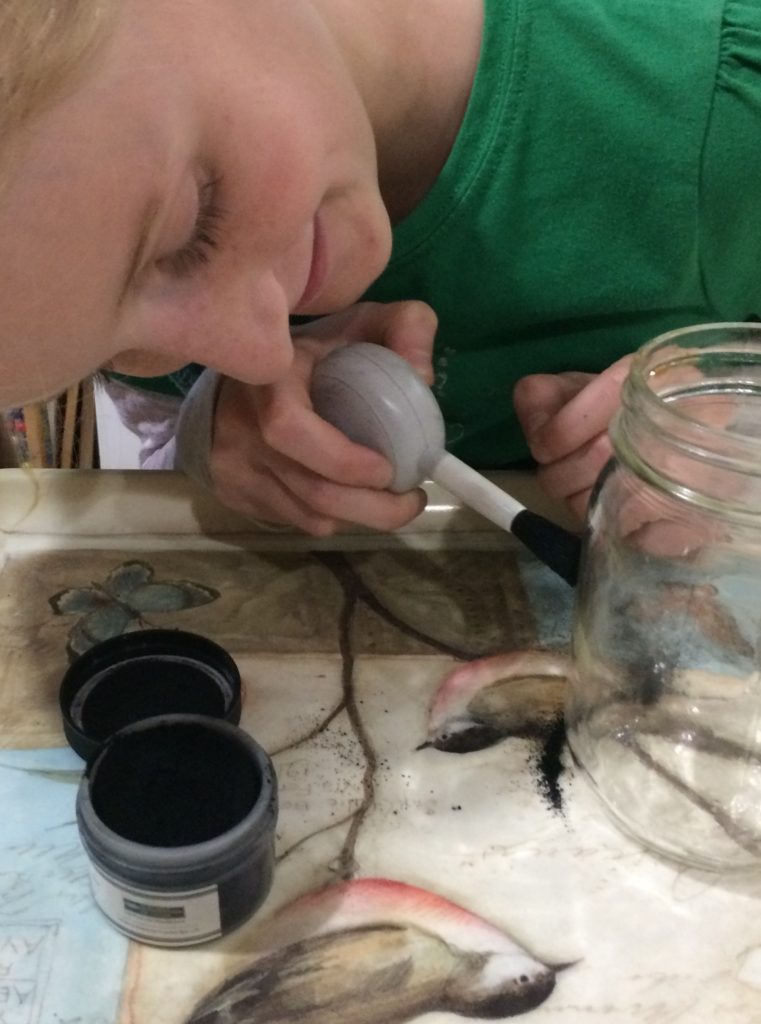 Once you find some, use clear adhesive tape to lift the print, and again tape it down to white paper. Now take everyone’s print cards and compare them to identify your thief. Once he has been correctly identified, share the candy bar with all the participants. You may be surprised; it’s far easier than you might think. My kids were able to identify our thief with 100% accuracy!
I saved our fingerprint cards for future reference. I may have to play this card (pun intended) next time Mr. Nobody leaves messes scattered around my house!
Still not had enough? Do you have a budding Sherlock Holmes in your home? How about doing some super-glue fuming to find prints? All you need is:
- a clean microscope slide
- a tube of super glue
- a piece of aluminum foil
- a small plastic container with a lid
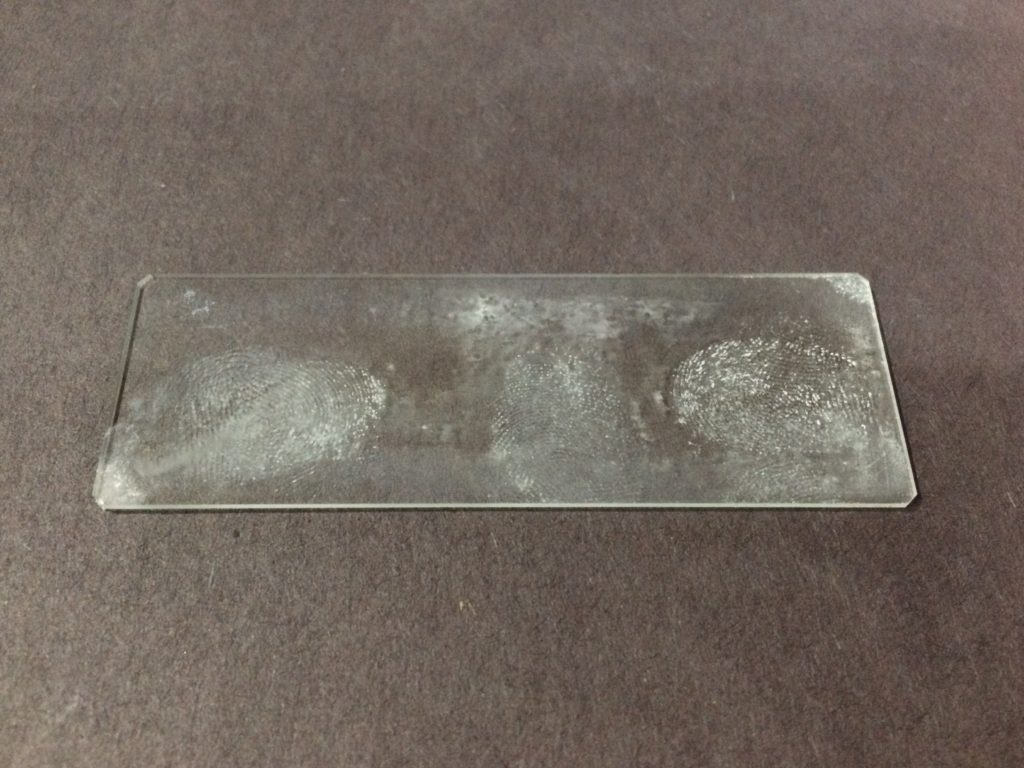
First, take your slide and place a few fingerprints carefully. Don’t do too many—the first one we did had all kinds of prints that were overlapping and we couldn’t identify any of them. Put a small piece of aluminum foil in the bottom of your plastic container, and add 3 drops of super glue. Carefully place your slide in the container propped up on it’s end, being careful not to put it in the glue itself. This works better with a small cylindrical container not too much bigger than the slide itself. (Perhaps your local pharmacy would donate a larger prescription bottle, or sell you one cheap … many businesses are more than happy to help further your educational endeavors in small ways!)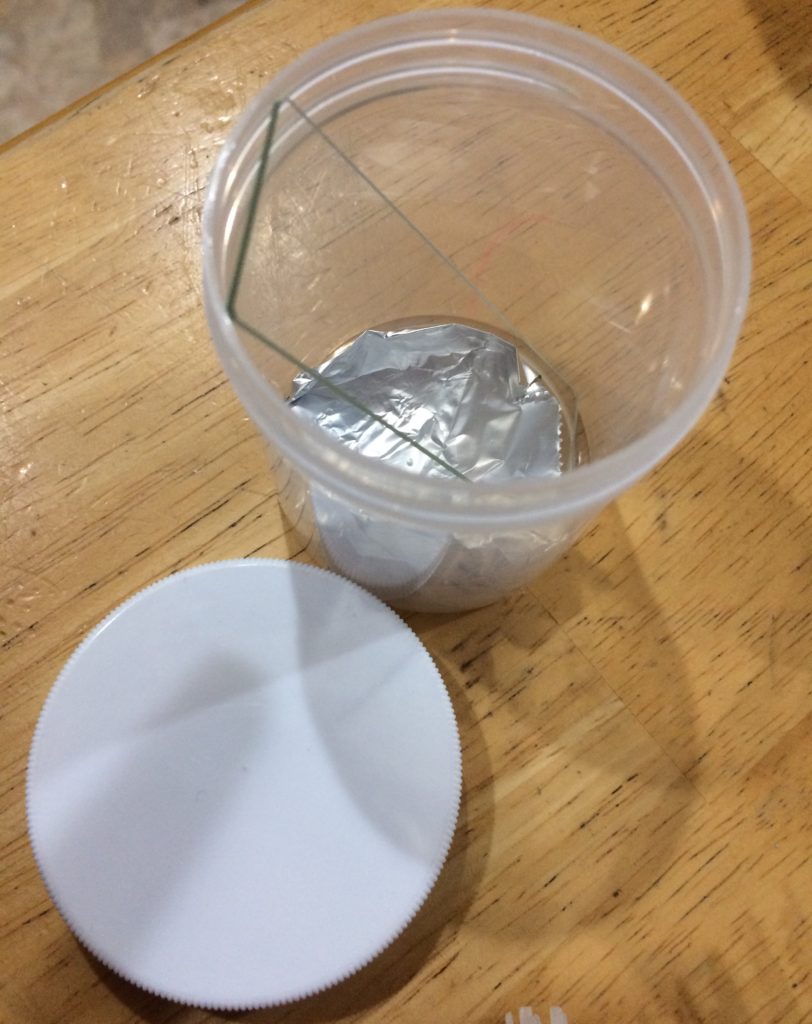 Now, screw on your lid, and place in a bowl of warm water to help speed up the process. Check for prints in 10-15 minutes. They should be present and will resemble frosted glass on your slide. If you place it on a black piece of paper, the fingerprints are even easier to distinguish. Pull out that magnifying glass and observe!
Wrap it up by turning back to your A Reason For Science book. The Food for Thought section at the conclusion of each lesson demonstrates my favorite thing about this curriculum: the way it always ends by pointing us back to God.
In this lesson, the focus verse is Luke 12:6-7. Jesus is reminding us here that God doesn’t need fingerprinting—or any other method—to identify His children, because He knows each of us so deeply and intimately that he numbers the very hairs of our head. Encourage your children to write out this scripture, and to think about trusting the Heavenly Father that loves them more than they can imagine, and getting to know Him more.
