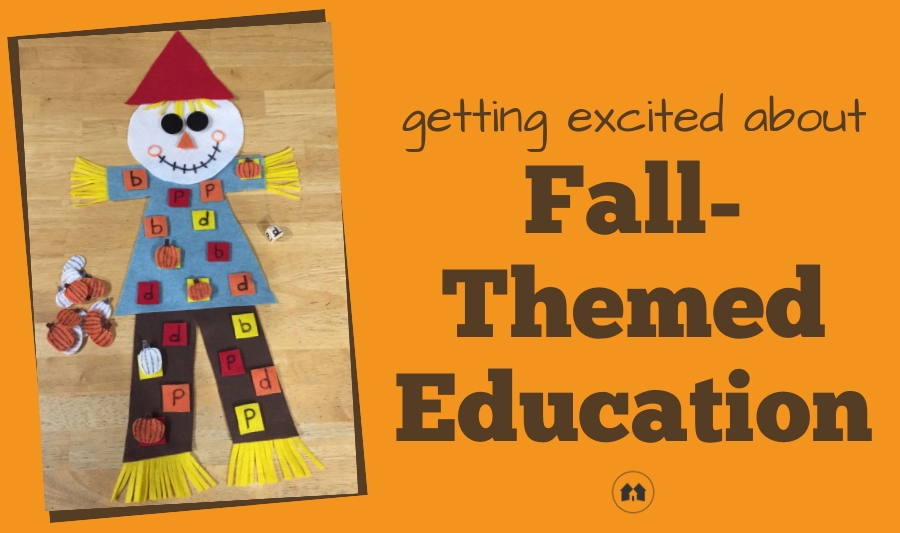
A post written by Peggy Ployhar of SPED Homeschool, which we recently shared here on our blog, mentioned ideas for spicing up your homeschooling with fall-themed educational activities. It’s easy to get stuck in a rut where the daily grind gets stale and boring.
I loved Peggy’s idea with the scarecrow. It got my gears turning on how I could tailor this to fit the needs of my 1st-grader. After all, I want to homeschool so I can do things exactly like this—see a need, and come up with a creative, hopefully enjoyable way to tackle what my child needs to learn!
I decided to focus on the ball-and-stick letters that are so easily mixed up by most young learners. My son, like so many others, often gets confused with the lower-case b, d, and p. It’s understandable, since they look quite similar.
There’s a trick that he already uses quite a bit. I don’t recall when or where I learned it—I picked it up somewhere along the homeschooling journey we’ve been on the last 15+ years—but I’m sure it wasn’t my own idea. He makes a circle with his index finger and his thumb on both hands, holding them together so the left hand makes a b and the right a d. When both hands are together, it kind of looks like a little bed. 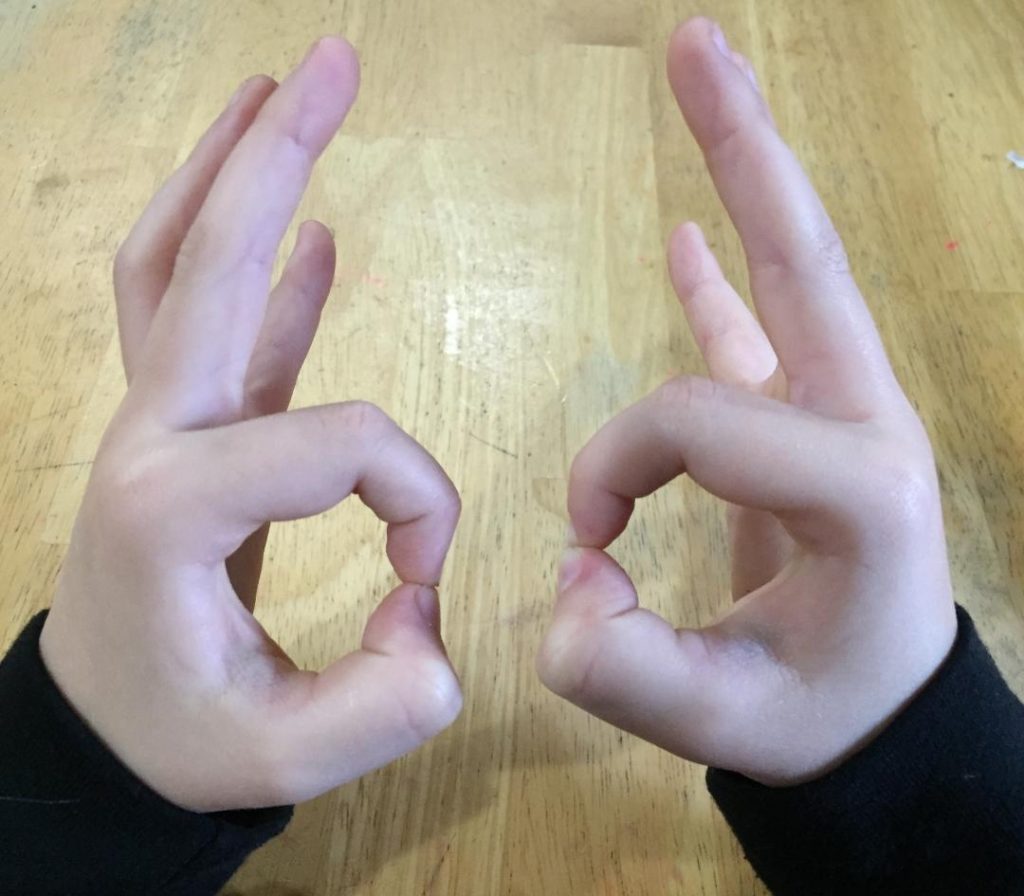 He says “bed” while looking at his hands, so he is seeing the b and the d of “bed” while also listening to the sounds the two letters. This allows him to physically see the difference of the letters formed on his hands, directly in front of him, and helps him remember whether the ball or stick is first.
You will need:
- a few different colors of felt in fall shades of brown, orange, etc.
- some sort of die that you can write on. My 15-year-old enjoys dabbling in carpentry and made ours, but you can Google “blank wooden die” and find them inexpensively on Amazon, Etsy, eBay and other sites.
- Velcro sticky spots, or round stickers. I made mine with velcro tabs so I could take them off and on; this way, our scarecrow’s face can be totally rearranged. I decided to make a couple of different nose shapes and gathered up a variety of buttons to change up the eyes for fun. (This is a super incentive to keep playing: tell your kids every time they cover 5 letters with pumpkins they can rearrange the face!)

- a Sharpie pen or permanent marker of some sort
- Hot glue gun
- paper to make a template
I made my scarecrow’s face out of felt so it could be rearranged, but it could be made out of paper as well.
Assembling your scarecrow:
Draw and cut out of paper the shirt and pants, these could easily be transformed into a dress with leggings if your child would prefer a girl scarecrow. Wouldn’t striped leggings be cute? 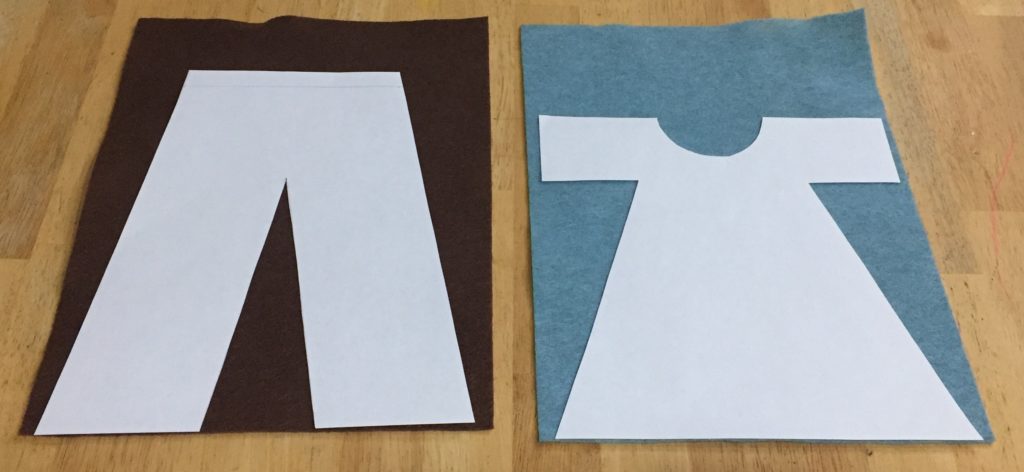 Then trace them onto your felt and cut out your pieces.
 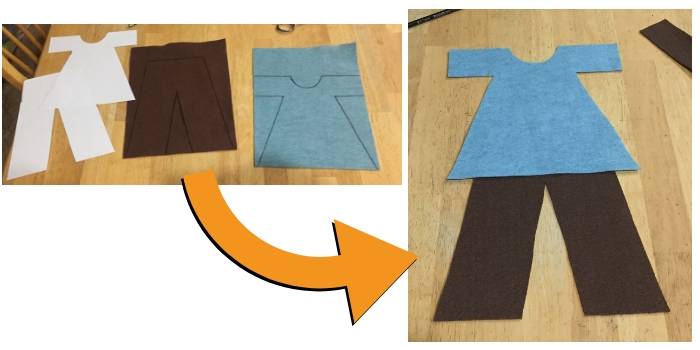 Make your face out of paper or felt, and draw on the smile. I decided to hot glue a bit of the yellow felt on the back side of the clothes to make some straw to stick out for arms and legs as well. The straw hair was a fun touch under the hat, and could get even fancier should you decide to make a girl. I’m thinking a yarn braid would be adorable. The hat is just a triangle, but if you’re feeling creative that could be a top hat, sun bonnet or cowboy hat. Nothing wrong with a few giggles as you play.
 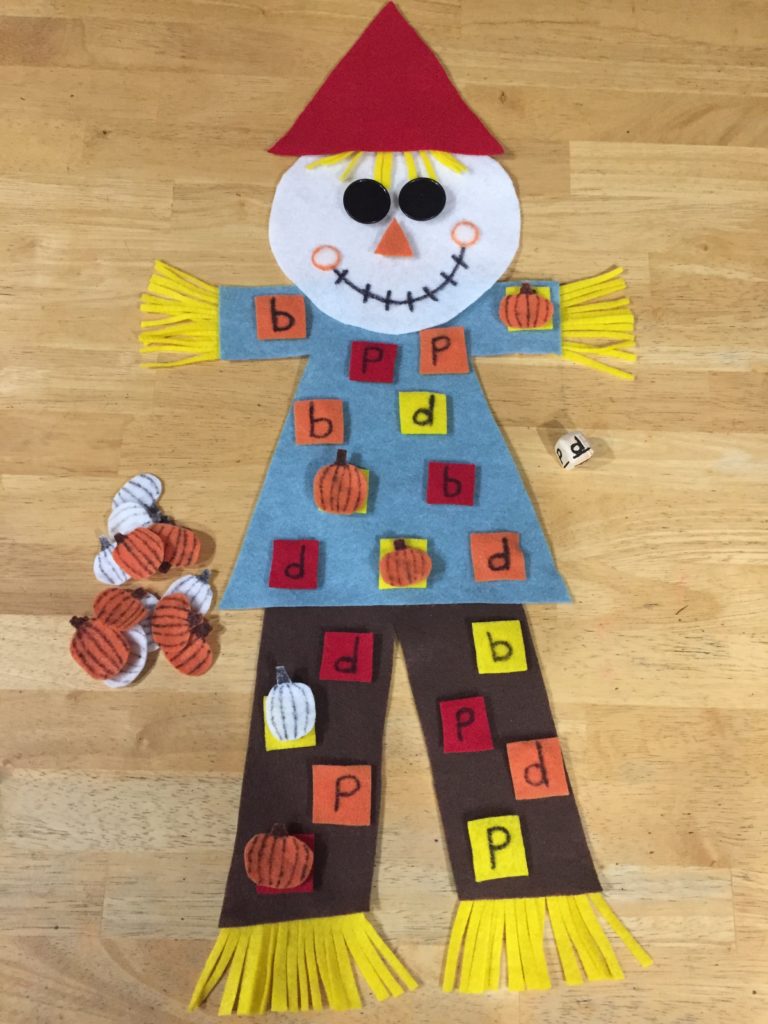 I drew out my letters on little square scraps of different colored felt, and Velcroed them to the scarecrow’s attire. I then cut out miniature little pumpkins to cover up the letters during play.
To make your die, write the letter and then underline it so your child will know when it is right side up: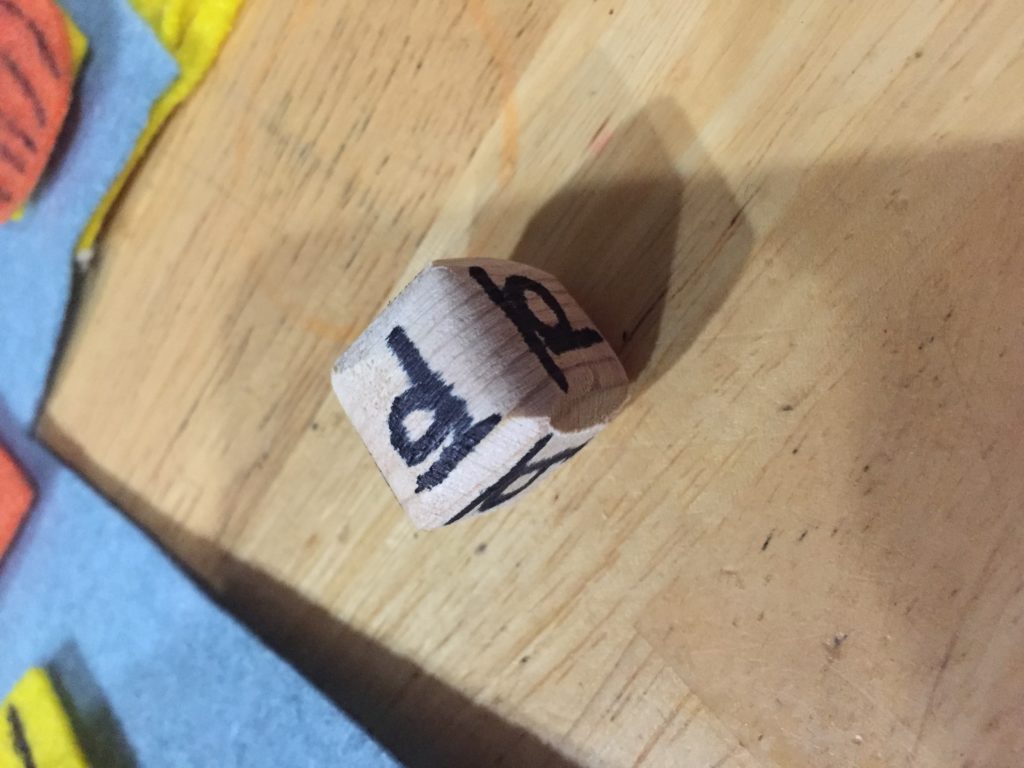
How to play the game:
Simply roll the die, identify the letter, and use a pumpkin to find a matching sound on the scarecrow. Stay near your child so you can listen to make sure they are saying the correct sound.
To make it more challenging, set a timer and try to cover all the squares before time runs out.
The possibilities are endless here. Maybe your child doesn’t need help with their ball-and-stick letters. Here, my little guy is using the scarecrow to help him learn counting by 2: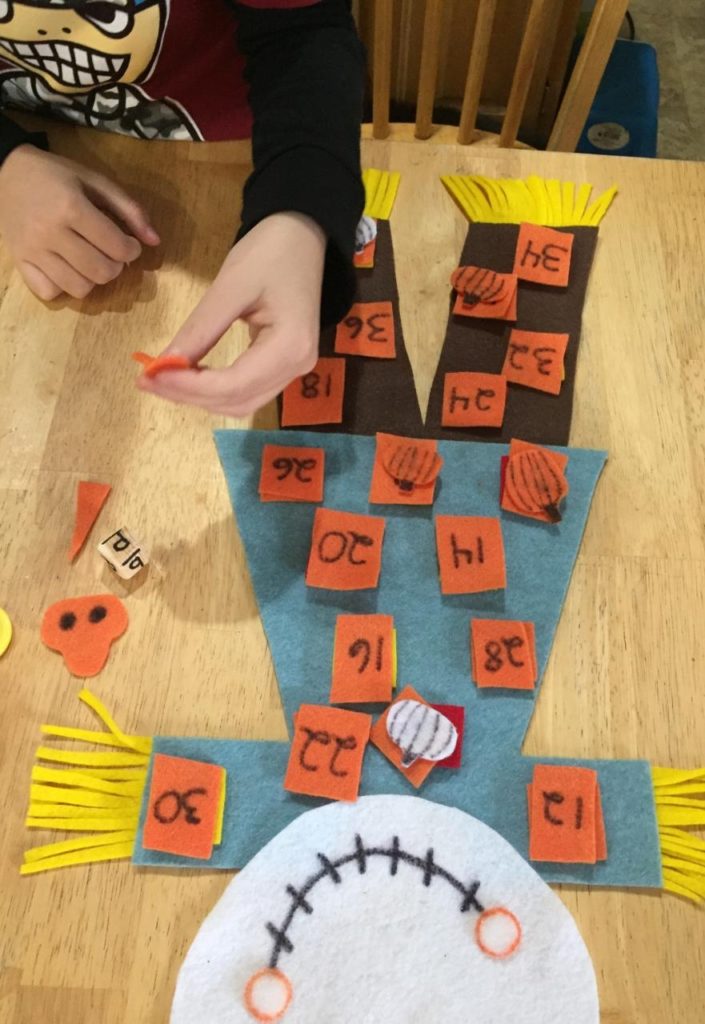
Perhaps you are learning to tell time? Make little clocks, then roll a 12-sided die to figure out which clock to cover up. (Yes they actually do make a 12-sided die … geometrically speaking, it’s a dodecahedron.) Or maybe your child needs to work on numbers, shapes, musical notes, colors? You could do so much with this little guy!
The point is taking whatever your child is currently working to master, and transforming the game to meet your needs.
Bottom line, have fun with it! There will always be worksheets and books to go back to. Take a break and play a while!
Find LOTS MORE inspiration
for your family’s home education journey …
visit our HOMESCHOOL section!
