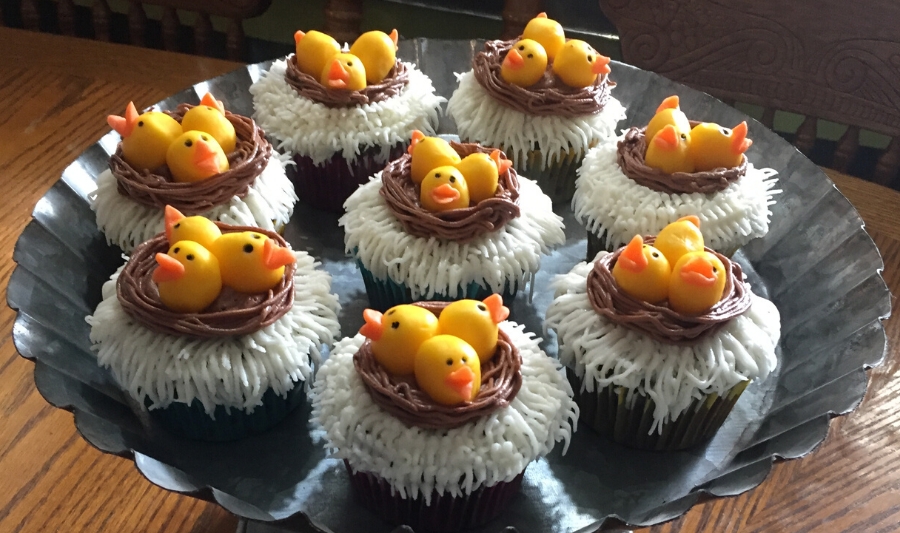
Holidays can be fun times to make extra special things in the kitchen. In the last few years, I’ve grown to enjoy making edible art in the form of decorated cakes and cupcakes. While I’m not much for fondant, I love working with candy clay. I feel like a toddler playing with edible playdough that comes in about every color imaginable. The ingredients are easily accessible in most large grocery stores with a cake decorating aisle. If you (like most of us) are not wandering through the store these days, the candy melts, corn syrup, and edible food markers can all be ordered online from Walmart and Amazon, as can icing bags and tips if you don’t already have them.
Today I’m going to walk you through making an adorable spring-themed cupcake that would make the perfect addition to any Easter celebration this year. I recommend doing the project over several days, so it’s perfect for anyone looking for ways to fill extra hours while you stick close to home.
You will need:
- Cake mix of your choice – I used chocolate.
- 2 – 12 oz (or smaller) packages of Wilton candy melts, one yellow and one orange – I could only find 12 oz. bags, and I had quite a bit leftover. 5-6 oz. of each would be plenty.
- Light corn syrup
- Black edible food marker – I used Wilton’s FoodWriter
- cupcake papers
- 2 batches of buttercream icing, both chocolate and vanilla (download a copy of the recipes HERE: Printable Recipes - Vanilla & Chocolate Buttercream Icing )
- a couple of icing tips and two icing bag set-ups. I used the Wilton size 4 to make the nest, size 6 for the inner chocolate nest filler, and a #134 tip to make the “grass/straw” white stringy stuff around the cupcake edge. Lots of icing tips are similar to these, so exact item numbers are flexible.
Making candy clay using a 12 oz. bag of Wilton candy melts:
I start my candy clay creations a few days before I bake the cupcakes. It’s the part I enjoy the most, but it’s also quite time consuming.
- Dump your candy melts into a microwaveable container and microwave on high in 30 second increments, stirring between each heat cycle. Takes my microwave about a minute and a half.
- When thoroughly melted smooth, add 1/3 cup of light corn syrup, mix well.
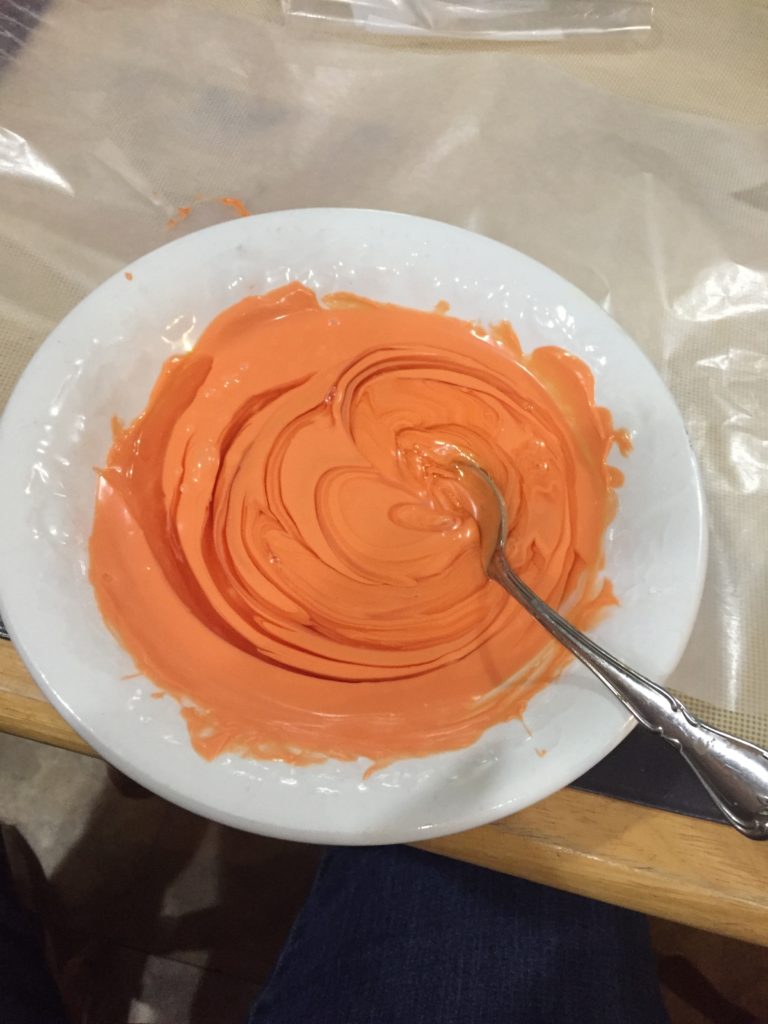
- Dump your somewhat-runny candy clay onto wax paper. Fold the paper up and gently and place in a baggie and refrigerate until cool. Your clay will harden when cooled.
- Make yourself a workstation. I like to work on my silicone mat.
- Hopefully this goes without saying, but WASH YOUR HANDS before you begin handling the edible clay. Yes, a full 20 seconds!
- Take a bit of the hardened yellow clay and begin to work it with your (CLEAN) hands, it will soften up into a Playdoh-like consistency.
- When pliable, roll a small ball for your chick’s body making it somewhat oblong, and set aside.
- Using the orange clay you will now craft a beak. Make a somewhat flat diamond shape on your finger. Using the flat edge of a knife score the center and fold over into the shape of a beak.
- Gently press the beak onto the yellow chick body you made earlier. If you have a hard time getting it to stay you can dab a teeny bit of water to “glue” it on.
- Using your edible marker, dot on your eyes. (You could also use tiny balls of black fondant for this step in lieu of the marker.)
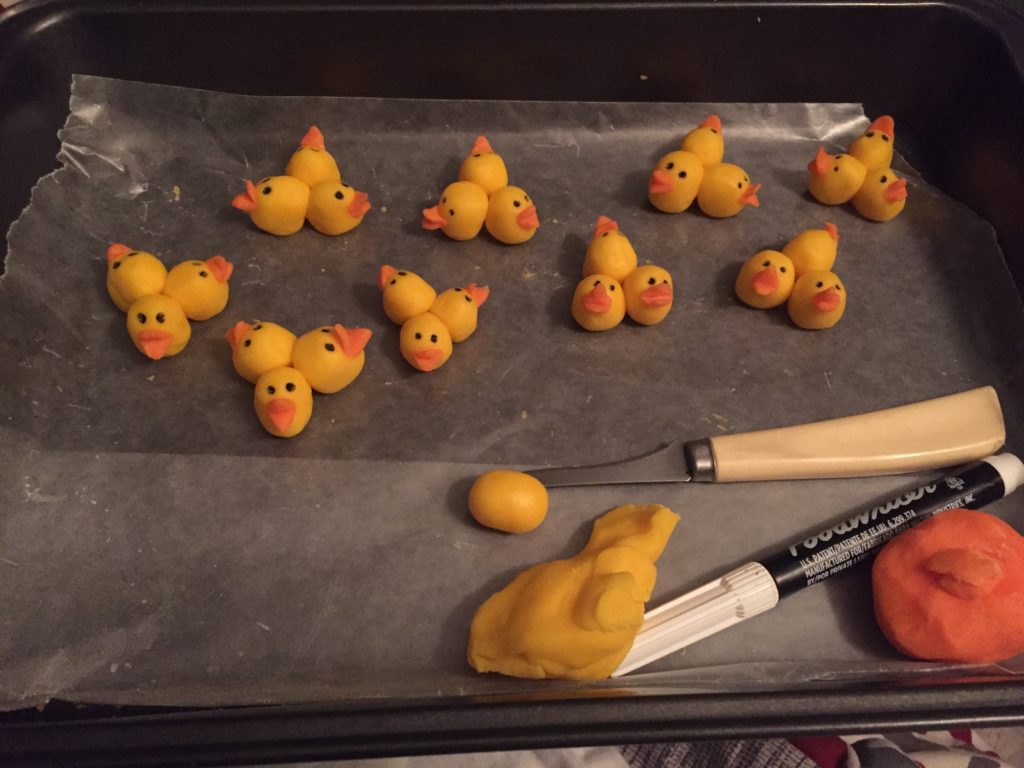
If you need a break before finishing your project, a large casserole dish makes a nice pan for storing your ongoing project, especially if it happens to have a lid. (There’s no need to refrigerate the candy clay designs.)
Bake a batch of cupcakes of your choice. While they cool, whip up your icing.
Cupcake assembly:
- Using the Wilton icing tip #134 work from the outer edge and moving towards the center of the cupcake make short spiky grass squiggles, layering up and around the edge until nicely covered.
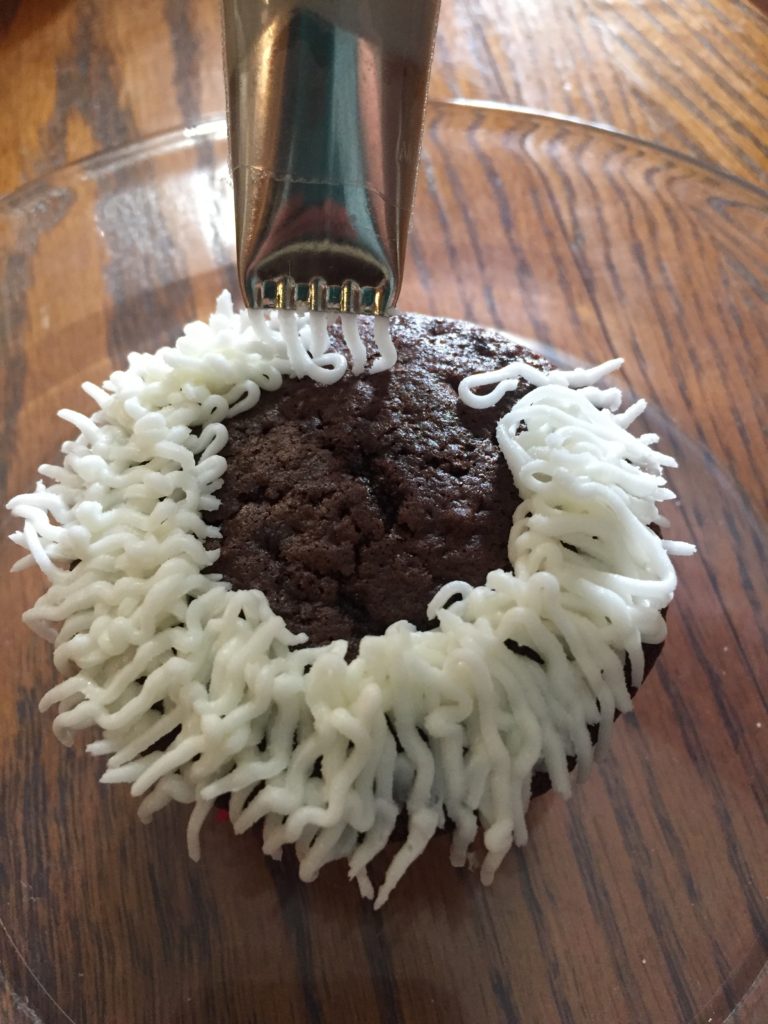
- Fill the center of the cupcake top with a layer of chocolate icing.
- Using the Wilton #4 round tip wrap rings of chocolate icing to look like a nest.
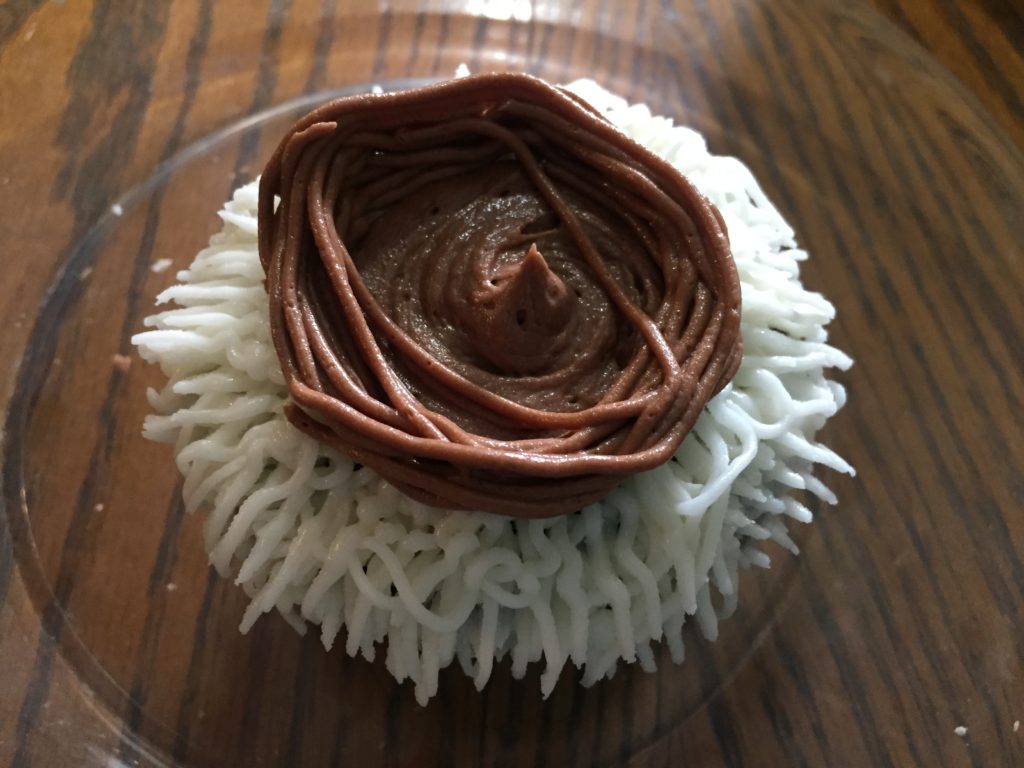
- Place three of your candy clay chicks into each nest, and you’re done!
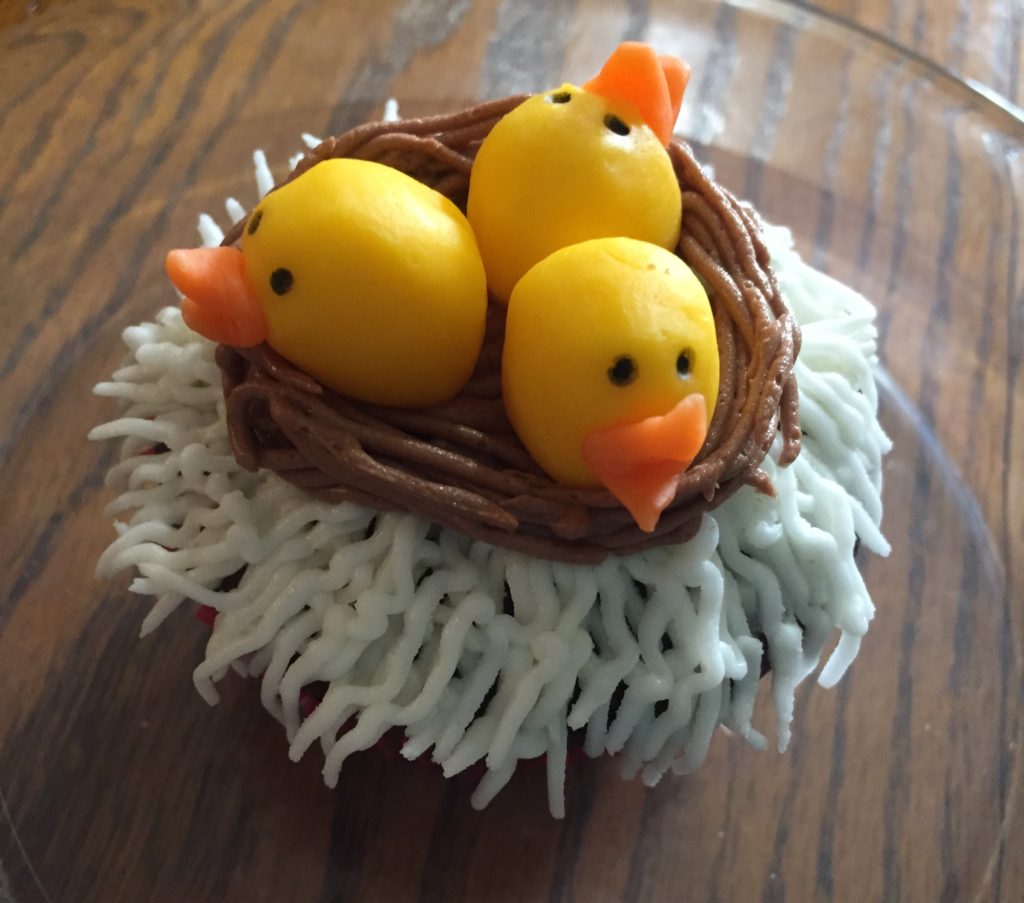
Find a beautiful dish to display your cupcakes and enjoy the delight of your family as they gush over your adorable creations. You might even consider dropping off a few special treats on a friend’s porch to brighten their day while coffee-and-play-dates are off the table.
 Visit them at www.AReasonFor.com to learn more about their scripture-based resources
for home educators.
