Unless you’ve been living under a rock, you’re bound to have heard about probiotics. The word itself comes from the Latin preposition pro (meaning “for”) and the Greek word biotic (“life”). So the term itself — “for life” — speaks volumes.
These beneficial microbes were first introduced to the scientific community in 1907, by a Russian scientist named Elie Metchnikoff, who was apparently so convinced by his research that he drank sour milk daily until his death at the age of 71.
The effect of probiotics on our intestinal flora is amazing. Claims about the touted benefits of consuming them—from alleviating eczema symptoms to curing cancer—are rather astounding. (Check out this article from Harvard Medical School.)
While you can purchase probiotics as a supplement, it’s quite easy to culture your own stash (and tasty, too, I might add) simply by making homemade yogurt. You don’t have to buy a lot of special ingredients; you can use about half a cup of store-bought plain yogurt to culture your batch, or find a good shelf stable probiotic powder to use.
The one I use, Gr-8 Dophilus from NOW Foods, comes in capsules. I open them up and stir the contents into warmed milk to culture homemade yogurt. It’s an 8-strain probiotic with guaranteed potency throughout its shelf life. I know it’s good stuff; my yogurt wouldn’t have turned out otherwise. Be aware, though, that every probiotic isn’t the same. You need to make sure you purchase a shelf-stable variety with potency guaranteed through its expiration date. No use getting one that was active at the time of bottling, only to go bad before you’ve had a chance to use it!
You will need the following items to make your yogurt:
- one gallon of whole milk
- yogurt starter, or a good probiotic (I use 4 capsules of the brand mentioned above)
- candy thermometer
- 5 quart-sized jars with lids
- dehydrator, to keep it at a constant temperature (I’ll include links below for making it in the crock-pot or oven, as well.)
Directions:
- First, you must make sure your jars are extremely clean. I like to run them through the dishwasher right before I’m ready to make yogurt, and have them ready to use while they’re still warm. Sterile jars are critical. You don’t want to be culturing anything but the good bacteria.
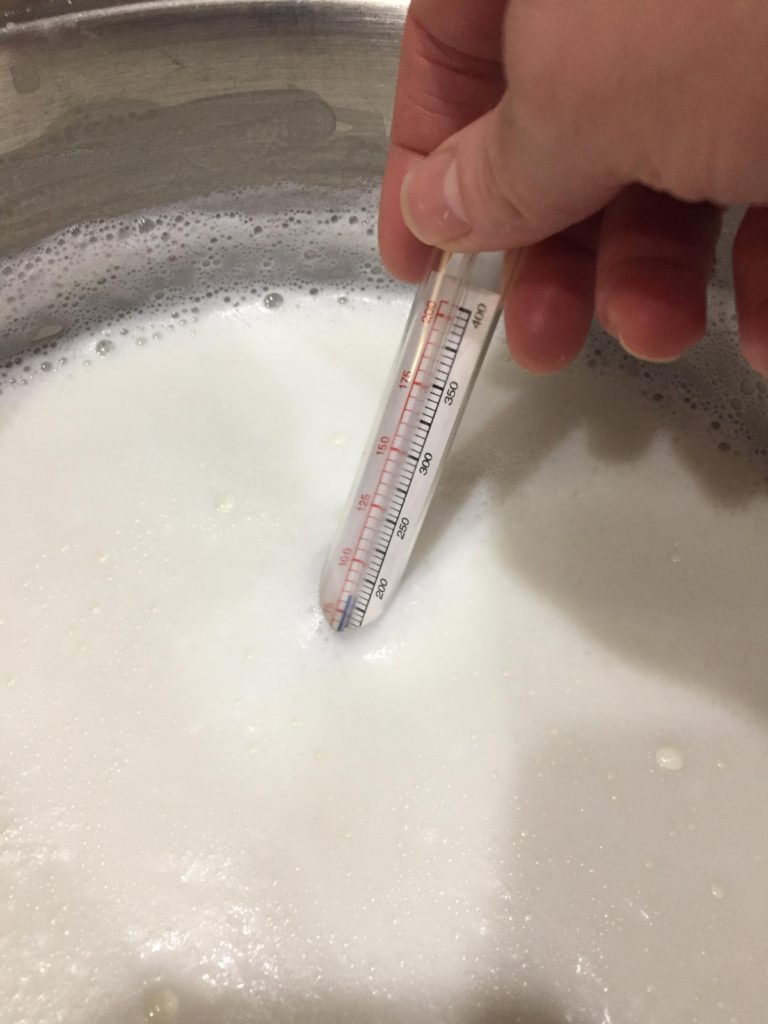
- Take your gallon of milk and pour it into a kettle over medium to high heat. I use high, but it must be stirred constantly if you want to use high. Bring your milk to 185°F and remove from heat.
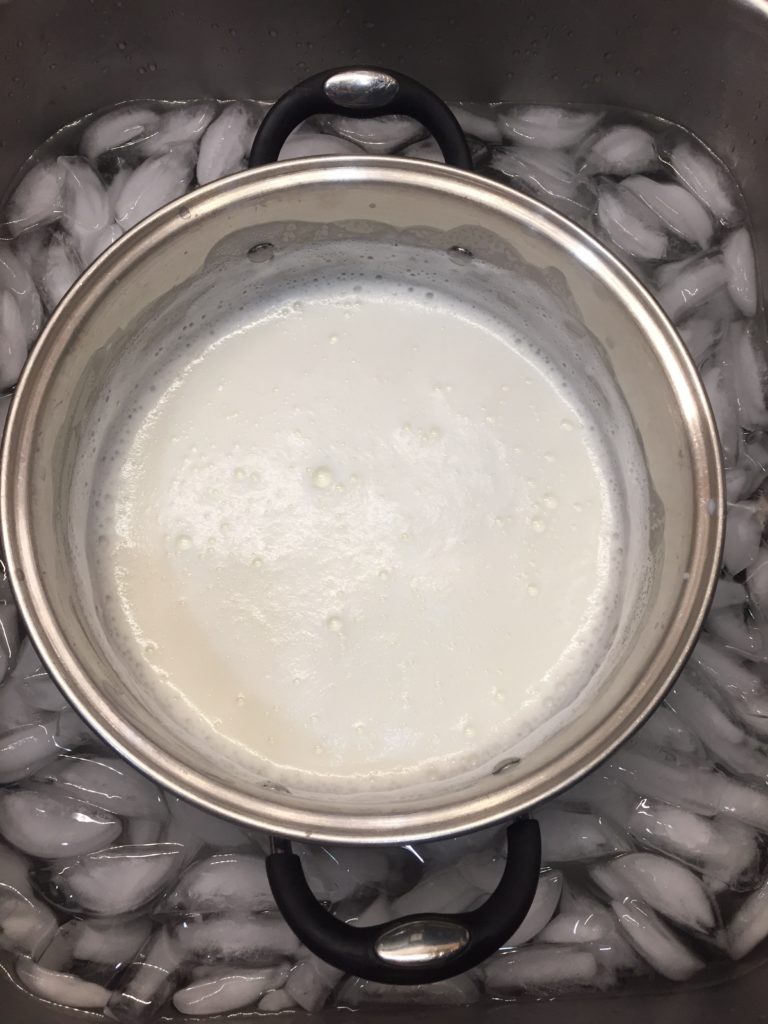
- Fill your kitchen sink or tub with ice water and set your kettle in it to cool. Continue to stir until your milk drops down to 110°F.
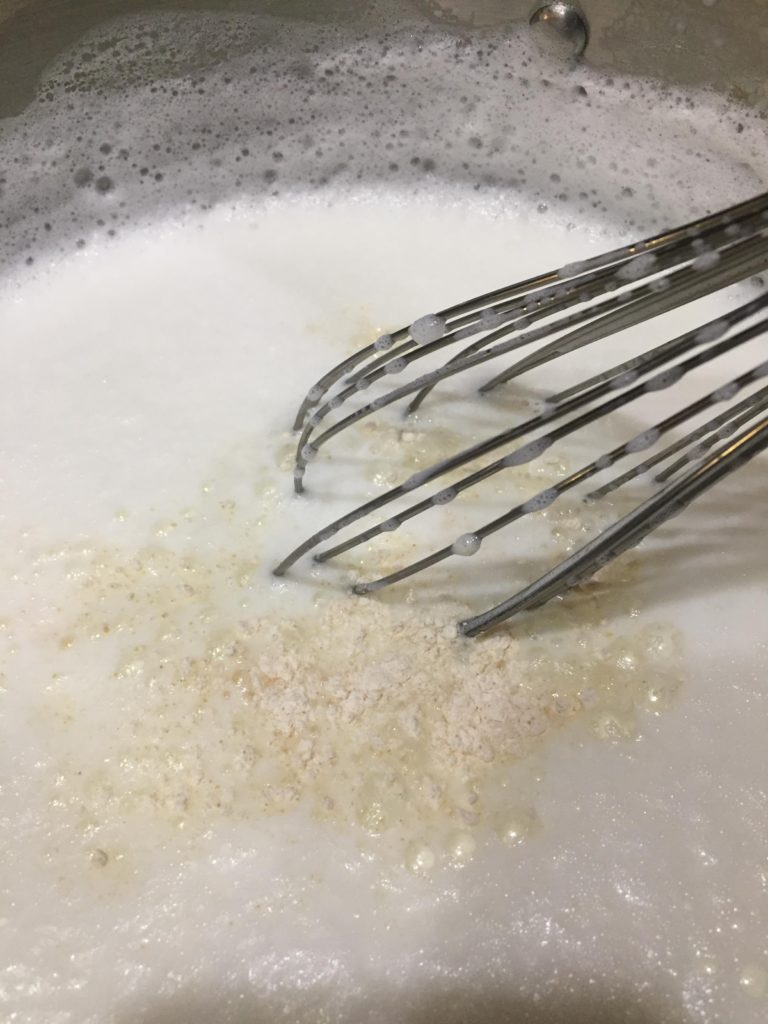
- Gently stir in your probiotics or yogurt culture.
- Ladle the mixture into your clean jars, leaving a 1″ – 1 ½” head-space.
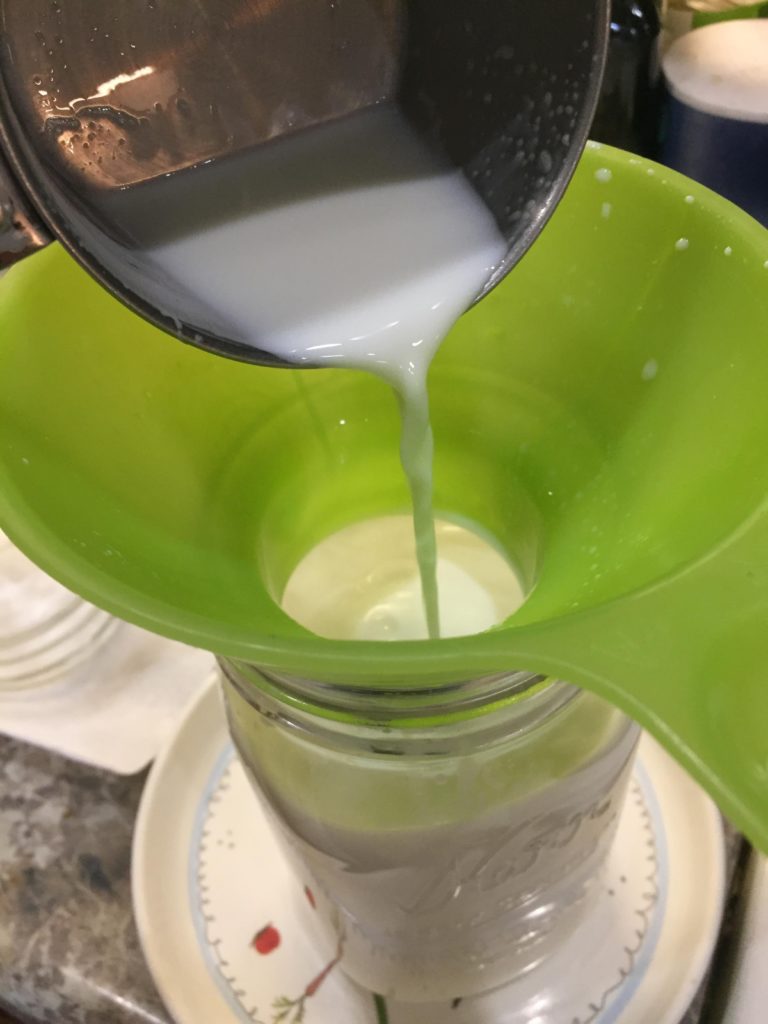
- Screw on your lids and place in a preheated dehydrator on 115°F. (I use the Excalibur dehydrator; it’s an excellent, thermostat-controlled dehydrator with several removable shelves, and a fan in the back for even drying.)
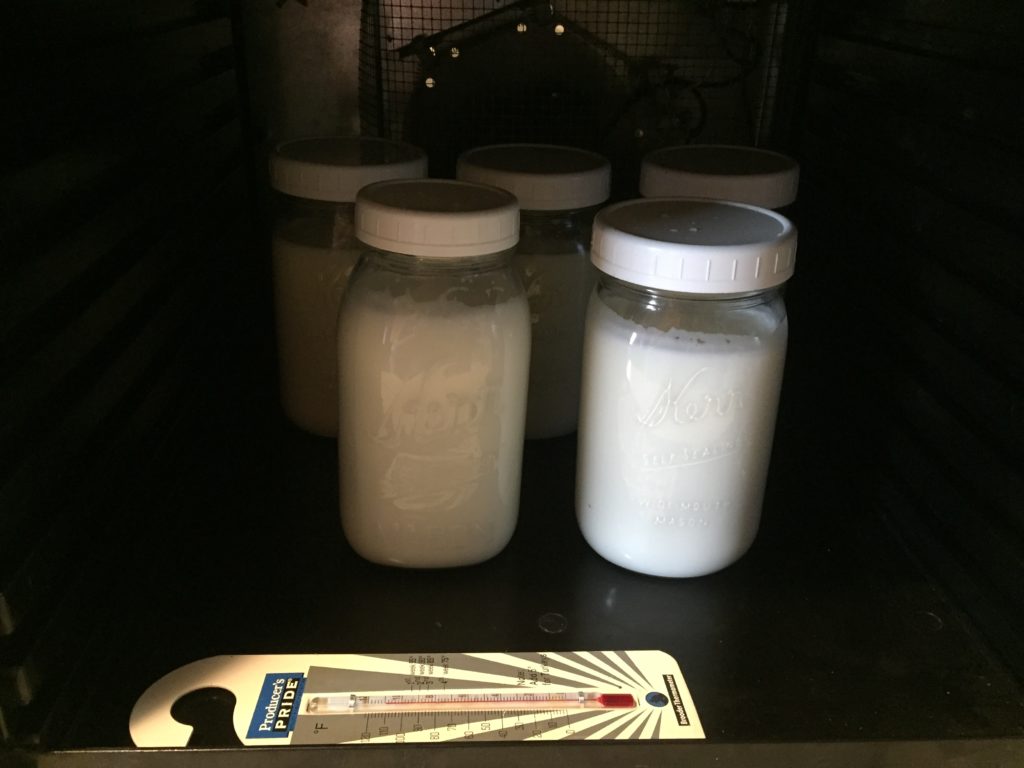
Making yogurt is an easy process, but the temperatures are of utmost importance. Keep in mind you are dealing with live microbes that need specific temperatures to thrive, or even live. Too cool and they won’t activate, too hot and you’ll kill them.
We have some milk allergies in our home, so I like to culture my yogurt 24 hours. Culturing for this long gives the bacteria time to consume all the lactose, making my yogurt both lactose and sugar free (the later being an added benefit for a low calorie or Keto-friendly snack). Keep note of the time, though. Longer than 24 hours and you run the risk of ruining the yogurt, as the bacteria eventually run out of food and will die.
When your yogurt is done, carefully transfer it to the refrigerator to cool and thicken. Once chilled, it’s ready to eat. If you prefer a Greek style yogurt, simply pour the set yogurt into a bowl lined with cheesecloth, draw it up into a knot, and hang it with a spatula or wooden spoon over a bowl to drain. Keep it refrigerated during this straining, which takes a couple of hours. And don’t throw out that liquid … the drained-off whey can be added to your baking projects or smoothies for a nutritional protein spike!
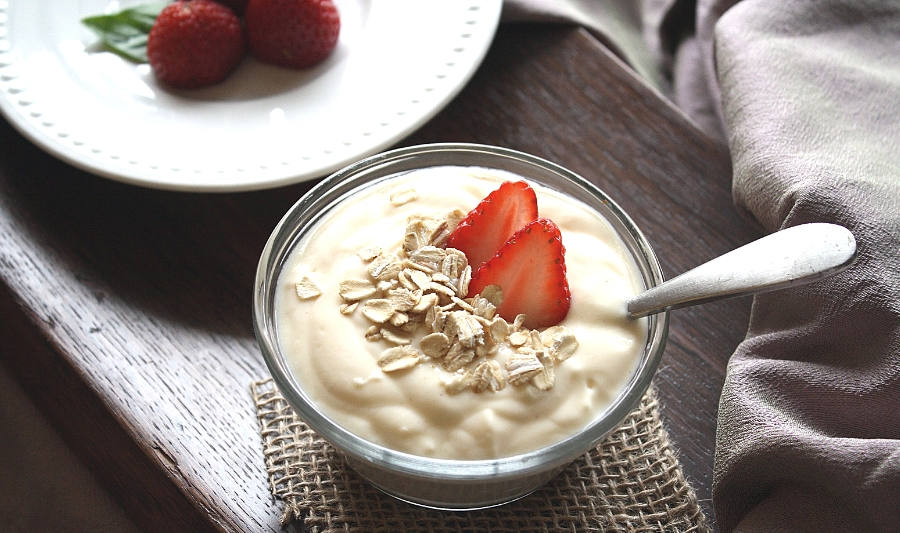
My favorite way to eat my yogurt is to add granola and blueberries or strawberries to it. Makes a delicious parfait. This yogurt will not be sweet (and because of that, it can actually be used as a sour cream substitute, as well). If you want it sweet, simply add your favorite sweetener. If you are looking for a sugar-free alternative, my favorites are the Better Stevia pomegranate blueberry liquid sweetener, vanilla sweet drops by Sweetleaf, and liquid monkfruit.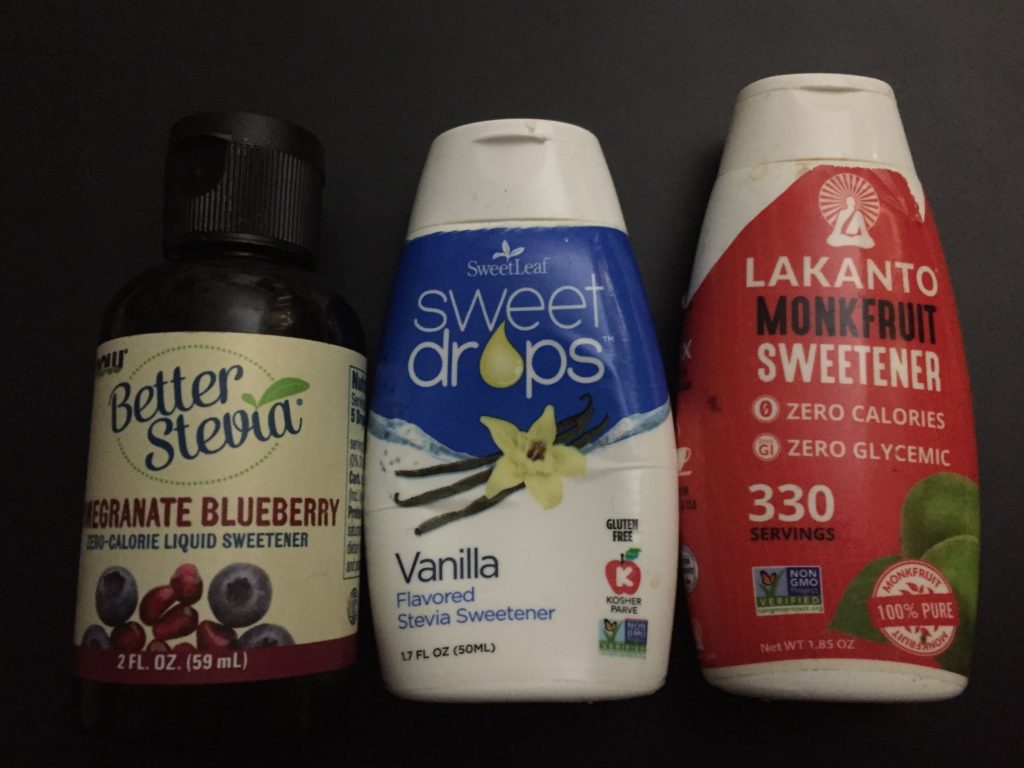
So, you might be wondering how long your new yogurt will last in the refrigerator. You have just made 5 quarts of yogurt, after all! While I don’t know an exact “expiration” period, I will tell you mine has lasted well over a month. It’s very difficult for bad bacteria to grow in a jar pumped full of beneficial bacteria. So, unless it starts turning pink on you, it’s probably just fine.
As promised, here are a couple links to making yogurt in your oven or crock-pot, should you not have a dehydrator. The initial steps will be the same, but some parts of the process will be different and you won’t culture it as long:
Oven Method | Crock-Pot Method
Thanks for reading today … and happy culturing!
Visit our Recipes section for more
favorites from all our contributors!
