
Many of the beautiful indulgences of life cost a lot of money. With crystallized flowers, the price to purchase them from a store is high because the steps are still done by hand. However, if you choose to make them yourself, you spend nothing but time and effort to have the same gorgeous results!
Whether you call them sugared flowers, or crystallized flowers, they are a beautiful addition to all types of desserts. When I had a stall at the Farmer’s Market, I would bake several dozen cakes each week. I don’t pipe frosting and prefer my cakes to have a rustic, homemade look. I sat down in the spring and sugared enough blooms to decorate all the cakes I made that summer. They are a beautiful and unique adornment, and everyone will wonder where you got them!
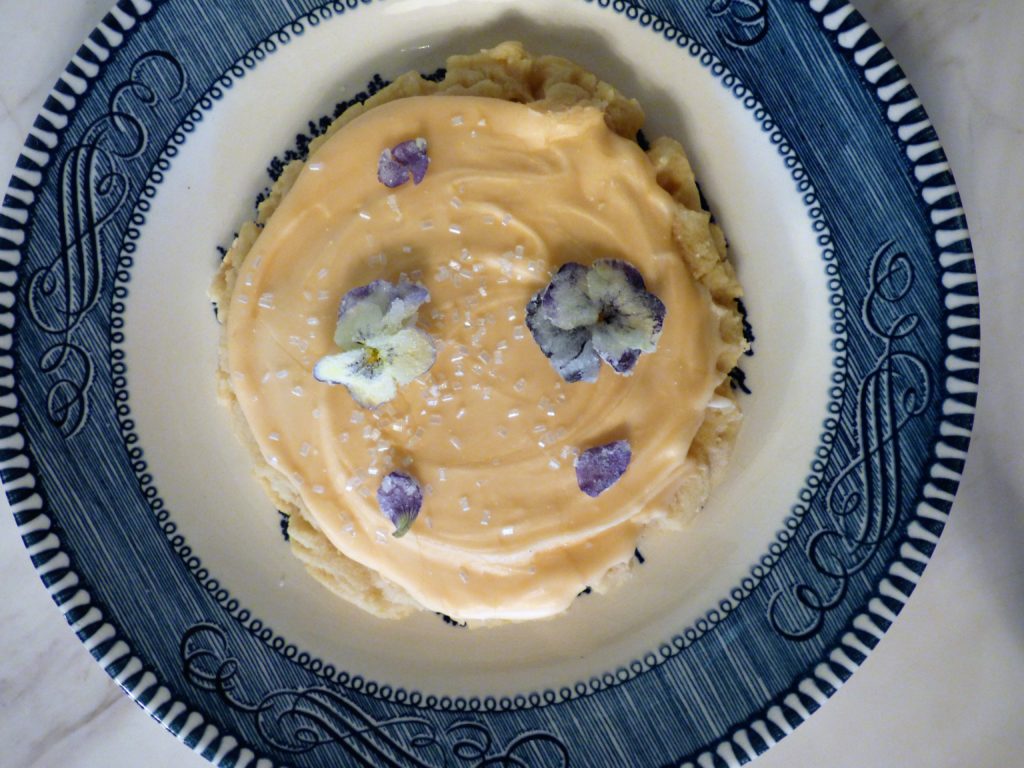
Any edible flower is an option for the sugaring treatment, but keep in mind that the more petals a flower has, the harder it will be to coat and the longer it will take to dry. Full-petaled roses are not a great choice. The semi-double works well. Flat flowers like violets and pansies are perfect and the easiest to start with. With some flowers (like the pink quince shown below), I simply pull off the petals and crystallize them. My roses aren’t blooming yet, but the quince petals will look just like sugared rose petals when I finish.
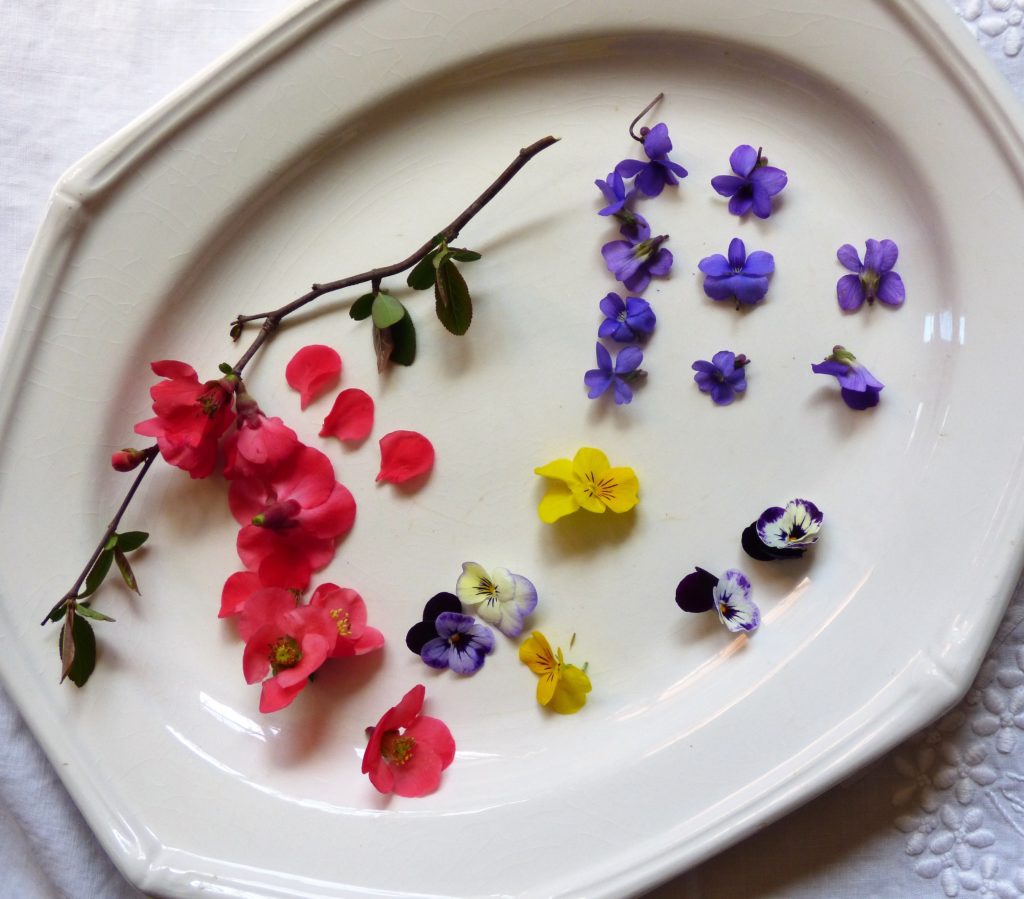
First you need to find flowers that are edible. In the spring my yard is filled with wild violets, the flower beds spill pansies and violas, and the fruit trees are in full bloom. All of these flowers are edible, and at my home, there is no spraying of pesticides or insecticides. If you don’t have the same abundance in your yard, seek out a neighbor or family member who will be more than willing to part with an assortment of (non-sprayed) blooms. To be certain of which flowers are safe to eat, you can look at many different sites; both Wikipedia and What’s Cooking America have exhaustive lists of edible flowers.
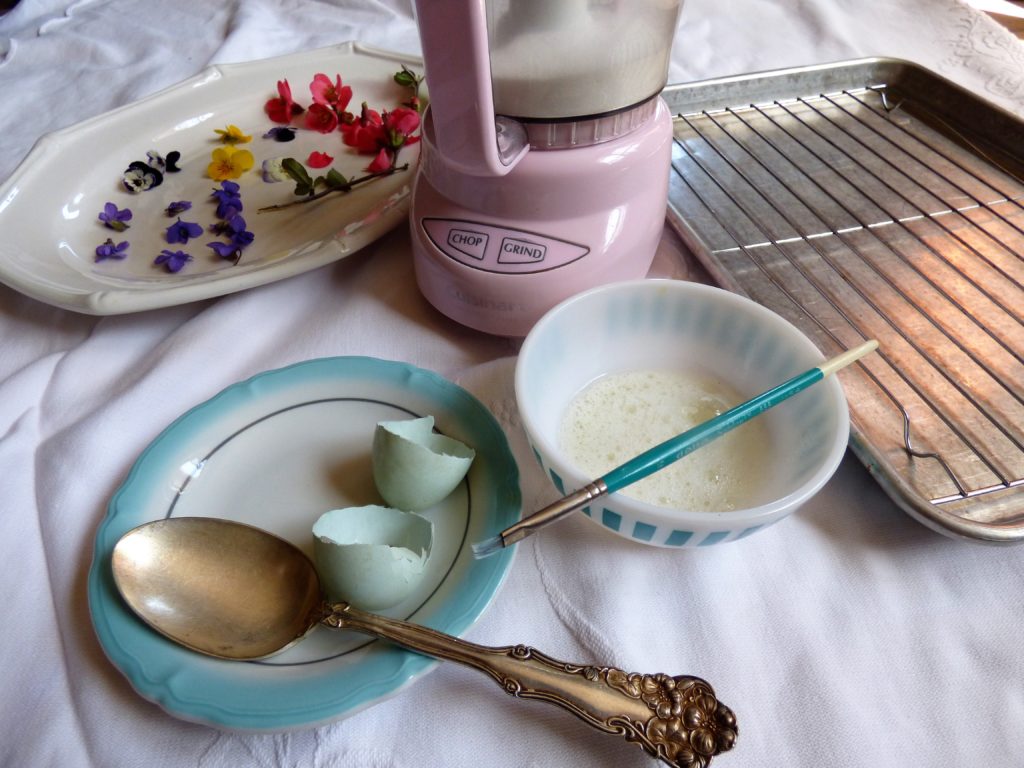
Make or buy some superfine sugar. This is exactly what it sounds like: sugar that is ground more finely than the common granulated. To make this yourself, just spin a half cup of plain granulated white sugar in a blender or food processor until it looks finer. Don’t lift the lid immediately, but wait for the sugar dust to settle.
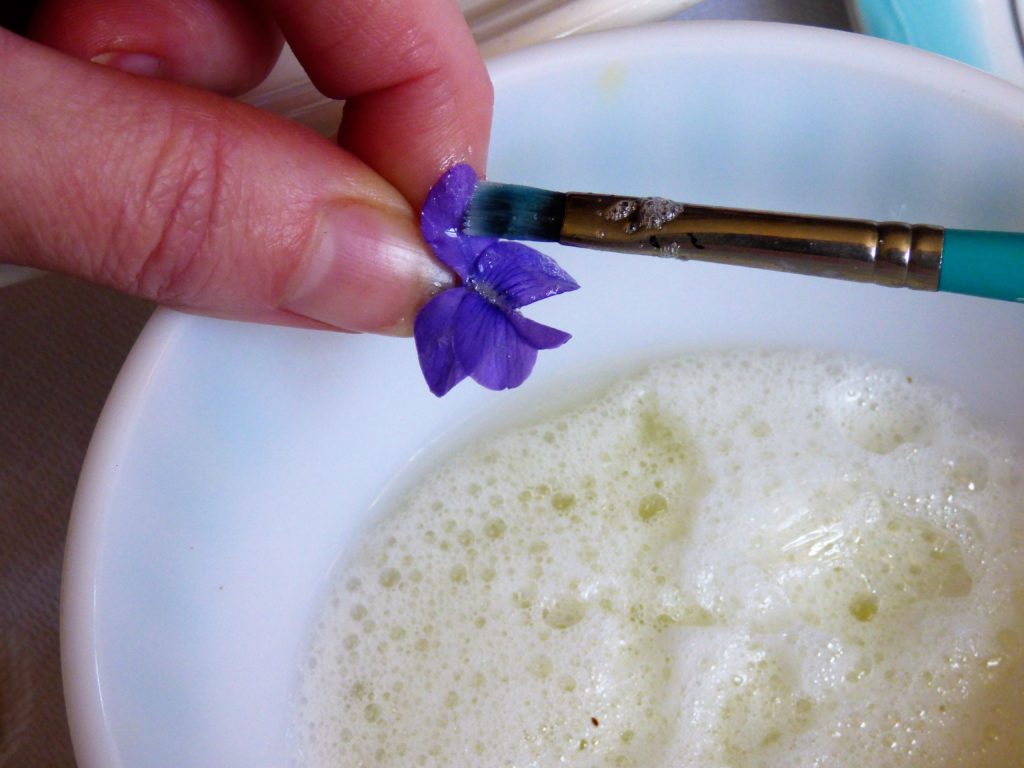
Now take one egg and separate it so that you have the white in one bowl and the yolk in another. You will not want the yolk for this project. Beat the white slightly with a fork to make it loose enough to apply with a brush. If you are worried about using raw egg, you can purchase Meringue Powder at a baking store, or Hobby Lobby. Mix one tablespoon Meringue Powder with two tablespoons warm water and use this as a substitute for the egg white. Take a clean artist’s brush (for around $1, you can get children’s paint brushes in packs to keep for baking needs) and dip into the egg white. Brush a thin coat over both front and back of each petal. Now you see why flowers with tons of petals aren’t so great!
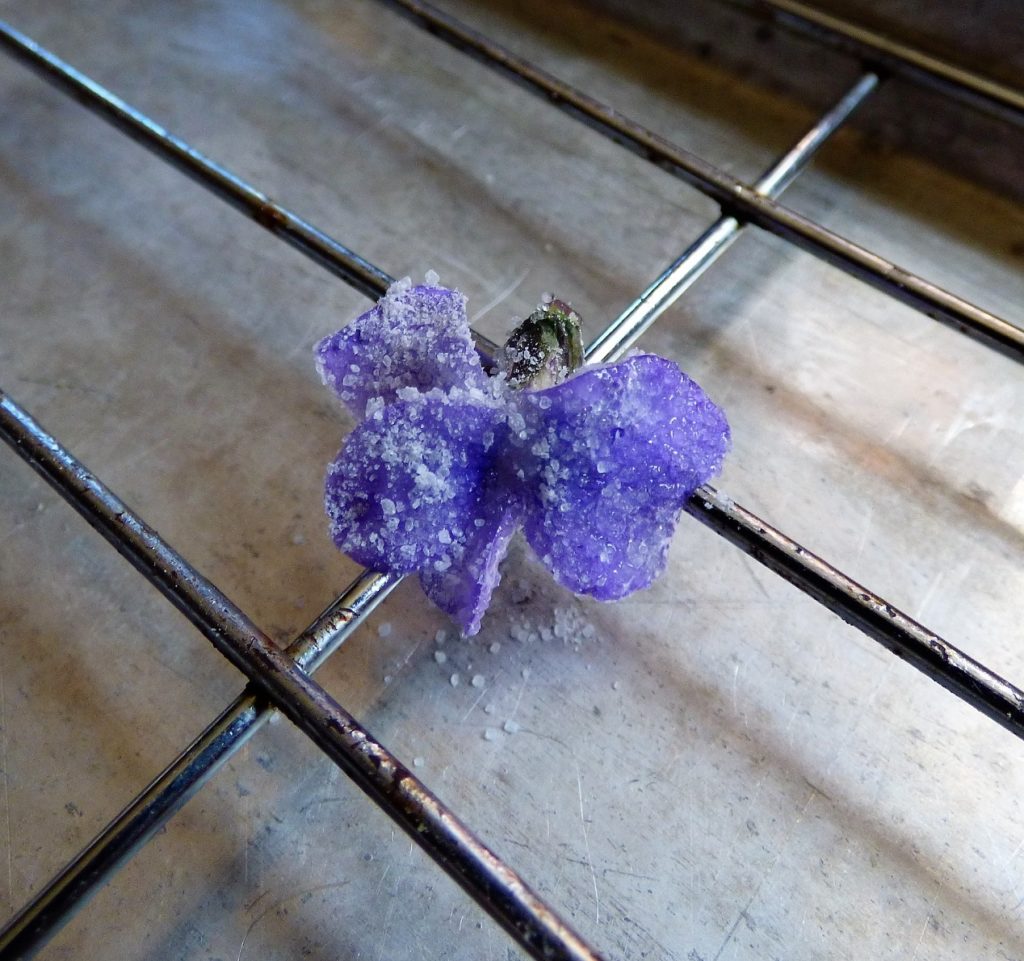
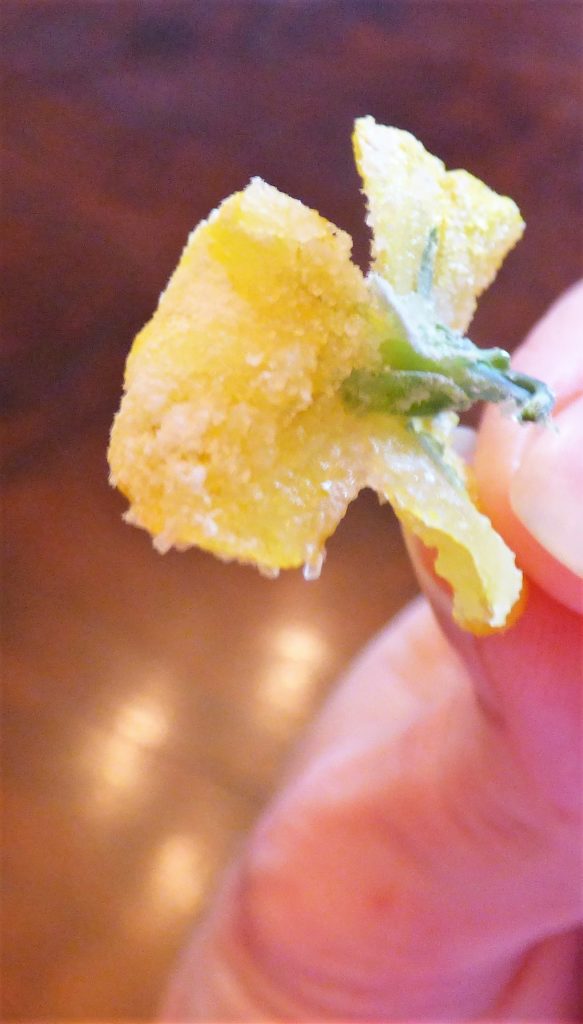
Using your fingers or a spoon, gently shake over a thin amount of your superfine sugar. Cover the flowers front and back, being sure to lift any petals that are laying against each other and sugaring between. Gently lay your flower on a wire rack to allow air to circulate all around. These flowers will dry the way they sit, so many of the crystallized flowers will retain a 3-D effect.
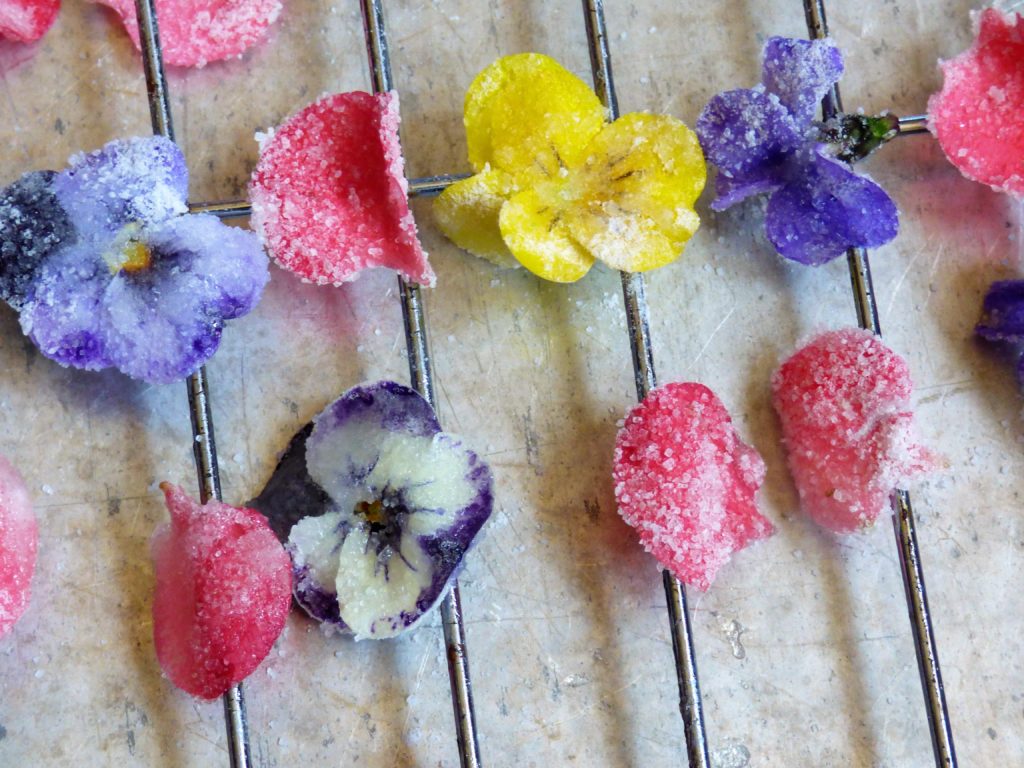
Allow these to dry in a cool place out of the sun for at least twenty-four hours. When they are dry to the touch carefully remove from the wire. They can adhere themselves to the wire when drying so lift carefully. Make certain that they are dry both front and back. 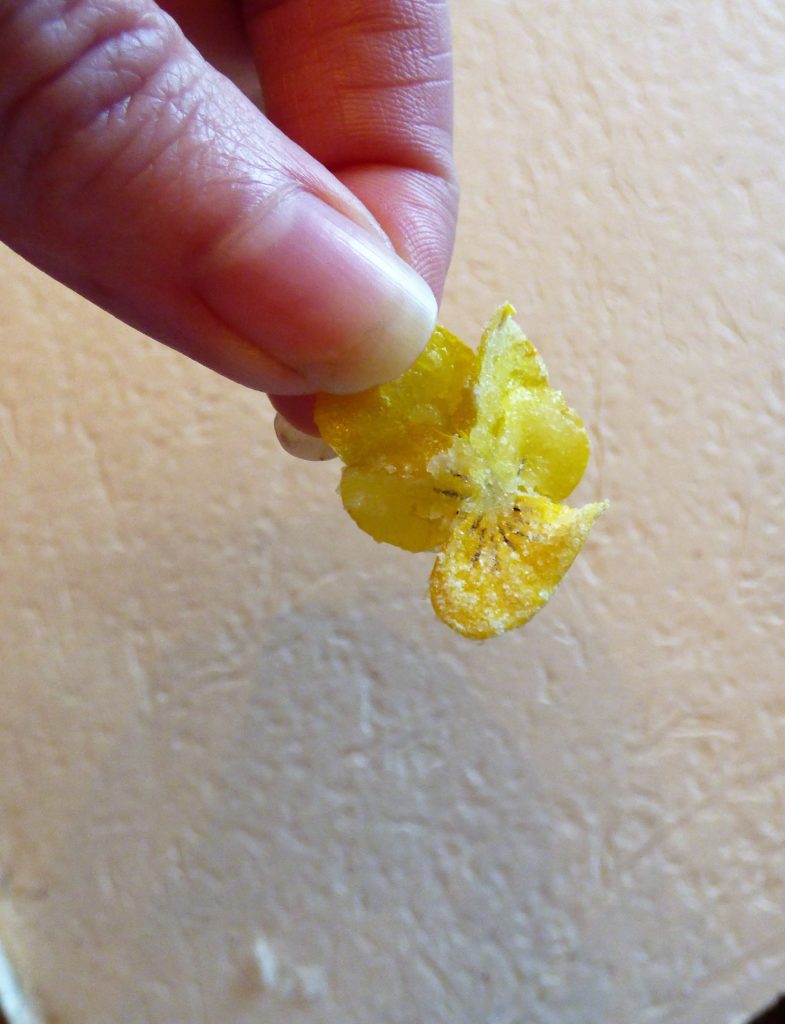
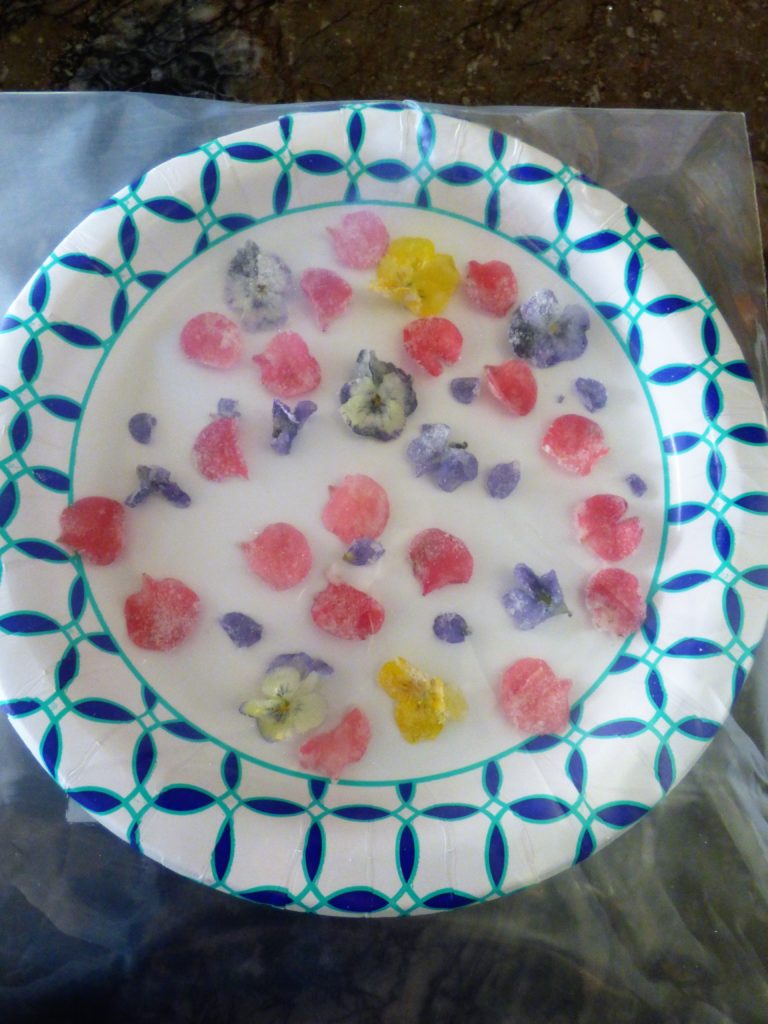
Then you can arrange them on a paper plate and slip them into a gallon zipper bag, or place them in an airtight container. If you allowed them to dry sufficiently, these crystallized flowers will last for months.
And now you have a bag of beautiful blooms to play with! Use your imagination as to what they can adorn. Perhaps a head of crystallized lavender to lay atop a scoop of lavender-vanilla ice cream? Or a delicate pansy atop tiny frosted cakes? Whatever you decide, the effect will be lovely and sure to cause much admiration from those you receive them. And there you have it, you can make high-dollar, gourmet adornments for just pennies, plus a little time and love!
Click HERE to read more from Ms. Sam,
or visit our Recipes category to find recipes of all types from our contributors!
I have always wanted to try this!