Long have I echoed the words of an adorable, freckle-faced redhead, Anne-with-an-E from Anne of Green Gables: “I’m so glad I live in a world where there are Octobers.”
In my opinion, “fall” is just short for falling in love with the great outdoors time of the year. Whenever I stop to consider fall, it causes an immediate flood of my senses. The brisk temperatures tickling my nose, reminding me it’s time to unpack my favorite wardrobe items: stocking hats, sweaters and boots, definitely my cocoon of choice. Cozy. Warm. Wrapped in comfort from my head to my toes.
The joyful laughter of a child whimsically chasing leaves.
The crackle and crunch of fallen leaves beneath my feet.
Dust and sweat trickling together, cementing hard work into our children’s characters as they furiously rake up the yard … then receiving their reward seconds later as they wildly plunge into the dusty depths of their labor, only to pop back out and do it over and over again. Such wholesome chaos, like a mustang wild and free, they’re taming their hands, hearts, and spirits.
I can close my eyes and almost taste the warmth of homemade hot chocolate; laced with peppermint, bobbing with half-melted marshmallows, tempting, almost begging me to slow down and stay awhile. The holiday spice, making everyone nice; time with family and friends, hayrides and pumpkins, campfires and hearth snuggles … oh, I can’t take any more! I’m simply exploding with anticipation as my favorite season rolls into view.
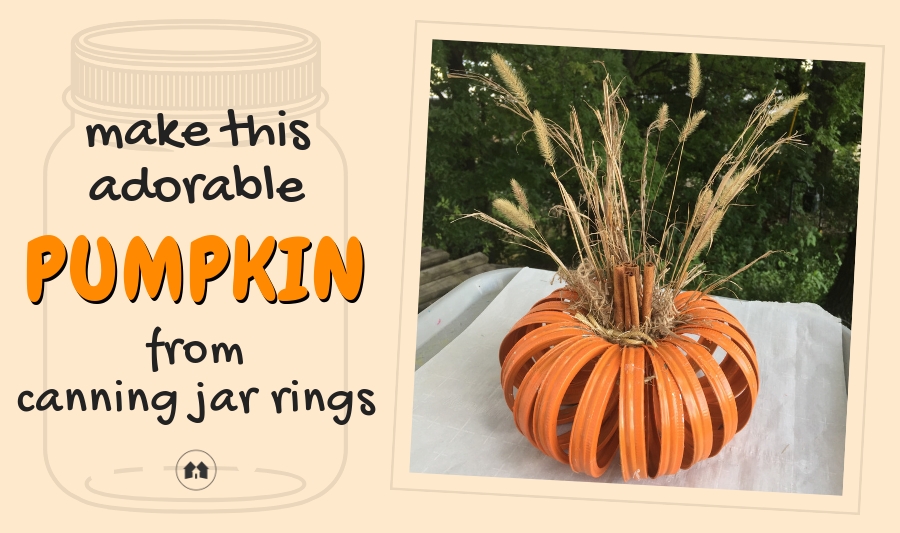
When I was browsing social media recently, I saw an image of a fall craft that I knew I had to replicate. This easy-to-create pumpkin decoration made with Mason jar rings embodies my idea of a perfect fall craft, complete with the aroma of cinnamon sticks. Better yet, it requires only a handful of materials that you might already have laying around your house.
Materials:
- 18-20 Mason jar rings, new or used. (I actually prefer a rustic look, so the worn, bent and tattered ones work even better for this.)
- About 24″ of twine
- Four cinnamon sticks
- Pumpkin-orange paint—although the color of your pumpkin is up to you, so feel free to change it if another color works better. I used acrylic paint, but a spray might even be easier.
- Glaze or clear sealer (optional)
- Small scrap of burlap fabric
- A handful of dried grass or weed sprigs—whatever’s easiest to glean around your neck of the woods (or you can purchase fake replicas at most hobby or decorating stores)
Assembly
- Begin by selecting your jar rings. If they have rust on them, you may want to give them a quick rub with a steel wool pad so the paint will adhere better.
- Once the rings are clean and dry, paint them the color you would like your pumpkin to be. Depending on the paint you use, you may need to give them several coats; just make sure they dry completely in between.
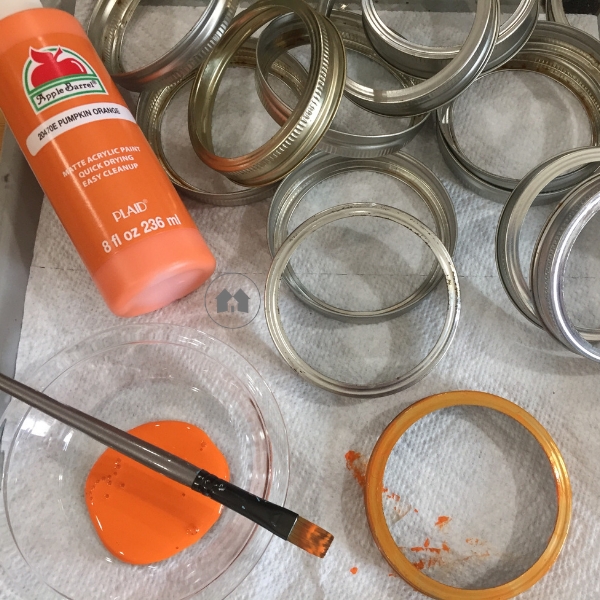
- When you are happy with the color of the rings, and sure they are totally dry, you can glaze them. The glaze will give them a glossier look and protect the paint from scratching or chipping. If you prefer a matte finish, or just don’t want to take time for the extra step, you can skip the glaze.
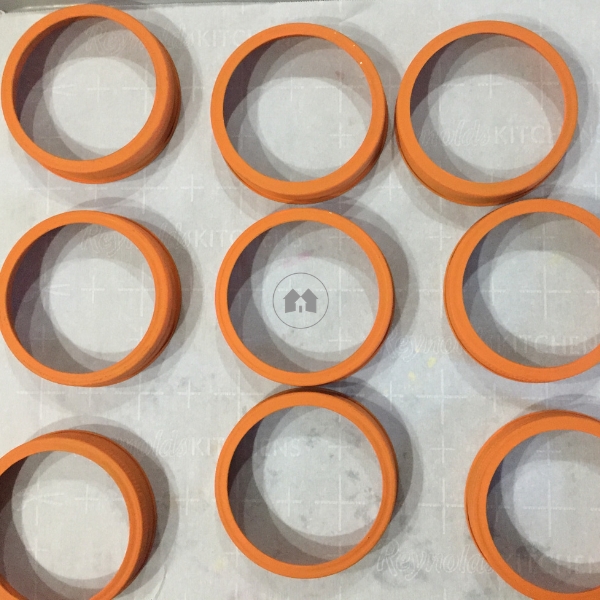
- Once you have them all gussied up to your liking, string them onto your twine, making sure the rings are all facing the same direction.
- Bring the ends of the twine together and tie them in a knot.
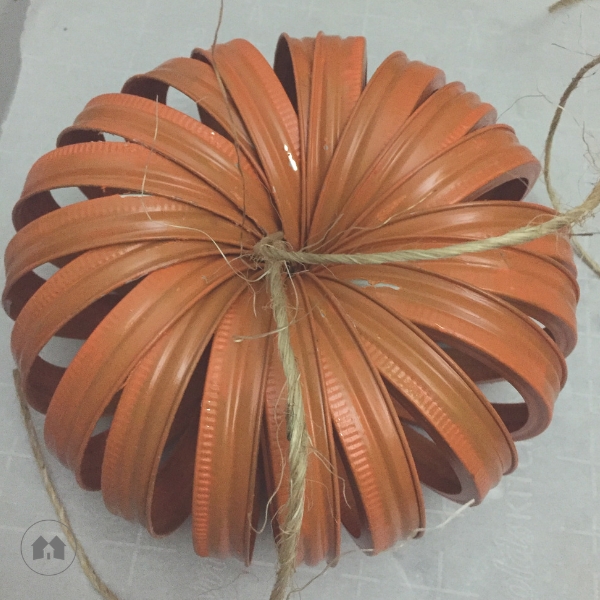 They need to be tied loosely enough that there’s still room to insert your burlap, cinnamon, and grass/weed sprigs in the center of the rings. Either cut off the excess twine, or bring it up through the middle and tie a cute little bow then trim the ends. Don’t worry if you scratch off bits of paint here and there as you’re assembling the pumpkin … the distressed look is all the rage.
 - Insert the burlap first, followed by the cinnamon. (Another possibility is to put a scented candle in the center of the rings, in lieu of the cinnamon sticks. Either would smell great; I just happen to think the cinnamon sticks look beautiful.) Finally, tuck in the dried grasses and weeds you’ve collected around the back and sides to your liking. It really is easier than you might think to forage for interesting plants in fall colors; once I started looking along highways and back roads, I had to make myself stop collecting! There are many different styles and colors that would make an amazing addition to this craft.
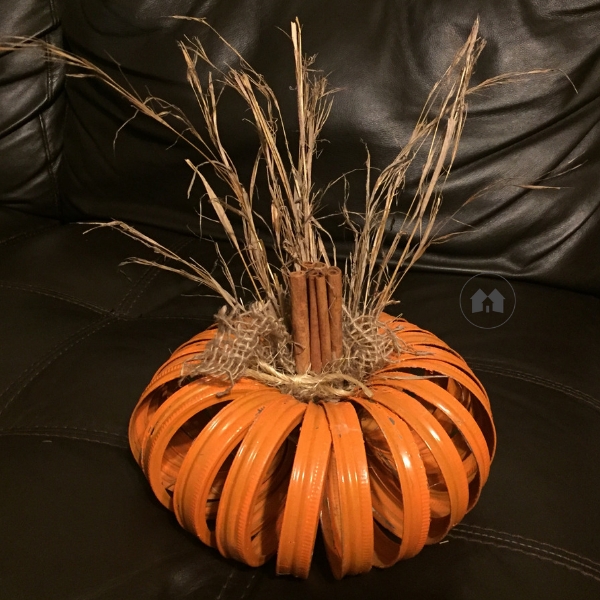
That’s it, simple and stunning.
You’re done! See how simple and fun this craft can be? The only hard part will be deciding if you should keep it or share it with a friend.
Bridgitt, I love, love, LOVE this idea and can’t wait to try it. I’ve never tried canning at home, but I’m sure several people I know might be willing to donate some jar rings that are past their prime!
Yay! I’d love to see a pic. when you are finished. 😍