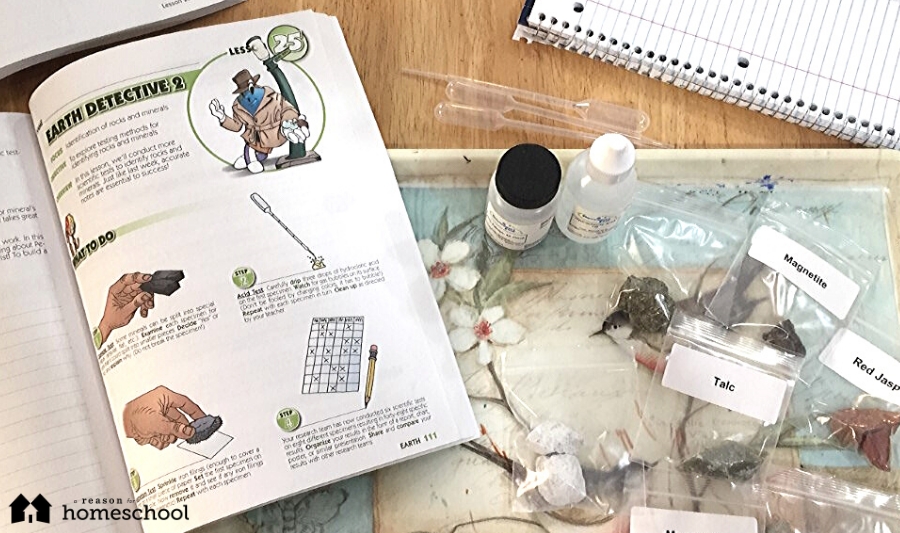
Since our Rock Day post (and the printable rock identification game!) in September, I hope you’ve had a chance to explore some of the fascinating aspects of petrology — which, if you don’t remember, is the science dealing with the study of rocks and how they are formed. As promised, today we are going to celebrate tomorrow’s National STEM Day by discovering how to identify characteristics of specific types of rocks by investigating their different properties. We will be diving into the A Reason For Science curriculum, Level H. Specifically, this experiment is from lesson 25, showing students how to be “Earth Detectives.”
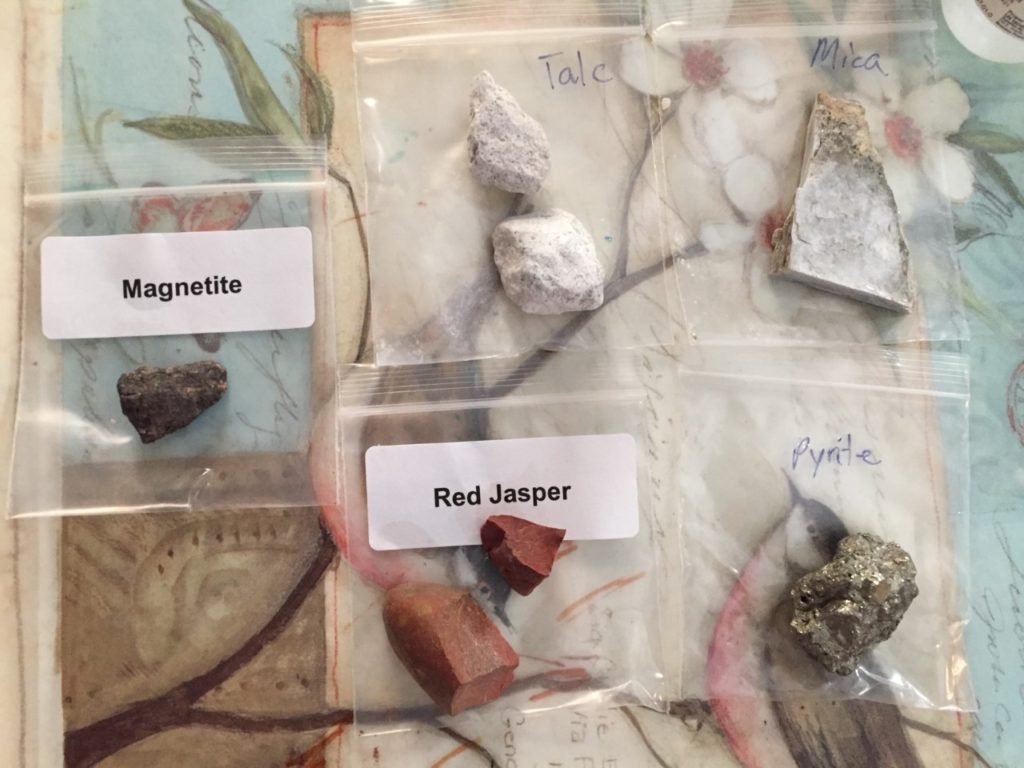
The specimens we will be working with are talc (a.k.a., soapstone), pyrite, mica, jasper, and magnetite. Magnetite wasn’t actually supposed to be a part of this experiment, but since it’s so much fun, I added it in … because homeschoolers get to do that! As you will see, the different properties of these specimens will give us a nice variety for exploring a variety of rock types.
You will also need some iron filings and a notebook for recording your hypothesis, observations, and conclusions.
One of the things I appreciate about this Science curriculum is that the Teacher’s Guide always includes a note of warning when we are using any supplies that could be remotely dangerous. In this case, we will be using hydrochloric acid, which is highly corrosive, so if you’re experimenting along with us, please have gloves and either goggles or safety glasses available. Also, work in a well-ventilated space to ensure safety. Most of the steps in this particular activity should be performed by an adult, or at least under an adult’s supervision.
First of all, lay out your rocks and let your children handle them gently. Most kids want to touch everything, so we’ll just get that out of the way. Have them write down their observations. Some of the rocks will be rather brittle, so be sure and tell the kids not to break the rocks apart.
For this science experiment we will be:
- Performing a cleavage test to find out if the rocks appear to be in layers that would easily break into smaller pieces — in particular, shaped angles or flat sheets.
- Testing our specimens for a reaction with hydrochloric acid.
- Checking to see if they are magnetic.
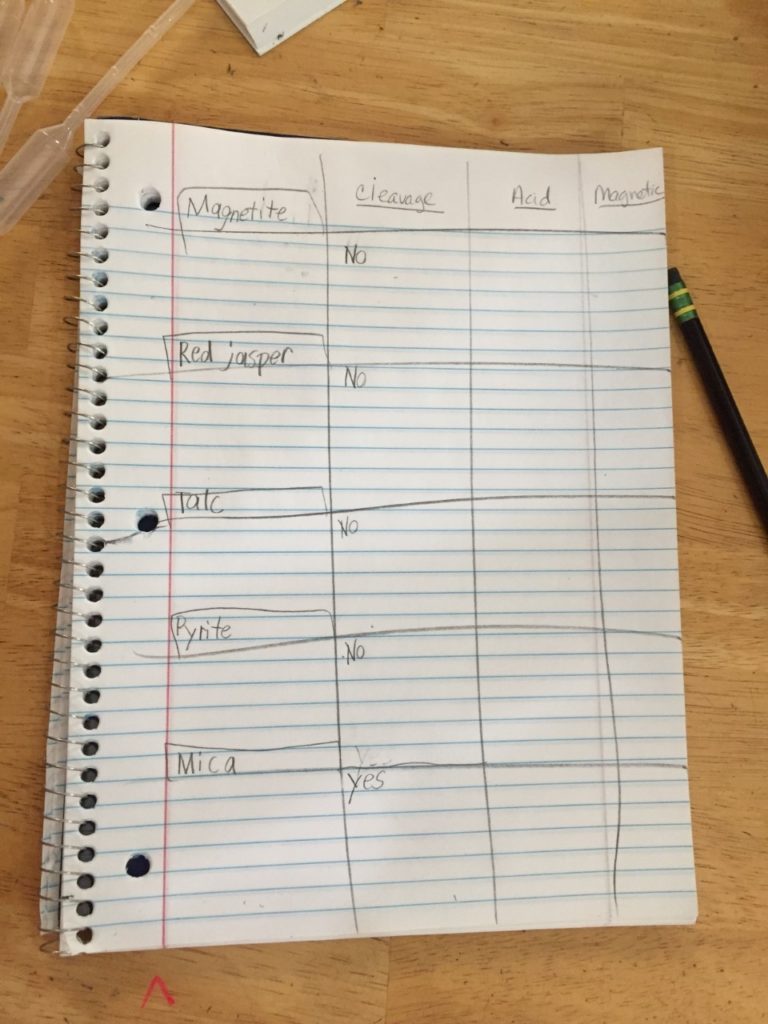
Have your child draw out a little 3-column table to test and record each rock’s properties. Include the following headings for each column: Cleavage Test, Acid Test, and Magnetic. Near the left side margin, record each specimen type to be tested. Before beginning, let your kids share their hypotheses (older kids can write them down, while younger ones just discuss) as to which rock will do what.
- First, the cleavage test. Closely examine each rock and decide if it could be easily broken into layers. Write “yes” or “no” in the Cleavage Test column next to each specimen.

- Next, the acid test. Carefully add a couple of drops of hydrochloric acid to test for signs of carbonate. If your specimen contains carbonate, your rock will begin to bubble when the acid touches it. (Think baking powder/vinegar volcano here.) The bubbling is actually carbon dioxide gas being released due to a reaction with the acid. The stronger the reaction, the more carbonate the rock contains. Take a minute to record your results. NOTE: Wearing gloves, take a minute after this test to thoroughly wash and dry your rocks to be sure all acid is removed.
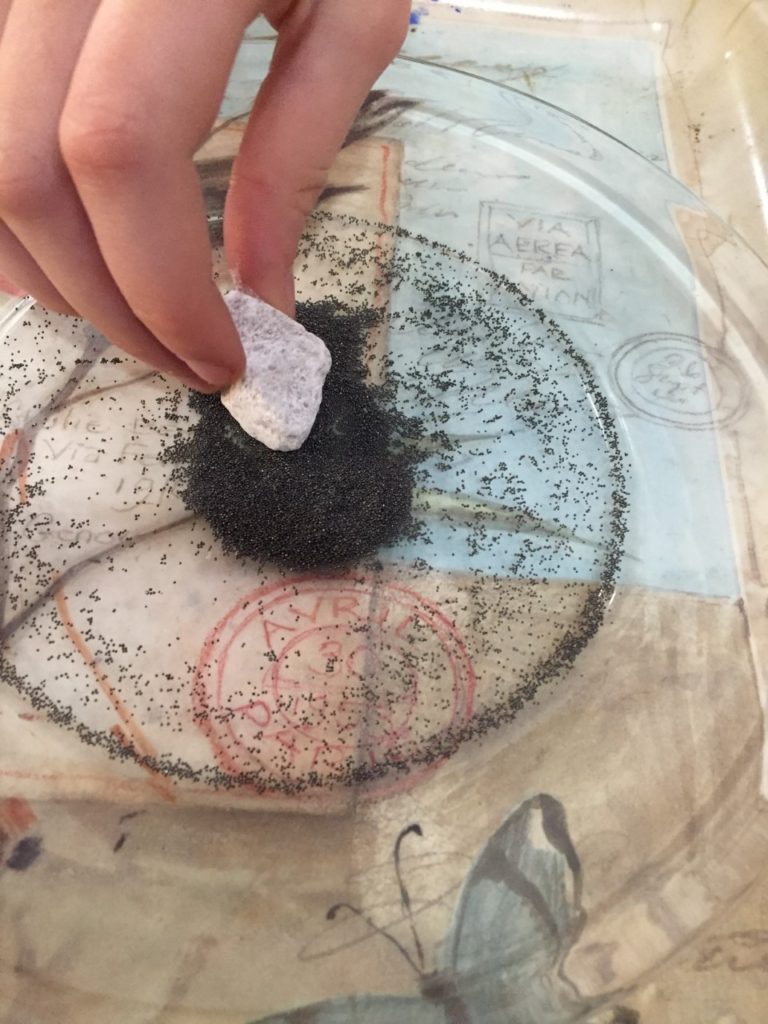
- Our last test is checking to see if the rock has magnetic properties. Carefully pour some iron filings out onto a piece of paper or a plate. Place each rock in the center and move it slightly back and forth, looking to see if the iron pieces are starting to attach.
 This part of the experiment reminds me of those little faces where you have a magnetic pen and drag the iron fillings around to give the man hair, a mustache, or whatever you can imagine. It was and is one of those classic toys that never get old — I’d enjoy playing with one still today! Record your results in the final column on your paper. Of course, the tests can be done in any order, but I chose to do this one last because I think it’s so much fun. Your children might enjoy dragging the little iron filings around the plate for a bit.
That’s all there is to it!
As always, A Reason For Science turns to the Bible to discover how the lessons learned today can apply to our daily lives as believers. In this lesson, verses in Galatians and Jeremiah help to explain to students how, like the minerals in our world, God has made each one of us special and uniquely qualified for the calling God has placed on our lives. If you do this lesson at home, I suggest taking a few minutes to discuss and reflect upon your child’s unique talents. Explain to them the privilege of having a lifetime to develop their gifts to bless others and bring God glory through them. Impress upon them their worth in this world and the beauty they bring into it … just being who God made them to be.
I hope you’ve learned a little more about the rocks around you, and your kids have enjoyed all of the different ways you interacted with these specimens. If you’d like to learn more about A Reason For Science, I encourage you to visit the A Reason For website and check out this amazing, hands-on curriculum. The Materials Kit for each level, which includes all of the supplies you need to perform a year’s worth of weekly science experiments, is a homeschool mom’s best friend! To celebrate STEM Day, they’re offering a 20% discount on ALL Science products for the next week … just use promo code STEMDAY20 when you check out!


