As a homeschooling mom, I’ve always been afraid someday I’d lose my right to educate my own children. Little did I know a virus would flip that coin on its head and everyone would be forced to homeschool, at least in part … there is some irony for me!
Whether you are homeschooling out of necessity or not, we’ve reached that the point in the school year where everyone wants things to be over — teachers probably as much as their students, or even more. Have you exhausted that inner teacher in you? Are you ready to just be Mom for awhile? I know I’m ready for a break. Normally this is the time of year I start to slack off a little and accept almost every homeschool field trip invitation I hear of. Unfortunately, this year that’s just not been an option. While I’m thankful we didn’t ever get to the point where we had to shelter in place, there wasn’t much point in getting out and about with everything closed anyhow! Well, I have a fresh idea (and break from the books) for you today, courtesy of A Reason For. I’m going to be sharing an exciting science lesson from their Level B curriculum that is sure to spark interest in your burned-out kiddo.
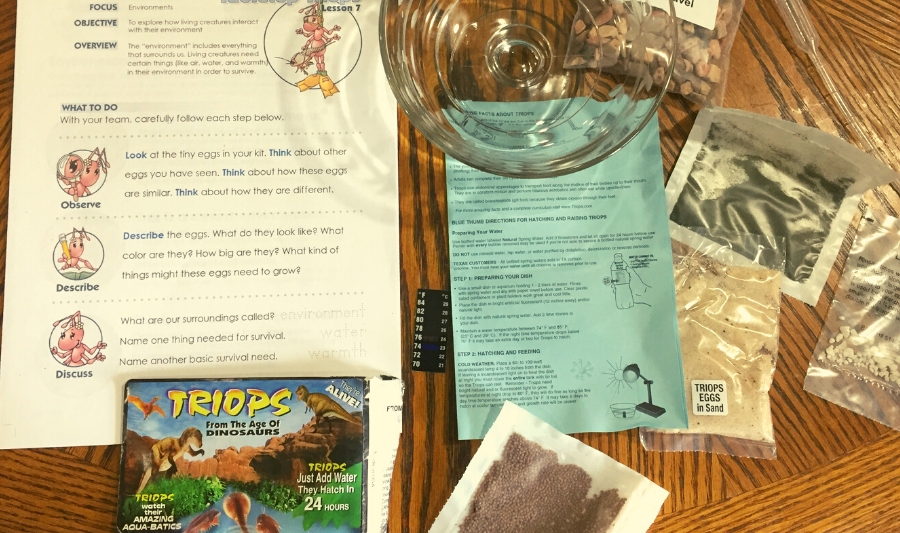
This is lesson #7, in the book and is titled Tabletop Triops. The goal is to define what one’s environment is, and then explore how a living creature interacts with that environment. You will need a triop kit (conveniently included in the Level B science Materials Kit), a small dish, and some spring water.
I’ll begin by answering the obvious question: what is a triop? It’s different from any creature you’ve likely come across before. Sometimes called a tadpole shrimp, triops are a species of freshwater crustaceans that resemble the horseshoe crab. Scientists consider them living fossils, because triops are commonly found in the fossil record dating back to the time of dinosaurs.
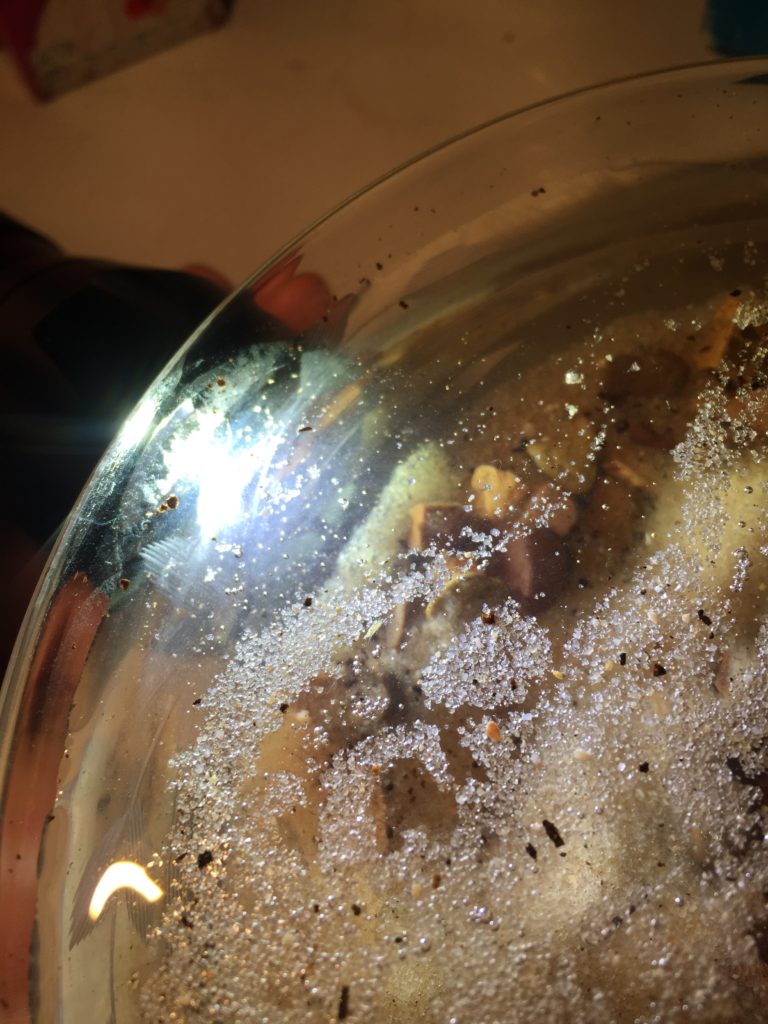
When you get your triops, they are tiny little eggs in a bag of sand all dried and packaged up. Scientists call this state a “diapause” state, meaning the eggs can survive in a 99.99% dried out state for decades! In fact, scientists have successfully hatched triop eggs that were over 70 years old! If triops are living in a pond or other body of water that completely dries up for years, when the rain comes, the eggs that were left behind will hatch within 24 hours. They grow rapidly, doubling their size daily until they reach a full maturity of 2-3″ in length. Within 60-90 days after hatching, they reach the end of their life cycle and they die — but not before they have laid their own eggs to prolong the survival of the species!
Back to the science lesson. We’re studying environments, so you’ll want to ask your child what they think their “environment” is. Let them take a stab, and then explain how our environment includes everything surrounding us. In order to survive, a living creature has certain needs — like the air, water, food, and warmth that are necessary for human survival. The lesson goes on to explain the needs of a creature living in a forest environment, a desert environment, and an ocean environment.
While we’re covering each subject, my kids and I usually take a moment to stop and review what we’ve gone over to make sure it’s sinking in. For this lesson, I’d ask questions like:
- What is an environment?
- What do animals in the forest need to survive? Desert? Ocean? (and so forth, until we’ve review all the environments we’ve talked about)
Depending on the child’s interest and ability, they either say their answers out loud or write them down before we move on to the next part of the lesson.
Pull out your new pet triops kit, and explain that, together, you are going to give these tiny creatures everything they need in their environment to thrive, and that they will be able to observe them for the next month or more as they hatch out and grow. Showing photos of what triops look like when they’re full grown and telling them some interesting facts about them is sure to stimulate curiosity. For instance, these creatures got the name “triop” from the fact that they have three eyes! TRI – OP = three eyes … get it? The middle eye, on the top of their head, is for detecting sunlight so they know which way is up in the muddy pond they might be living in. God has made some fascinating animals.
This would be a great time to point out that God always supplies all our needs. He even gave the triop a third eye because they needed it!
Once your triops hatch, maybe around Day 2, test their third eye by shining a flashlight on the side of your small hatching dish and watching how the baby triops congregate near the light. You might have your kids draw a picture of what a person with three eyes could look like — if you saw some of my childhood drawings with square-headed people, you might find some with three eyes! — then talk about how silly that is, and how we are glad God made us perfectly just the way we are.
The triop package that comes in the A Reason For Science Level B Materials Kit will have everything you need for your triops. It comes with the eggs, the food, lime stones, and detailed instructions on how to hatch them out. There are even little bags of gravel supplied in the kit to layer the bottom of your container.
While the instructions specifically say to use spring water, not distilled, I found sources online that say for the initial hatching container it is fine to use distilled water. When you move your triops to a larger container around Day 8, you will need to use spring water at that point. I highly recommend waiting to move them into a larger container until the eighth day. I moved mine around Day 4 and we went from probably a hundred triops to less than 10. Oops! Since I only wanted our container to be about the size of a gallon jar, I guess it’s just as well we don’t have to decide what to do with too many of the little creatures.
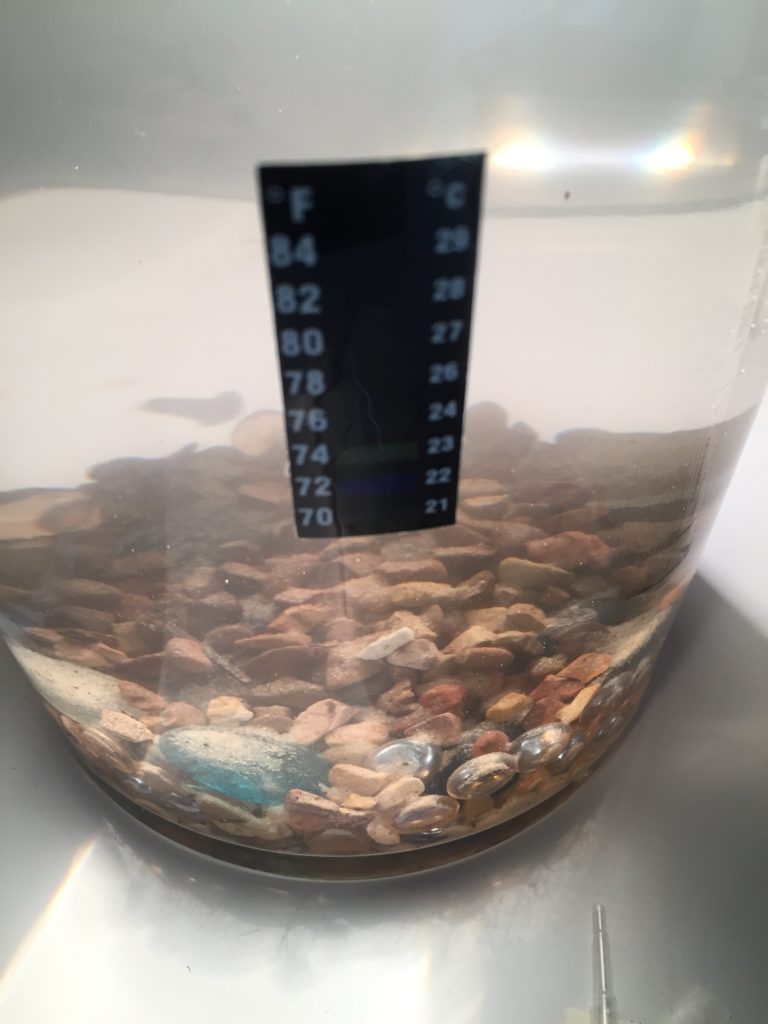
- Hatching: Follow the directions that come with the kit. It includes a sticky thermal tape thermometer you can attach to the outside of the tank to check the temperature.
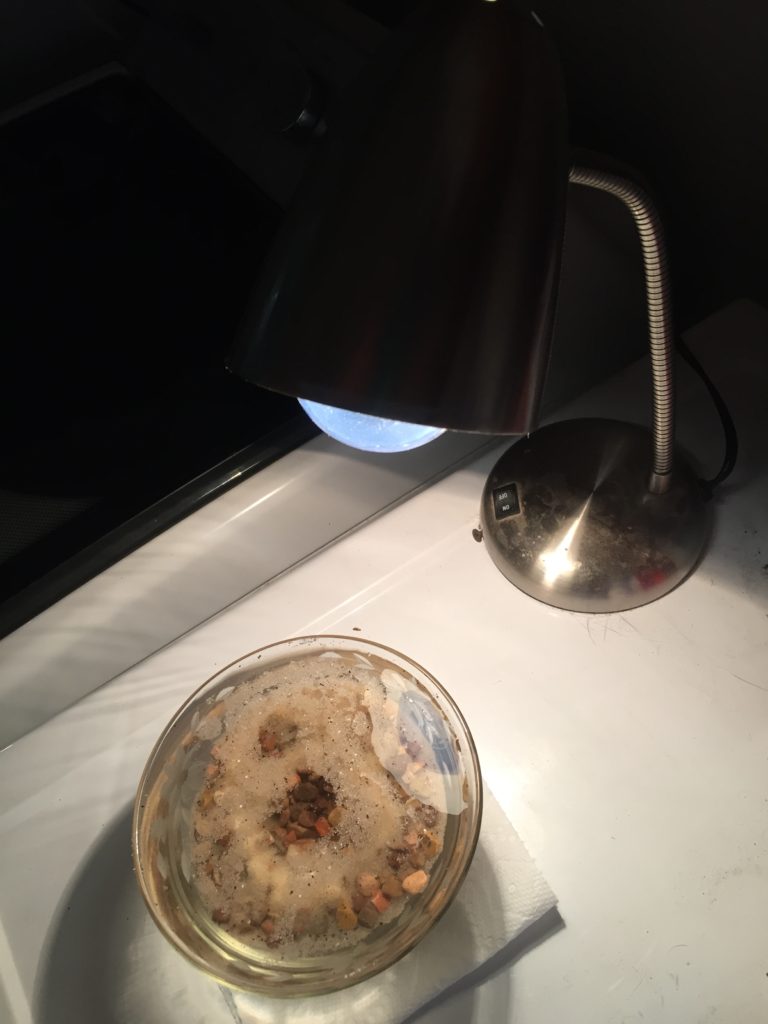
 Given the aged limestone water, a hatching temperature of around 74°F (room temperature in my house) means that within 24 hours you will have triops. If you have a hard time getting your water warm enough, place it in a sunny window or use a lamp nearby to bring your water temperature up — just be cautious that the water doesn’t overheat if it’s left in direct sun or close to a lamp. A water temperature of 85°F or higher is actually a bit too warm.
The newly-hatched triops are extremely hard to see initially. Think tiny, white, wiggling specks. They are easier to see if you hold a light to the edge of your hatch bowl because they will swim right over to it. At this tiny stage, it’s easy to view them with a simple microscope with a top light. Simply place a drop of water with a few swimmers in it and observe. We viewed ours with the My First Lab Duo-Scope Microscope, which has been one of my family’s favorite learning tools for going on 11 years now. (If your kids find this particularly interesting, be sure you check out Ms. Sam’s post about exploring with microscopes!) Here is a quick video of a tiny triop, not long after hatching, as viewed through a microscope: https://youtu.be/SWOwtg6B76k
- Feeding: On Day 3, begin once-per-day feedings for your triop babies with the green algae powder included in the kit. They instruct you to draw a 1/8 inch diameter circle on a piece of paper and feed the amount of powder that fits inside that circle. On Day 5, you begin to feed them twice a day. You can begin to add a tiny bit of crushed peeled carrot, and some of the crushed adult pellets that also come in the kit. Take care not to feed too much, and remove any uneaten fresh food after a bit. You don’t want the food decomposing while sitting in the dish. Your triops will be growing quickly at this point. Here’s a video of a 5-day-old triop, taken as it was swimming in our tank: https://youtu.be/ewdmxETfHWc
Starting on Day 8, you should only feed adult food, twice a day, along with tiny bits of shrimp, carrots, fish, or cauliflower.
- Tank Maintenance: By Day 10 and beyond, you should have your triops in a larger tank, like an old aquarium, or even a clean pickle jar (I have mine in a large glass flower vase). Continue to siphon out the waste that accumulates at the bottom of your tank, and if your water becomes cloudy do a partial tank water change, but be sure you are only replacing about 1/3 of your water at a time. The directions recommend you dispose of the dirty water in the toilet.
Enjoy watching and journaling about your new pets, observing how they thrive in the environment you created for them. Maybe even discuss how thankful we are for the environment God has provided for us to live in. That can be as broad as the entire world and how we have the sun, rain, atmosphere, etc., or as simple as the fact we have a warm, dry home (especially if your dreary May weather mimics mine!) to live in each day.
If you’ve never tried the A Reason For Science program and would like to give it a trial run before investing in lessons for a full year, check out their Science Camp kits created for summer fun. They have taken a few lessons and put together two different kits — one that focuses on LIGHT, and one exploring NATURE. During the summer months, we may put away the textbooks, but we don’t have to put learning aside … why not take science outdoors and learn about your own environment and God’s amazing creation?


