It was, by most accounts, an accident.
In the late 1930s, Kenneth and Ruth Wakefield were proprietors of a small inn near Whitman, Massachusetts. One night, when they needed a quick dessert for their guests, Ruth (or possibly Sue Brides, who helped in the inn’s kitchen) decided to make a batch of Butter Drop Do cookies, an old colonial recipe. But, wanting to put a unique spin on the classic, they decided to make a chocolate version. Alas, the kitchen was out of baking chocolate, but they did have a few bars of semi-sweet chocolate that had been given to them by Andrew Nestlé.
You’ve heard that name before, right?
In any case, the Nestlé chocolate was chopped in small bits and added to the dough, apparently in hopes that it would distribute uniformly during the baking process, creating a chocolate cookie. What happened instead? The chocolate pieces stayed intact, although baking changed them to a soft, gooey consistency that is probably very familiar to most of us. Not the result they had anticipated, but good enough that the Wakefields served them to their guests at the Toll House Inn.
And thus, the chocolate chip cookie was born.
Like many origin stories, this one has come into question. One version says the chocolate was added to a recipe because the inn was out of nuts. Another claims the bar of chocolate — unwrapped, I assume? — fell into the mixer, broke apart into pieces, and rather than toss the dough, Ruth and Sue decided to bake and serve the cookies. Carolyn Wyman, author of The Great American Chocolate Chip Cookie Book, wrote that it was no accident at all, but the result of Ruth Wakefield’s search for a cookie to replace the butterscotch nut variety the inn had been serving for years.
Perhaps we can never know what really happened. But Nestlé claimed the substitution-gone-wrong story as truth … and it does seem like they’d be in a position to know, since they struck a deal with the Wakefields for the use of the “Toll House” name and recipe in the 1940s. (According to the company’s verybestbaking.com site, “part of this agreement included supplying Ruth with all of the chocolate she could use to make her delicious cookies for the rest of her life” — way to go, Mrs. W!)
By most estimates, Americans eat about 7 billion chocolate chip cookies every year, at least half of which are homemade. There are crispy varieties, chewy varieties, soft varieties that seem to melt in your mouth. Some recipes call for nuts, some don’t. There are cookies with just a small sprinkling of chips, and others with huge chunks, where chocolate seems to comprise most of the cookie. There’s even a National Chocolate Chip Cookie Day, observed annually on August 4th, just in case you need an excuse to whip up a batch.
When it comes to the best chocolate chip cookie, we all have an opinion … and in my opinion, the recipe I’m sharing today is one that will appeal to just about everyone. The original recipe comes from Canal House Cooks Every Day by Melissa Hamilton and Christopher Hirsheimer, a gem of a cookbook with lovely, seasonal food and some of the most gorgeous photography you can imagine. This recipe is the very last one in the book, and I have to believe the authors tucked it away there to define the expression, “save the best for last.”
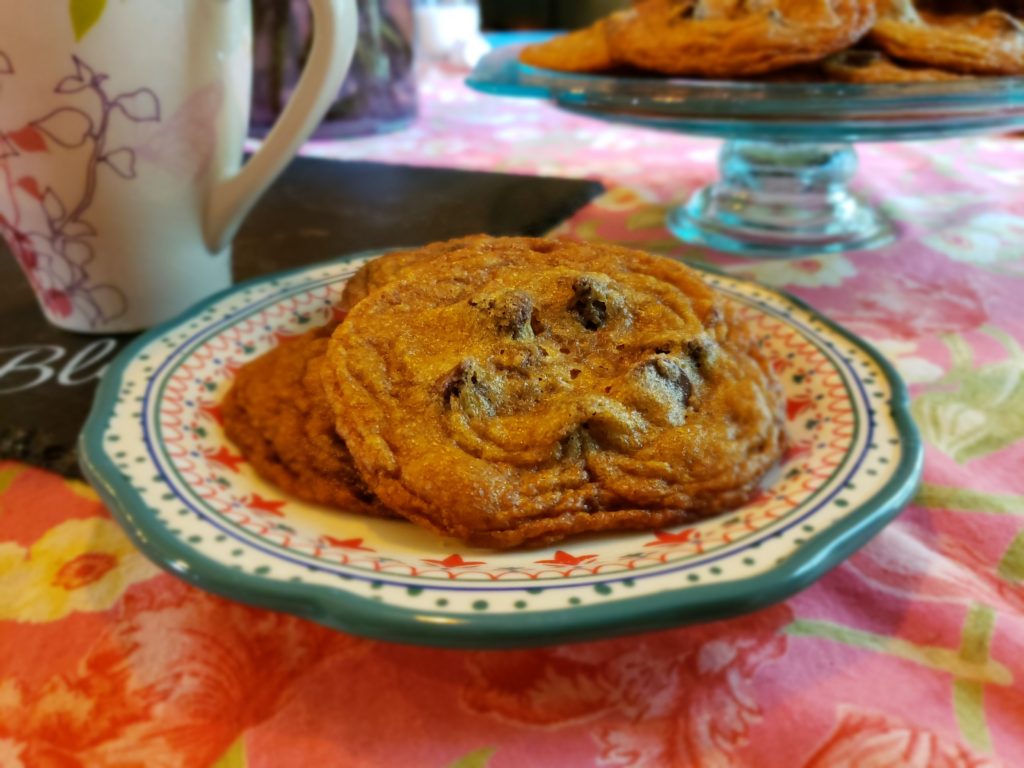
The cookies bake up relatively thin and delicate while still managing to be chewy, with a perfect amount of chocolate, and a bit of saltiness to balance the sweet. The edges are crispy and have this amazing caramel flavor from the brown sugar, but then you get to the soft, gooey center. Even if you have a tried-and-true favorite chocolate chip cookie recipe, you’ll want to give these a whirl. They’re sublime. Addictive. And at our house, even the people who aren’t ordinarily crazy about desserts — okay, that’s mostly one person, my husband, the man who doesn’t like chocolate!!! — will still devour them, then stand around with sad eyes, asking for Just. One. More. Pleeeeeeease. 
Canal House Chocolate Chip Cookies
adapted from Canal House Cooks Every Day
Supplies: baking sheet(s), parchment paper, mixer, mixing bowls, kitchen scale (recommended), measuring cups & spoons, spatula
Ingredients
- 1 lb. salted butter, softened at room temperature — the recipe recommends higher-fat butter like Kerrygold or a European-style variety
- 2 ½ c. + 2 tsp. (477 g) dark brown sugar, firmly packed
- 1 c. + 3 Tbsp. (238 grams) granulated sugar
- 1 Tbsp. vanilla bean paste or vanilla extract (the real stuff, please!)
- 2 tsp. kosher salt
- 3 large eggs
- 3 ⅔ c. (425 grams) all-purpose flour
- 1 ¾ tsp. baking soda
- 14-16 oz. semi-sweet or dark chocolate chips (the lower amount is more faithful to the original recipe, but you can get away with adding a little extra)
Note: While we’ve provided measurements, I do recommend using a kitchen scale to weigh the sugars and flour in this recipe, because measuring methods can affect the amount — and your final result — considerably. If you need a little help weighing ingredients (or aren’t totally convinced you should), check out this article from Taste of Home.
Instructions
Measure your ingredients. Add the butter, brown sugar, granulated sugar, vanilla, and salt to your mixer bowl. 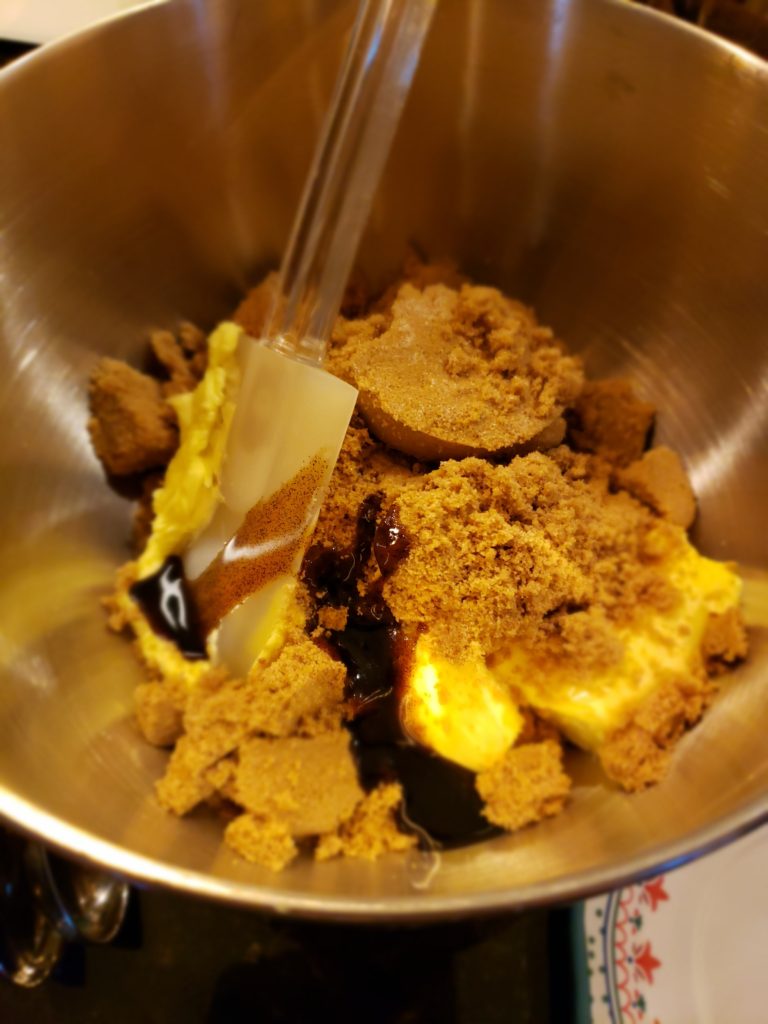 Mix on medium speed for about one minute, scrape down the bowl with a spatula, then continue on medium speed for another 2 minutes, until the mixture is light and fluffy.
Add eggs and beat on medium speed for about 1 minute. Pause, scrape down the bowl, and mix for another minute at medium speed.
In a separate bowl, add the flour and baking soda and mix together with a small whisk (a fork will do in a pinch, but be sure you do a really good job of combining them).
Scrape down the bowl of your mixer, pour in about half of the flour/baking soda, and mix on low speed until combined, then add the remaining flour, mixing on low until the flour is mostly incorporated. Turn the speed to medium and mix for 2 minutes, until the dough reaches a smooth consistency. If you look below, you can actually see the little vanilla specks in the dough … yum!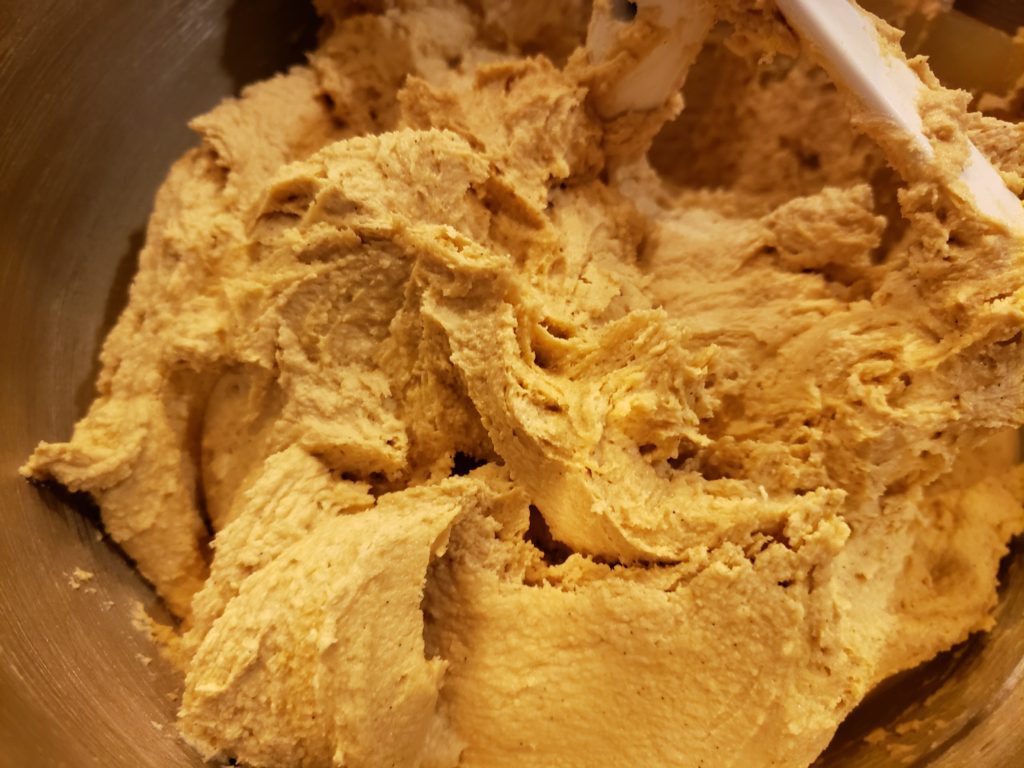
Remove the bowl from the mixer, scrape down the sides with a spatula, add the chocolate chips, and mix by hand until they are distributed through the dough.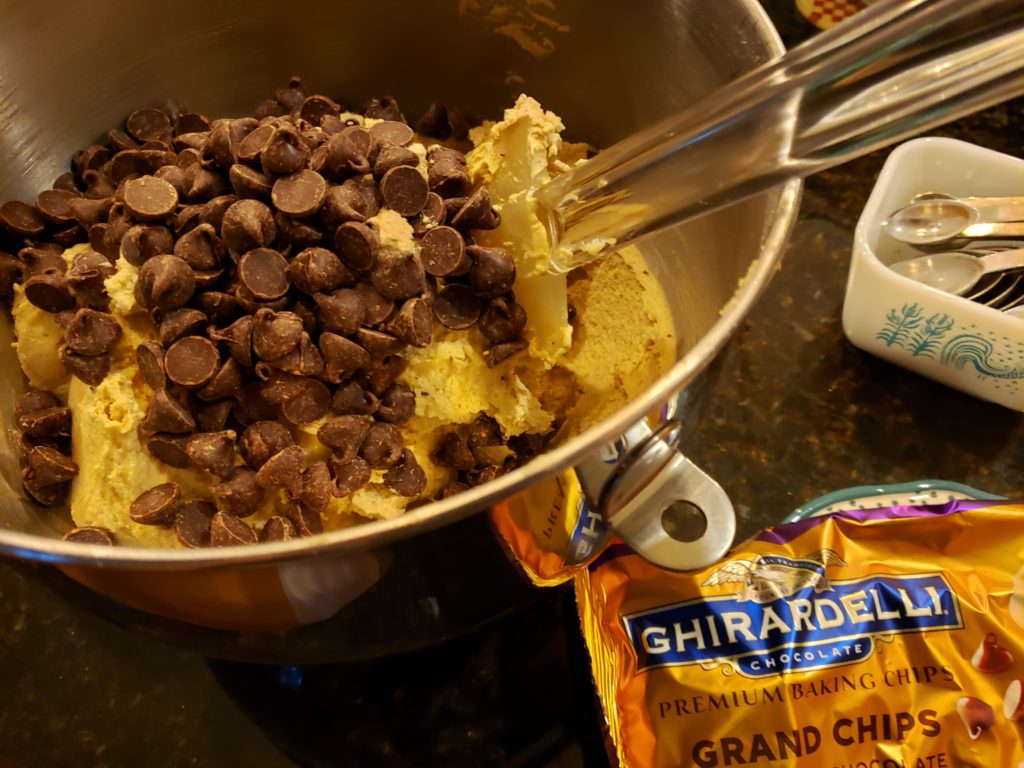
Cover the dough and refrigerate for at least 1 hour. The original recipe doesn’t call for this step, but I think it’s important because these cookies spread out quite a bit as they bake. If the dough is too warm, they may spread too much. It happened to me once … and while the flavor of the cookies was still great, the texture wasn’t quite what I wanted. Since then, I’ve avoided a repeat by refrigerating the dough.
Line a large baking sheet with parchment paper. Shortly before you’re ready to begin baking, preheat your oven to 350°F. Remove cookie dough from refrigerator. Portion out in generous, well-rounded tablespoons and place 3-4″ apart on parchment. Err on the side of placing them farther apart, because they will spread substantially. 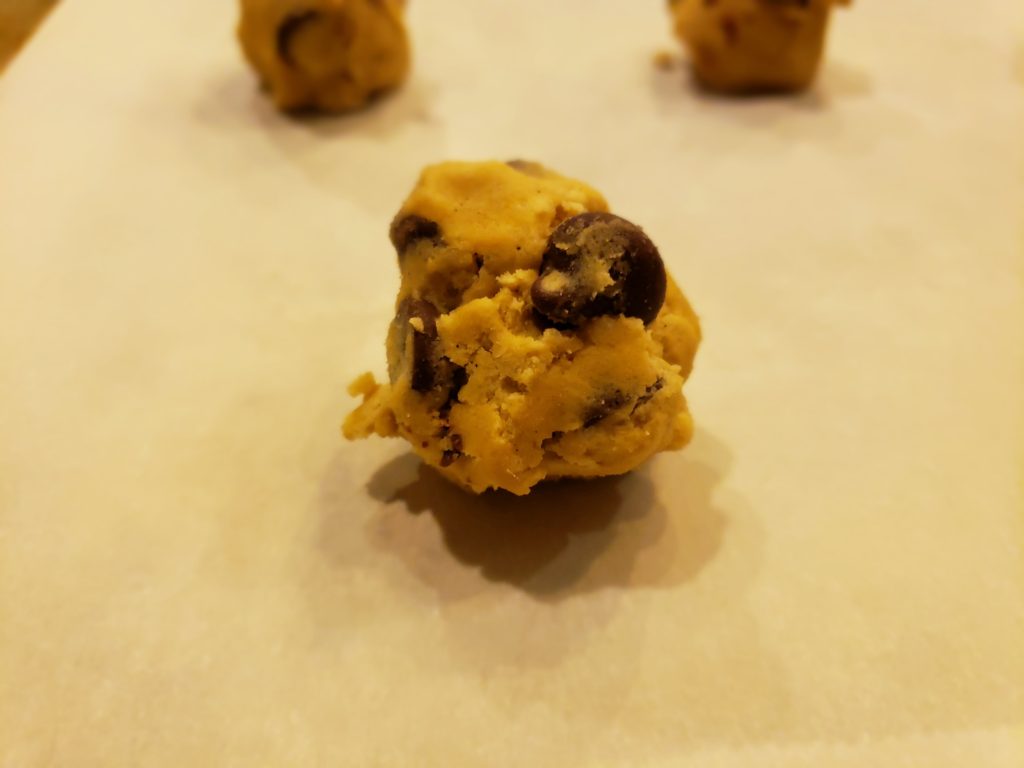 If you still have that kitchen scale handy, a good size is right around an ounce … about the size of a ping-pong ball. You don’t need to weigh every single scoop, but you might want to weigh one or two to get a sense of the size.
Bake for 10 minutes and check the cookies, allowing another minute or two if needed to reach a nice golden brown. 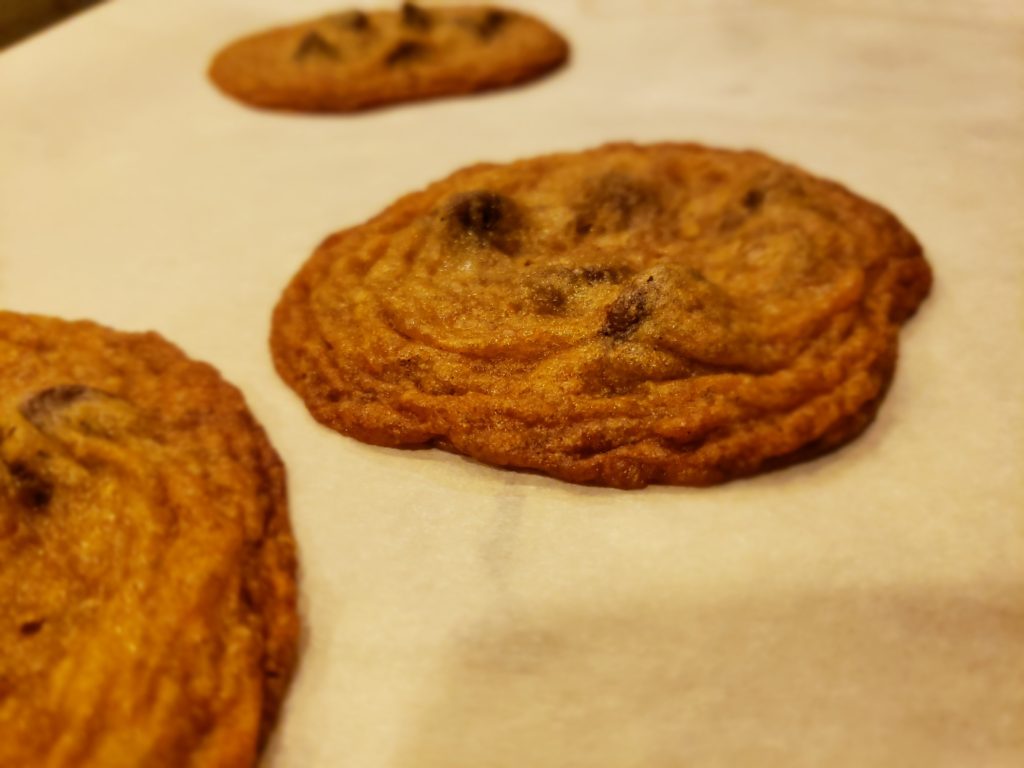 Remove from oven and cool for 5 minutes on the baking sheet, before transferring to a wire rack to cool completely. They smell amazing fresh from the oven and you’ll be tempted to eat them right away, but they really are better when they’ve been allowed to cool.
This is a good time to mention that this recipe makes between 5 and 6 dozen cookies. If you aren’t baking for a crowd — or just want to pace yourself (and the cookie-gobbling hordes who may just happen to be hanging around the kitchen) — the dough will keep for several days in the refrigerator, yielding several smaller batches of freshly-baked treats.
It freezes beautifully, too. Just portion out the dough onto a parchment-lined baking sheet, cover with plastic wrap, and place in the freezer for a few hours. After that, you can pop the dough balls into a plastic zipper bag for storage. When you’re ready to make cookies, set out the frozen dough on the baking sheet when you begin preheating the oven. You should still check them after 10 minutes of baking; you may end up adding an extra minute or two (no more than that should be necessary) over the normal time in the oven.
Download the printable Chocolate Chip Cookie Recipe …
You may be asked to enter your email address if we don’t recognize you as a current subscriber.
Once you have, you can simply return to this page to download the file!
and visit our Recipe archive to find more favorites!
