On one of those recent fall days when the crisp air makes you want to grab every last glorious second before the sun sets, my youngest daughter and I came across a large stand of pine trees as we were out walking. The ground beneath them was soft with a thick blanket of needles, dotted with fallen pine cones of every imaginable size.
My daughter was absolutely enraptured. You see, she’s a bit of a nature collector, forever bringing in pockets full of things she picks up here and there. (I can’t begin to tell you how many rocks have gone through the washer at our house.) Kneeling down among the pine needles, she picked up one cone after another, examining them closely and discarding any that were less than perfect. Before I knew it, she was carrying such a precarious stack that I had to fetch a bag to hold them all.
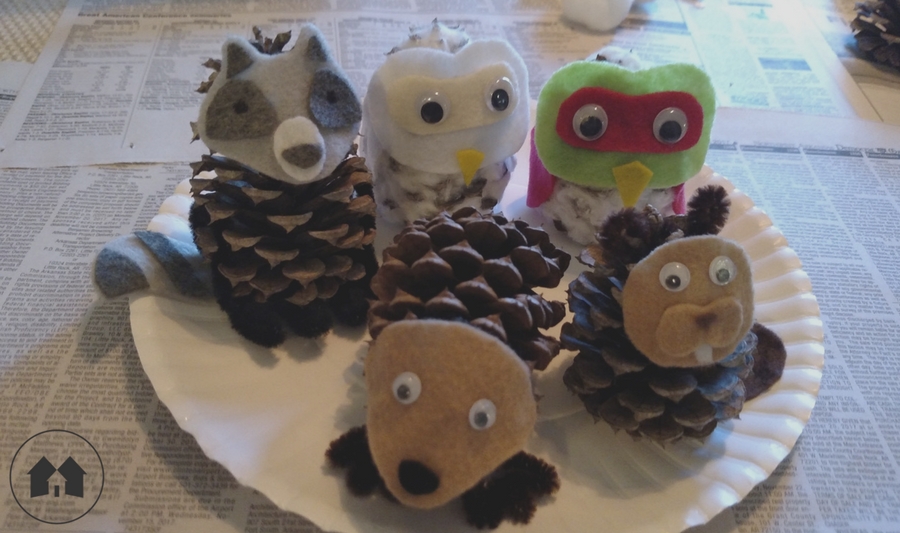
This project started out as a way to put those gathered treasures to use. And goodness, we had such fun making these little critters. Even the older kids jumped in, spending hours around the kitchen table, cheerfully snipping felt shapes and discussing the optimum placement of googly eyes. In addition to the extended families of the four cuties found here, quite a few of my kids’ own creations—including a cat chasing an adorable, teeny-tiny pine cone mouse—have popped up around the house in recent days.
Pine cone craft with a printable PDF template for the felt pieces needed to make snowy owl, hedgehog, beaver and raccoon pine cone creatures. Click To TweetWe decided our menagerie will make a great Christmas centerpiece. It’s perfect for a designated kids table, but can just as easily go on the mantel or a shelf in the living room. If you’re hosting a crowd for Christmas, you might consider these as a fun activity to keep guests entertained before or after eating. Just collect the pine cones in advance, set up a craft table in an out-of-the-way space, and send youngsters (and the big folks, too … we won’t judge!) home with an adorable souvenir of their visit.
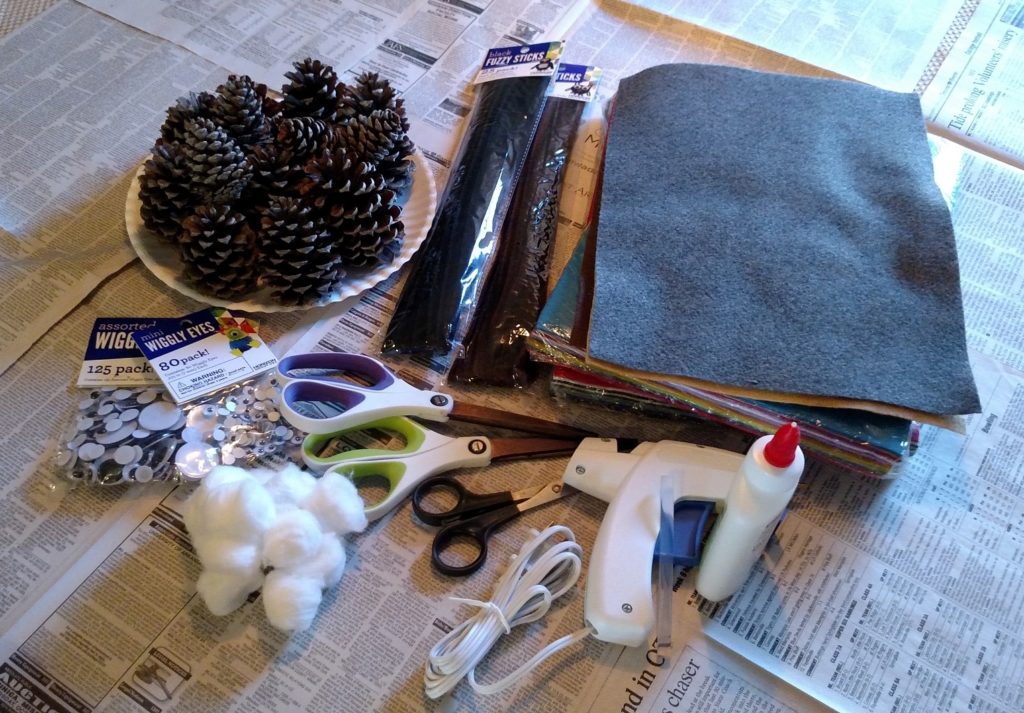
Supplies you’ll need:
- pine cones
- craft felt sheets in various colors
- plastic googly eyes in assorted colors (optional … you can always draw on eyes instead)
- black and/or dark brown pipe cleaners
- cotton balls or polyester fiber fill
- scissors suitable for cutting fabric
- craft glue
- hot glue gun
- fine or medium point black permanent marker
- Pine Cone Creatures Printable Templates
Sort your pine cones. For the raccoon, snowy owl and beaver, you’ll need one that is stable when placed upright on the stem end of the cone. For the hedgehog, the pine cone will be on its side, so you’ll need one that is flat enough on one side that it doesn’t roll. The optional feet can help stabilize it, but do try to find one that naturally rests in one spot.
To Make A Pine Cone Snowy Owl
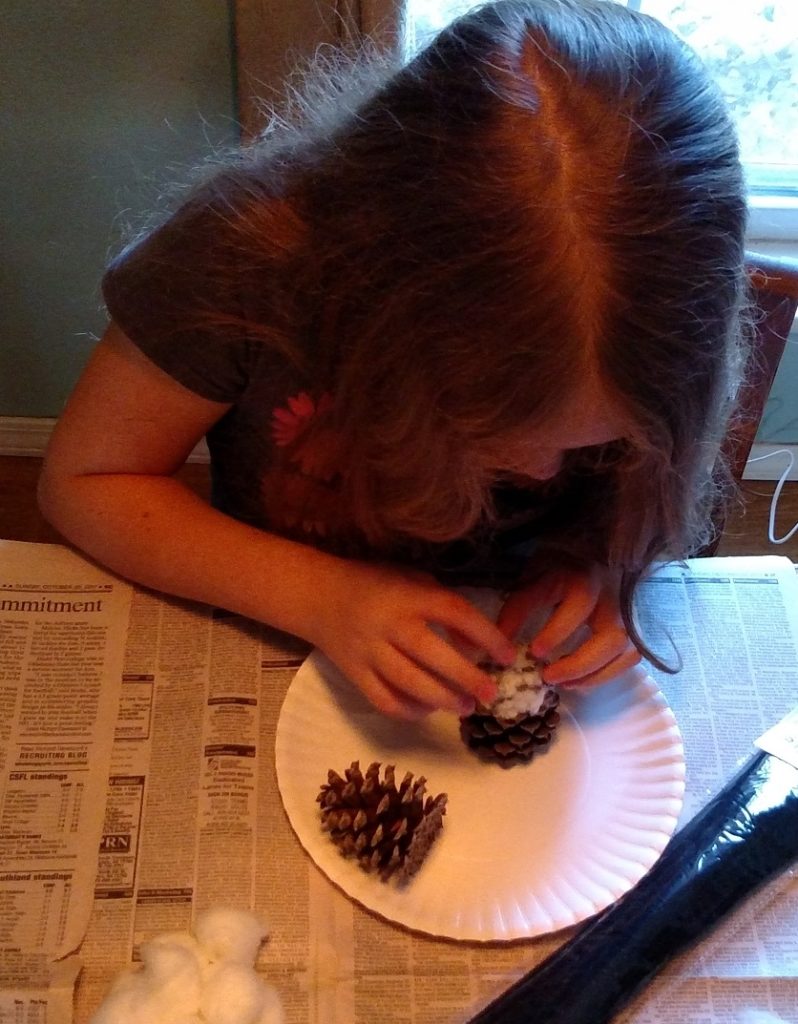
Push bits of cotton from a cotton ball (or small pinches of polyester fiber fill) into the spaces between the brown scales. Continue over the entire cone but be careful that you don’t overfill; you want the tips of the scales to be visible.
Select colors of felt for the owl’s beak, face, area around the eyes, and wings. (I chose white and light tan, with yellow for the beak.) Using the pattern pieces, cut out one each of the face, beak and eye area, and two wings. Using craft glue, assemble the pieces of the face as shown below. You can also use a hot glue gun, but if you have a good craft glue, kids can do this part themselves without supervision.
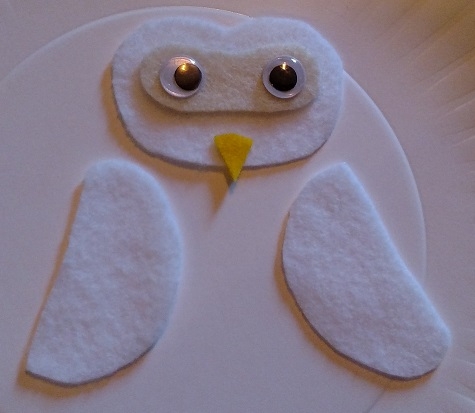 After assembling the face, you’ll need to attach the wings and face to the body. This will require a glue gun; if you’re making several animals (or have kids working on the project), you may want to put together all of the faces first, waiting until the end to do all of the hot glue at one time.
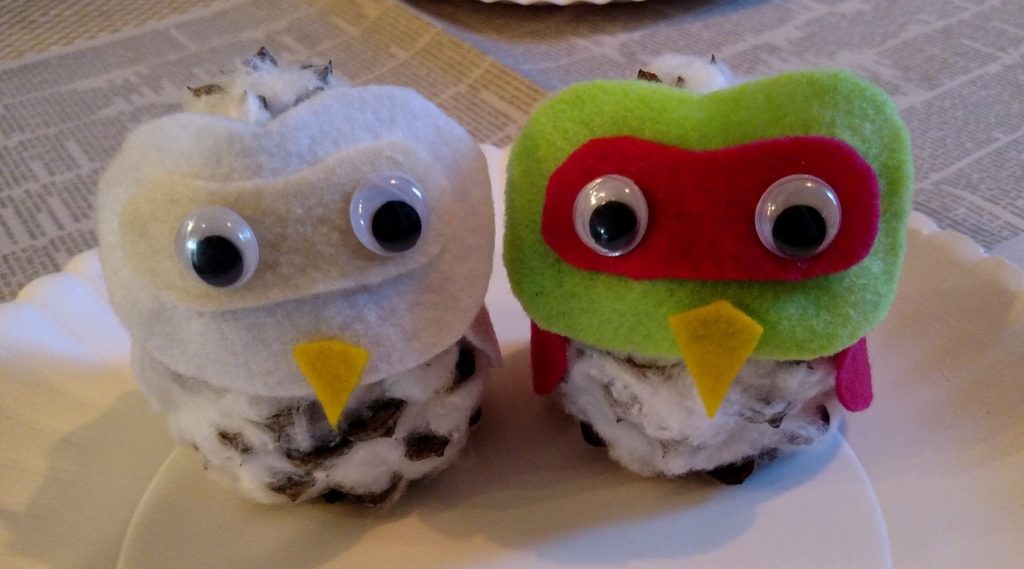
When you are finished, your owl will look something like this:
To Make A Pine Cone Hedgehog
This darling hedgehog is the simplest of all the designs, and the only one made with a pine cone that lays on its side instead of on end. All that’s required is cutting out the shape of the face and a tiny dot of a nose. The pipe-cleaner feet are optional, but if your pine cone isn’t terribly flat on one side, they’ll help hold it steady instead of rolling across the table.
Using the template, cut the face and nose from craft felt. Glue the nose to the face and add eyes. If you’re going to make feet, cut a pipe cleaner in half (roughly) and bend it into a shape that looks like two small feet, with a length of pipe cleaner (long enough to tuck into the scales of the pine cone, and glue in place) between the two. 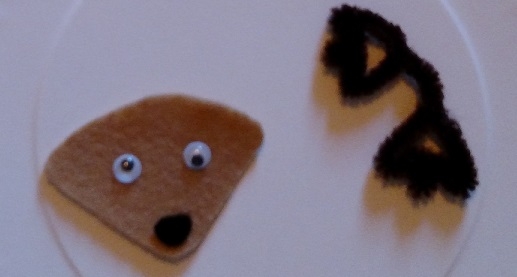 Place your pine cone on its side on the table, to find the flattest part. Then flip it over, place a generous bead of hot glue where you want to affix the feet, then attach them and allow to dry for several minutes.
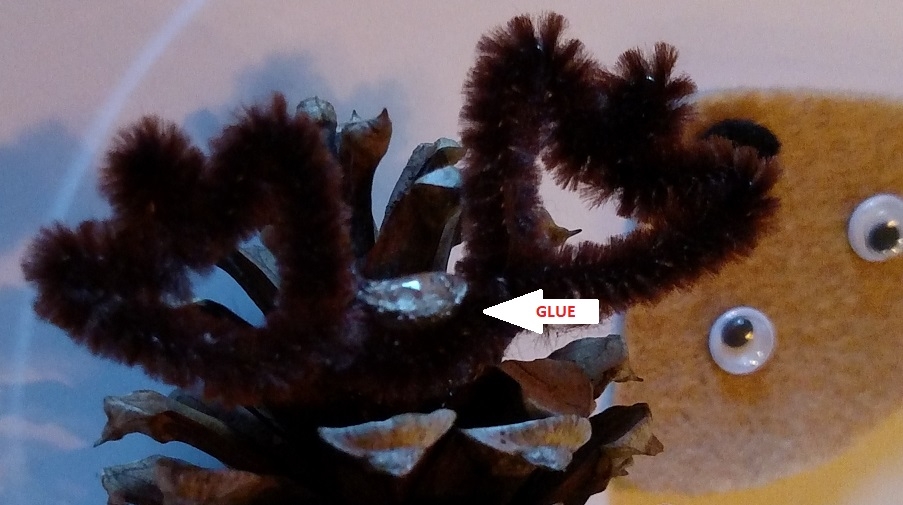
When the glue on the feet has solidified, flip over the pine cone and glue the face to the pointed end of the cone.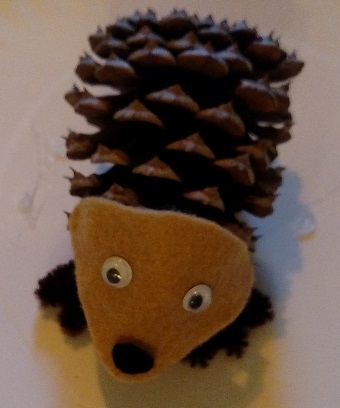
To Make A Pine Cone Beaver
This is another design that rests on the stem end of the pine cone, so be sure to choose one that is relatively flat. Choose your colors and cut out all of the components: face, snout, tail, and the small teeth and nose. Assemble the face as shown, and add eyes. With a permanent marker, draw lines in a criss-cross pattern on the tail.
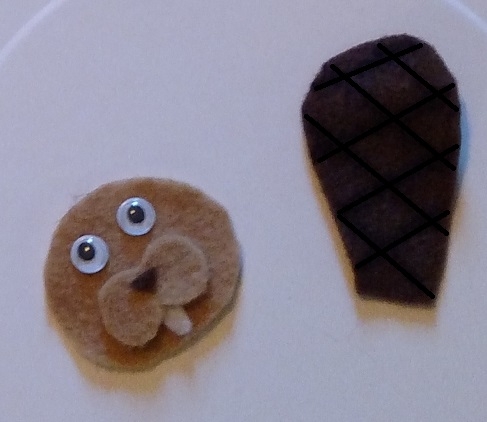 If you want to add ears, you can fashion them from a pipe cleaner in much the same way as the feet for the hedgehog. Sculpt two small ears, connected by a length of pipe cleaner that can be tucked snugly between the scales of the pine cone.
Using hot glue, adhere the face on one side near the pointed end of the pine cone. Next, glue the tail to the flat, stem end of the pine cone. Make sure the pattern you drew is facing up, and to be sure the tail is visible, I suggest gluing it to one side or the other (in relation to the face).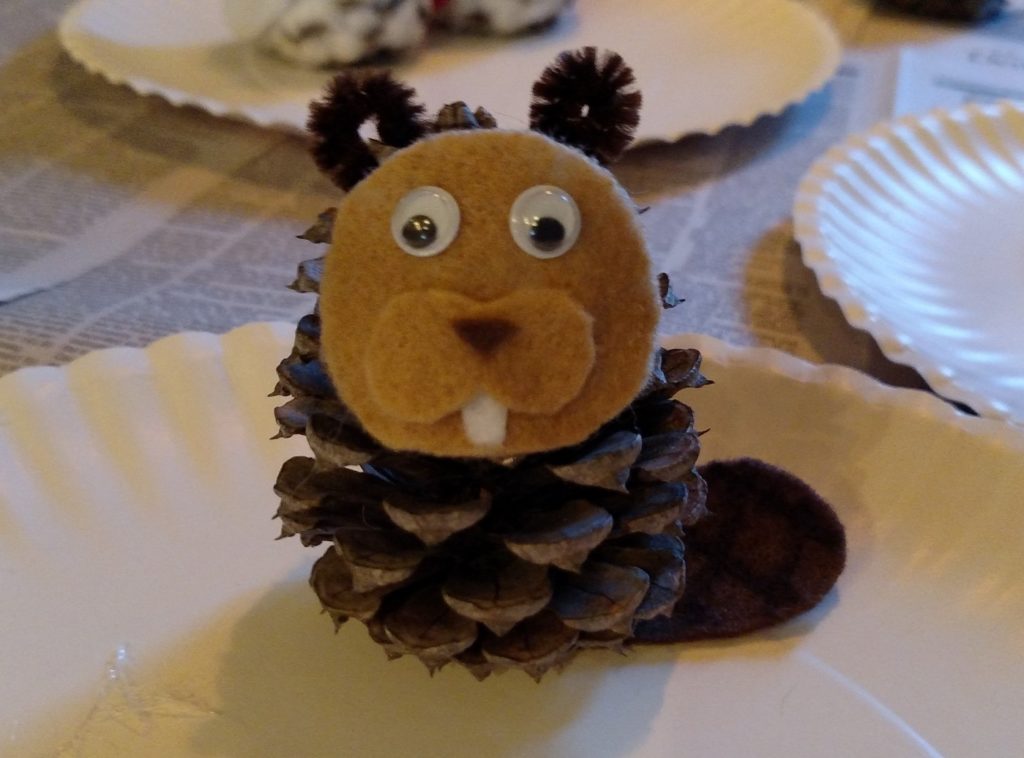
To Make A Pine Cone Raccoon
There are more pieces to this little guy, but you’re a pro by this point, so let’s tackle our last pine cone friend.
Choose your felt colors (we used light gray, dark gray, and white) and cut out all the pieces: the tail and its three stripes, the face, two small triangles for the ears, two circles around the eyes, the snout, and the nose. Assemble them as shown in the photo below. In this case, my daughter decided she didn’t want to add plastic eyes, but instead chose to draw them on with a marker. You can do either.
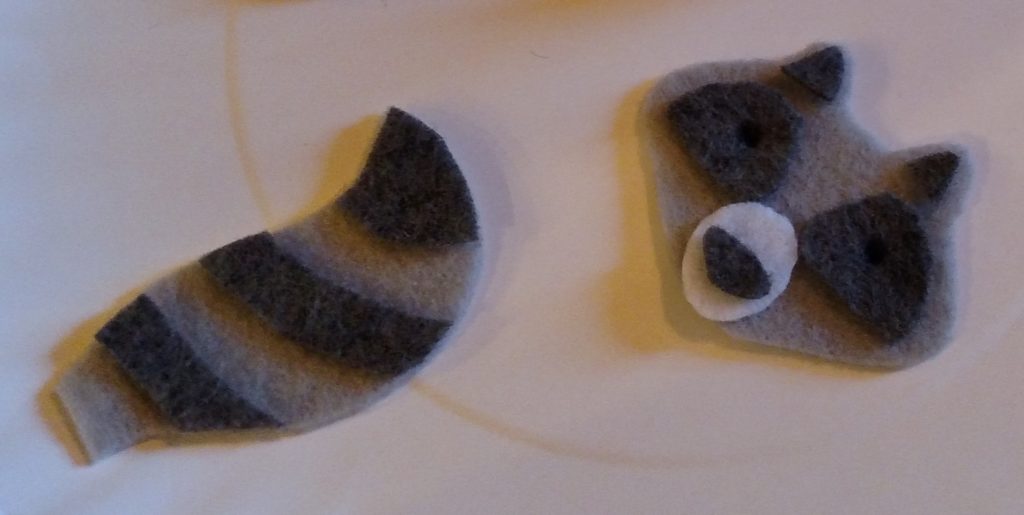
With hot glue, adhere the tail to the stem end of the cone, with the stripes facing up. Once again, you may want to put it off to one side so it’s more visible. Then, glue on the face.
If you’d like to add feet, you can fashion them out of pipe cleaner. Because the tail was glued to the bottom of the pine cone, we wrapped the pipe cleaner around the back of the cone, threaded it between the scales, then twisted the two ends in front to look like feet. (You can add a drop of hot glue to hold the pipe cleaner in place if you’d like, but it’s probably not necessary.)
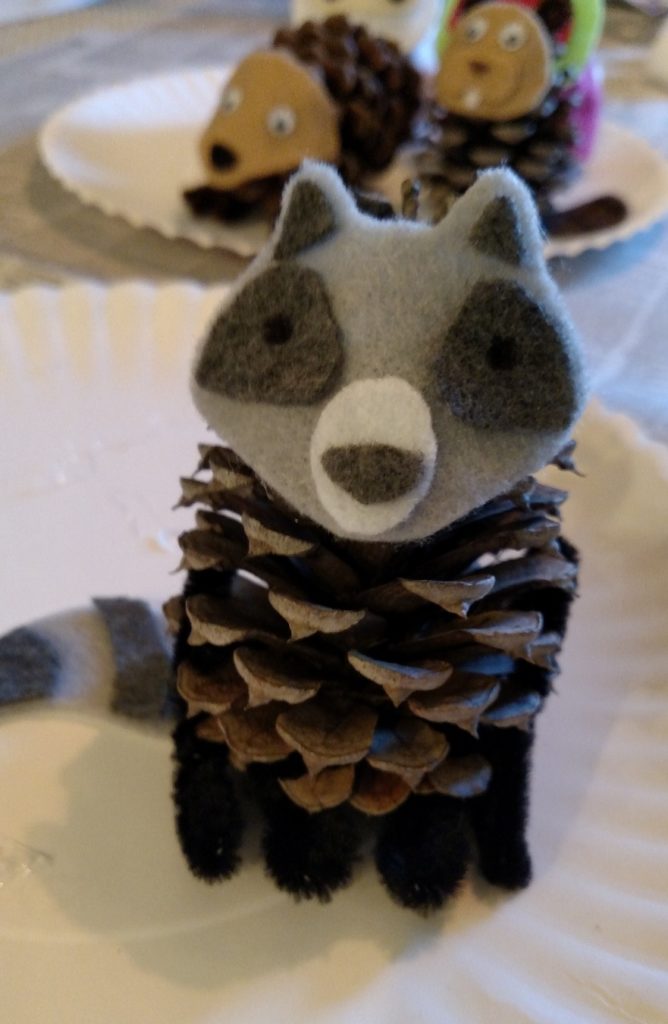
With our menagerie complete, the next step was to give them a home.
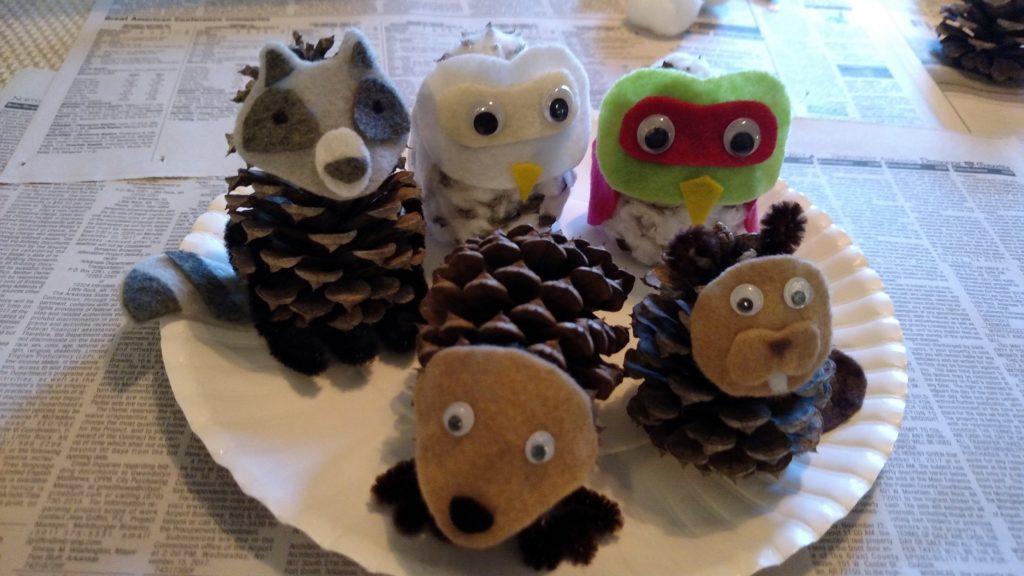
Thankfully, our children have outgrown the stage of chewing every object that fits in their mouths (not that you’d know it by looking at the grocery bill). But when we’re decorating for the holidays, I worry about visitors because many of the plants we traditionally see at Christmas—including holly, mistletoe, and (to a lesser degree) poinsettias—are toxic when ingested. We rarely buy poinsettias, the only mistletoe in our house has come from the silk flower section of Hobby Lobby, and even though our holly bushes are covered with vibrant red berries every winter, we use them sparingly indoors, out of an abundance of caution.
However, in the field in front of our house, we happen to have an Eastern Red Cedar tree (which, as it turns out, is not a cedar at all). The branches are heavy with lovely, bluish berries. The fragrant foliage is a gorgeous deep green, and because juniper berries are used in traditional medicine, I don’t worry nearly as much about any younger guests deciding to snack on them.
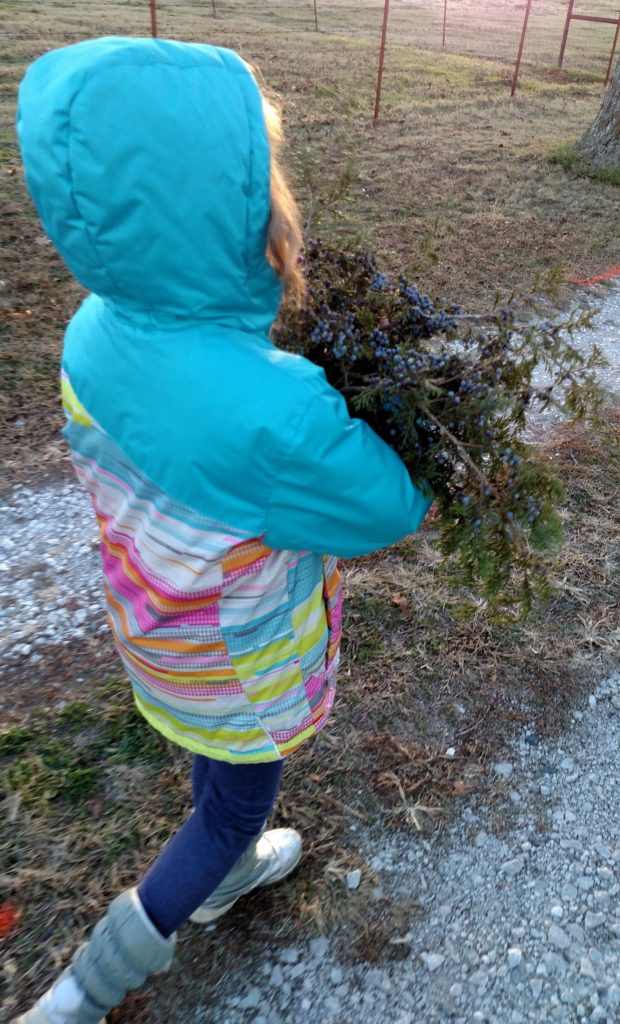
After harvesting branches full of berries, we arranged them in the center of our table and added our pine cone animals. We think they make a very fine home for our woodland friends!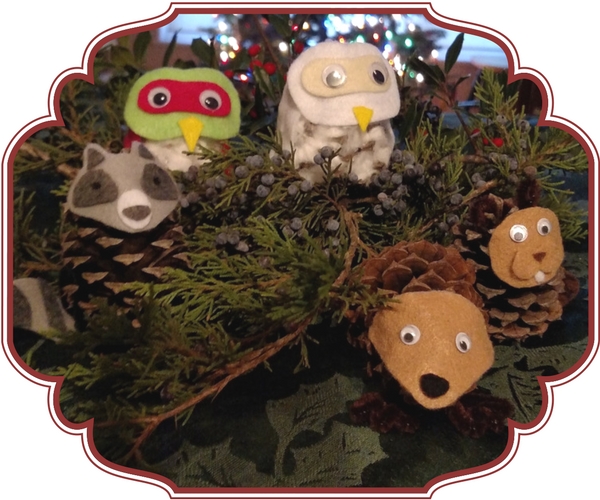
My kids and I had such fun on this project, and made some amazing memories, and we can’t wait to show our creations to the friends and loved ones we welcome into our home this Christmas.
Even though the holiday season can be hectic, I truly hope you’ll set aside a couple of hours with your children to grab a few pine cones, break out the scissors and glue, and make some lasting memories of your own.
Download the Pine Cone Creatures Printable Templates as a guide to making the craft felt pieces needed for these
snowy owl, hedgehog, beaver and raccoon pine cone creatures.
These are adorable!! We will definitely be making these.
Thanks, Bridgitt! We had bunches of fun making them. And if you need pine cones, I can hook you up. She collected so many, I’m not sure we’ll EVER use all of them.
They are super cute !! Hmmmm, projects for the youngest grandchildren . . . ?
Definitely! I think the grandchildren would love it. Maybe it’s a project for Christmas, or the next time you’re babysitting?
These are adorable! I’m thinking a Julia Grace project is in my future! 🙂
I’m sure Julia Grace would love this project! Be sure to take pictures & post them on Facebook if you make them!