April showers bring May flowers, right? While I love a good thunderstorm, too much rain can get old every spring. I know we need it—gardening (and farming) season is upon us, after all—but the constant drizzle has a way of dampening my spirit.
Like most homeschool moms, finding a good lesson in something helps me appreciate it more. Rain is no different. Today I’m going to show how you can make your very own rain gauge from common materials you likely have lying around your house.
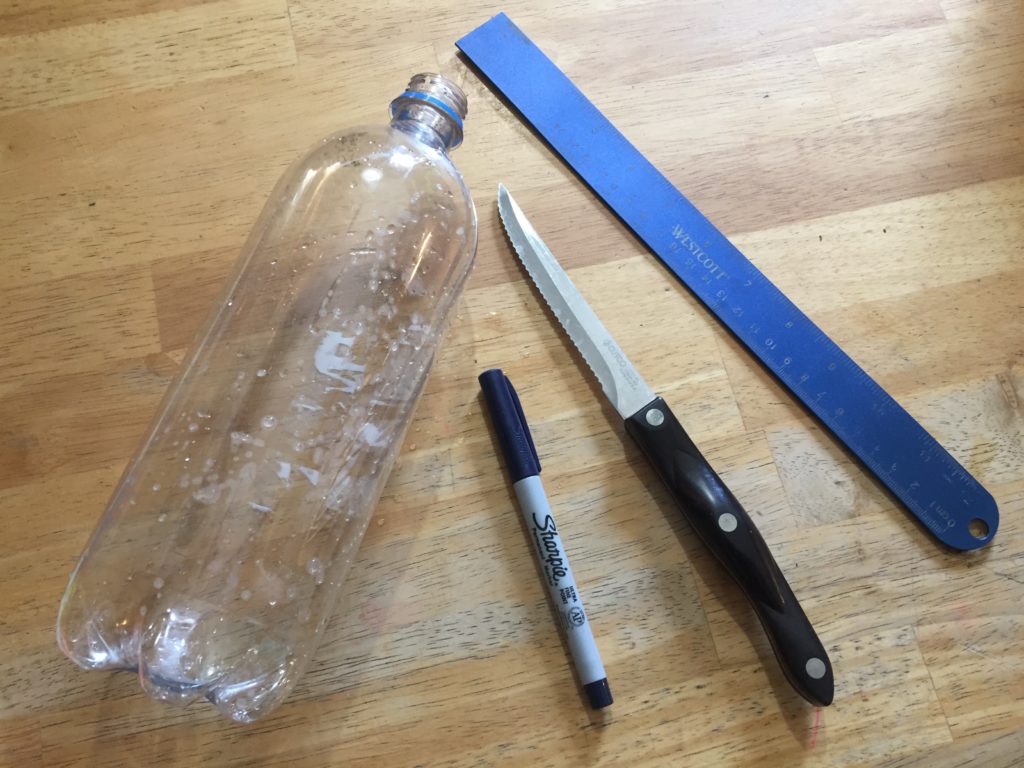
Supplies:
- 1-liter plastic bottle
- permanent marker
- scissors/sharp knife
- ruler
- ponytail holder (optional)
Directions:
- First, strip the label off your plastic 1-liter bottle.
- Next, take the cutting utensil of your choice and snip off the top of your bottle. Cut carefully and save; you will be needing it later. I measured down about three inches from the tip-top of the bottle. You want to cut off the curved part at the top. The cap can be discarded.
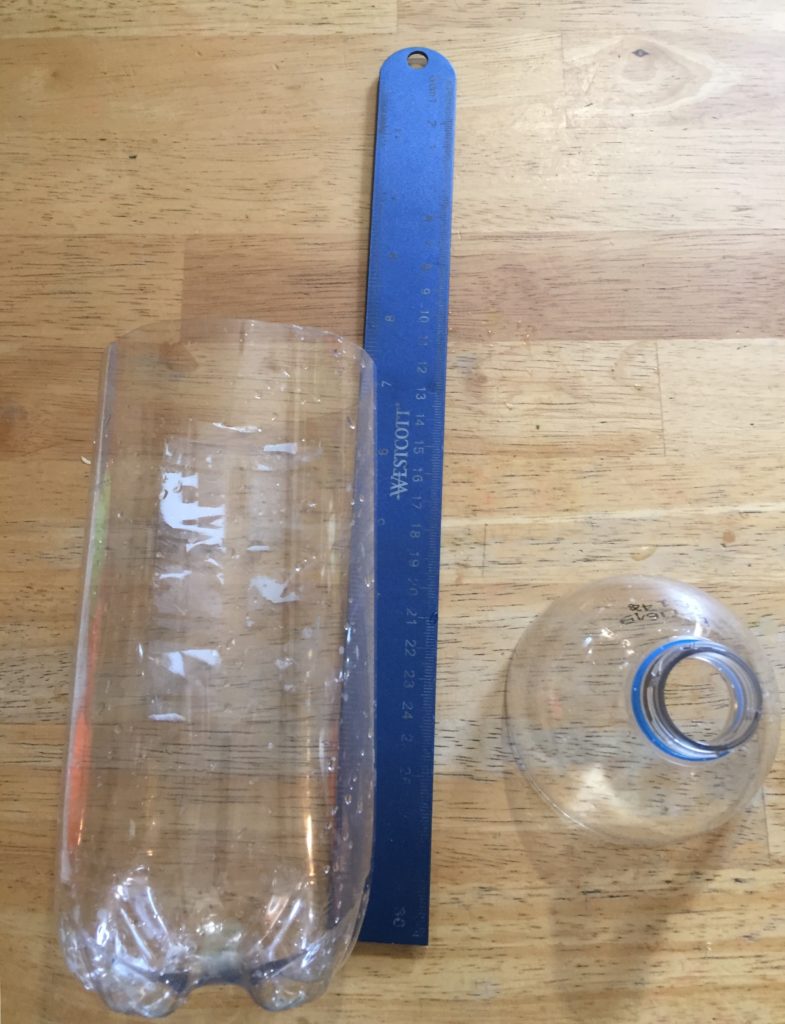
- Then, using the ruler to measure, mark off every ½ inch up and down your bottle on two opposite sides.
- Once your bottle has been marked, you’ll want to draw a line around the entire circumference of your bottle at each marking. To make this as easy as possible, I used a ponytail holder.
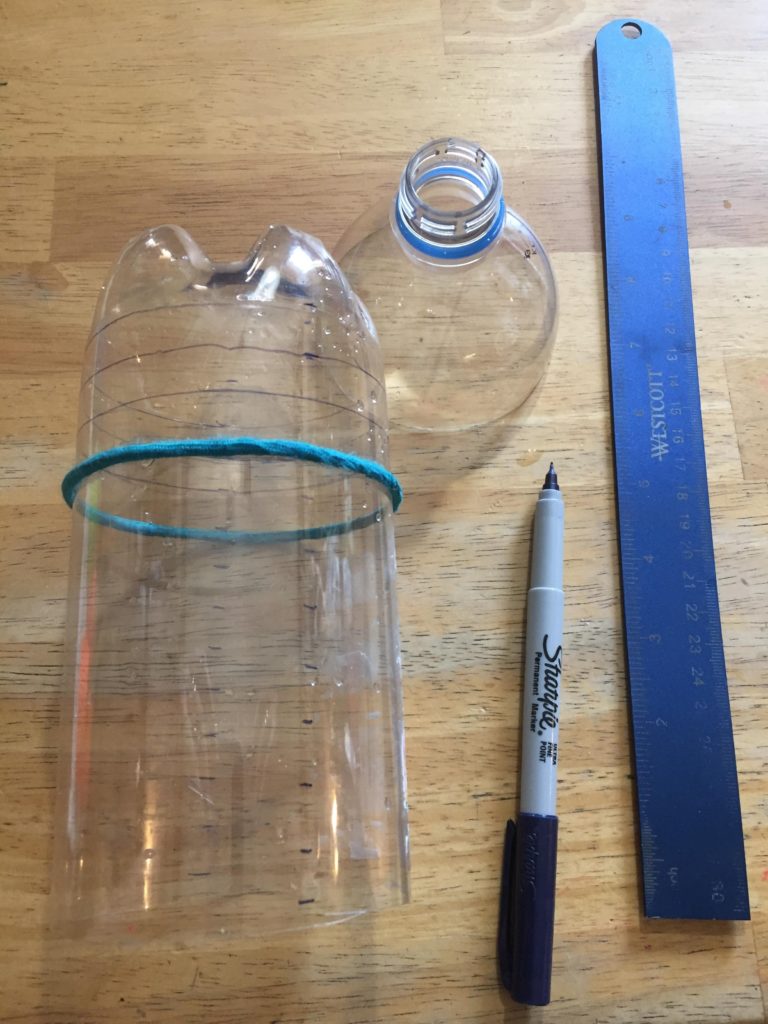 Simply line up the ponytail holder at each mark, then trace its edge around the bottle, slide down to the next mark and repeat until you are finished. (Note: I used a thinner marker to make my measurement marks and lines, then traced over every other line again to make the inch markings a bit thicker. This helps differentiate between the inch and half-inch markings; however, this step is optional.)
 - Starting from the bottom moving up, label the one-inch marks with numerals 1-6 (or however many inches tall your bottle happens to be).
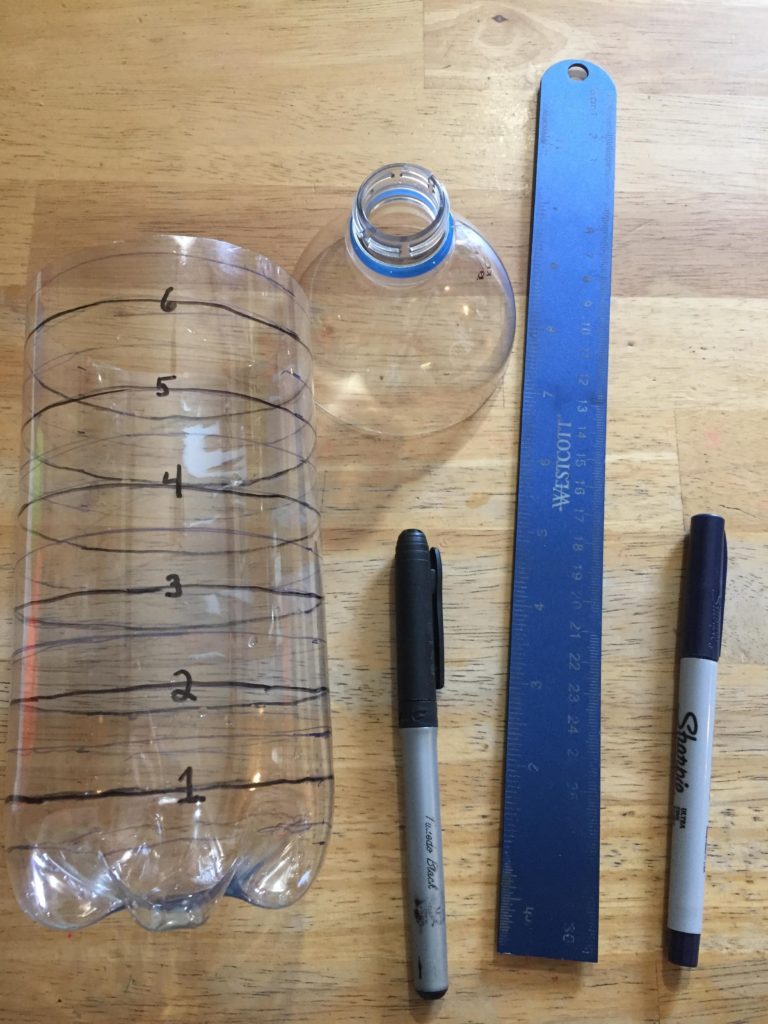
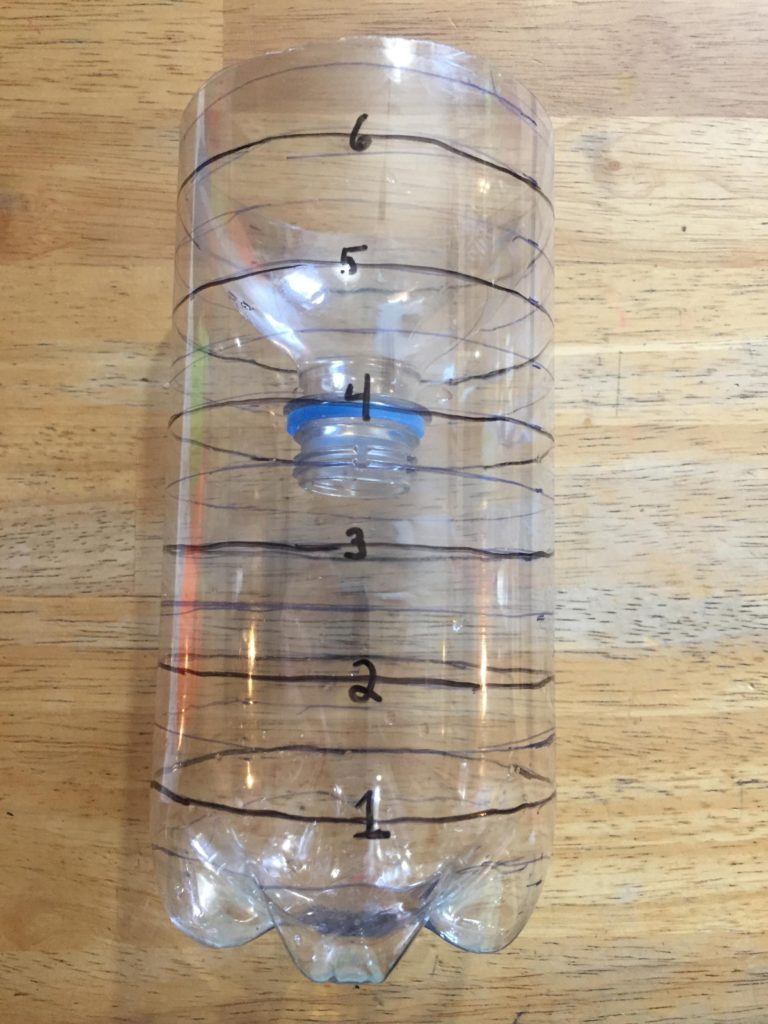
- Take the top portion that you cut off earlier, and invert it into the top of the larger part of your bottle. This will prevent rain from evaporating out of your gauge.
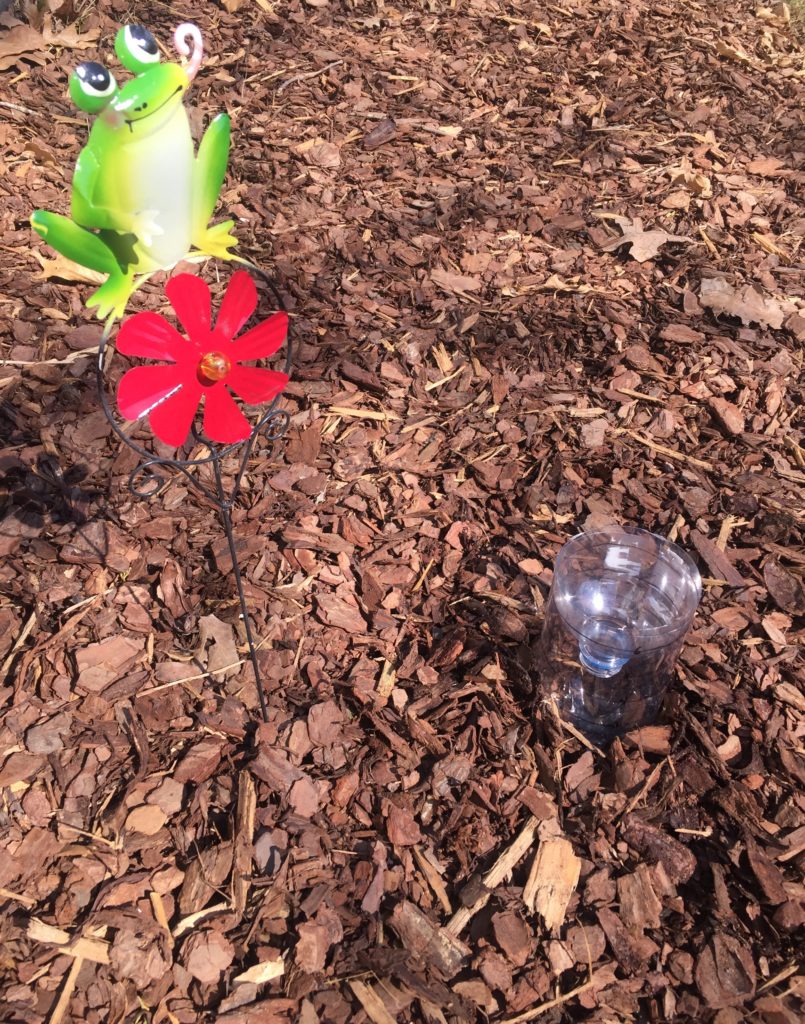
- Take your new rain gauge and find a prominent spot in your yard or garden to place it. You will want to dig down a bit and mound up some soil or wood chips around the base, just to keep it from blowing over. Notice how proud of his new rain gauge buddy my little garden frog seems to be!
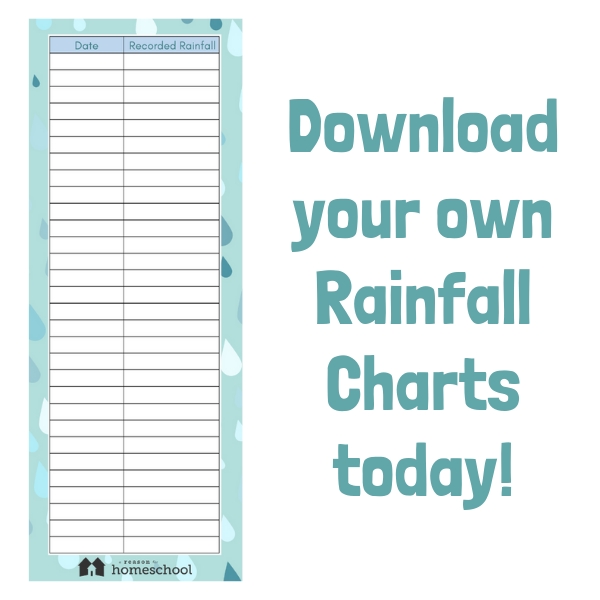
Now that you have your own gauge crafted, let the fun begin! Print out our rainfall chart, and each time it rains, let your children rush out to read the gauge. Take a moment to write down the date and how much it rained, then empty the water to await the next rain shower.
Later this summer, be sure to look back over your spring months and note when you got the most rain. Did you get more on the weekends than the week days? Which month got the most rain? How about the least? Keep track for a whole year, then look back and compare the months.
Now that we’ve found a learning opportunity, let the rainy season commence! Don those rubber boots … and happy charting!
Keep track of the spring rain at your house
with our
Rainfall Charts (2 per page)
